Tuesday, February 5, 2013

Layered Washi Tape Flowers: A Tutorial

Good morning friends!

I'm excited to share a tutorial with you today!  If you saw yesterday's post, you know that I recently had fun coming up with some creative ideas for using washi tape.  Of all the ideas, the layered flowers were my favorite so I wanted to share the "how to" steps with you today.

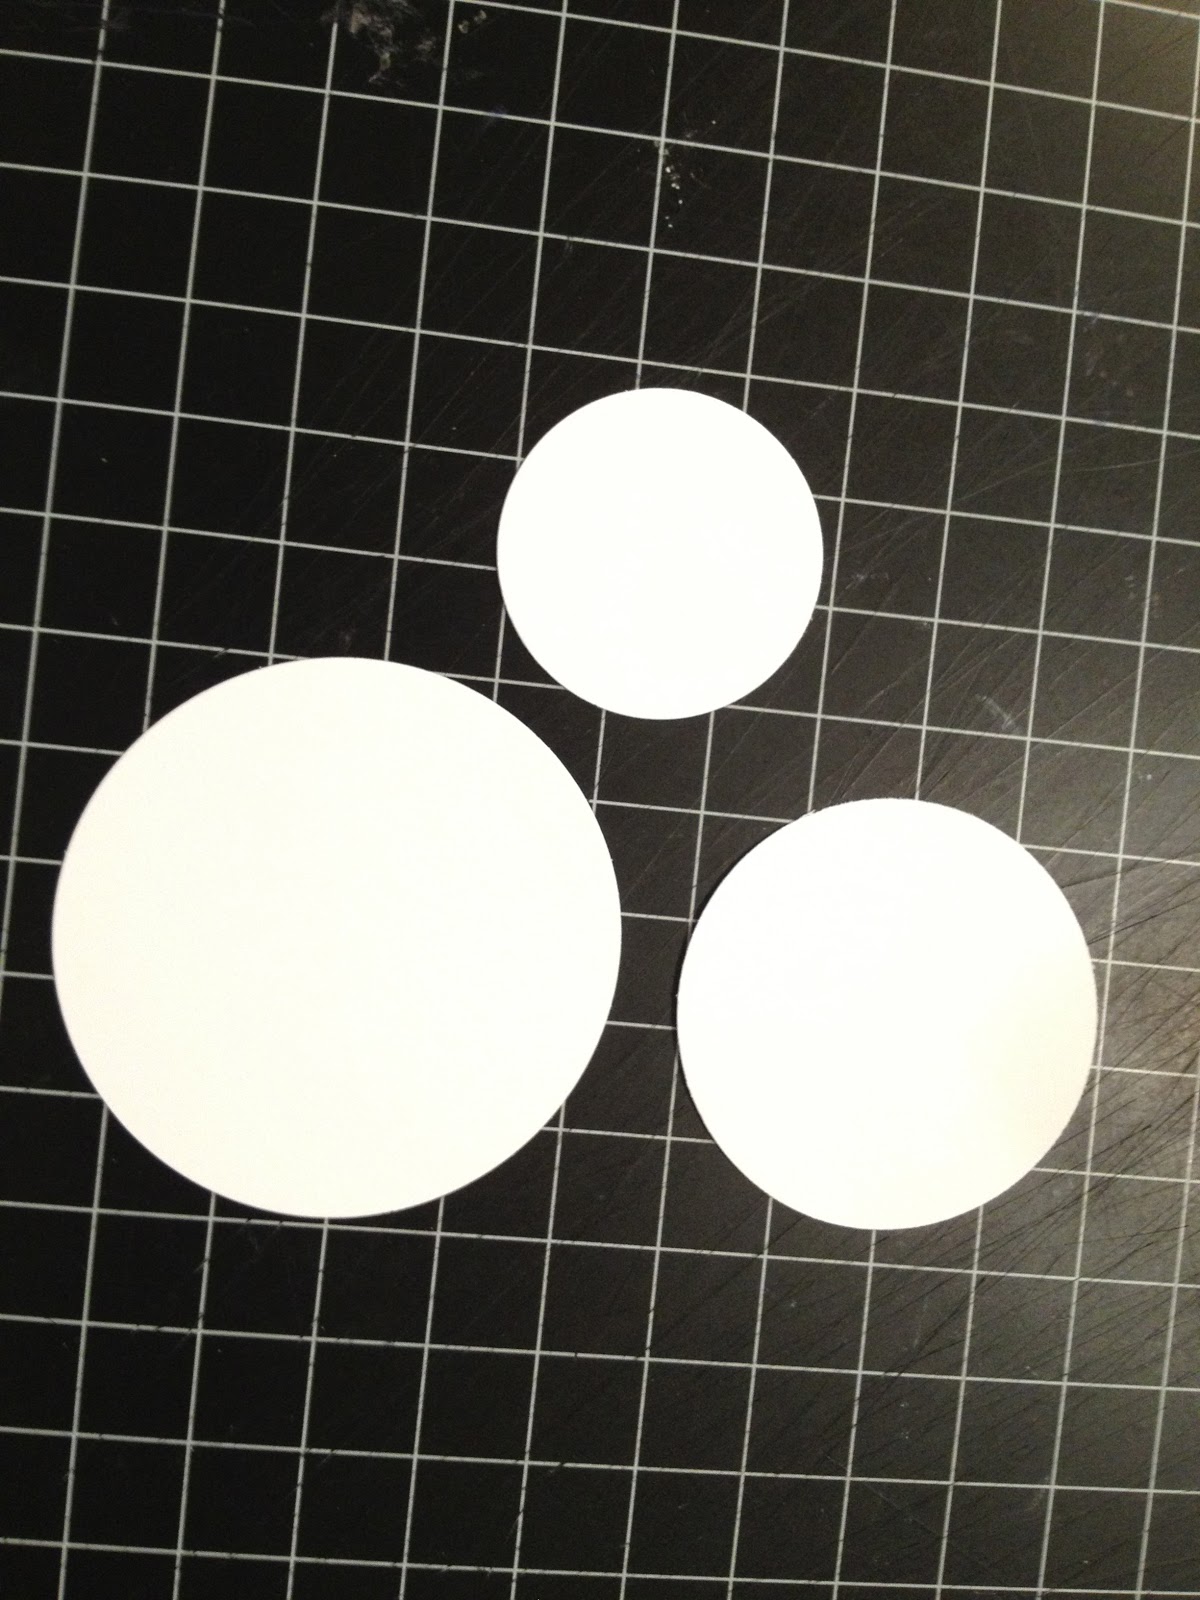
1.  You will want to start with 3 different sized white card stock circles.  I punched mine out, but you could also die-cut, or hand cut them.  The sizes of my circles were 2.5", 2", and 1.5".  The larger your circles, the larger your flower....the smaller your circles, the smaller your flower will be.  In subsequent photos, my circles are scalloped...don't worry about this -- scalloped or plain is fine.

2.  Your washi tape can be different colors and/or widths for each layer, or the tape can all be the same. I used at least 2 different colors of tape on my flowers because I wanted the layers to pop.  

You will want to work on a craft mat or table surface so that your flowers can peel away from the surface easily. I don't recommend working with a piece of paper under your flower, as this will make it difficult to peel the flower up from the paper.

Start by adhering strips of washi tape on one side of a circle. You don't need to press the tape to the surface under your circle -- you will be lifting it off in a moment.  Be sure that the tape strips are longer than the diameter of your circle, so that each one sticks out over the edges. I chose to tear, rather than cut, my tape to give the flower a "ruffled" appearance.
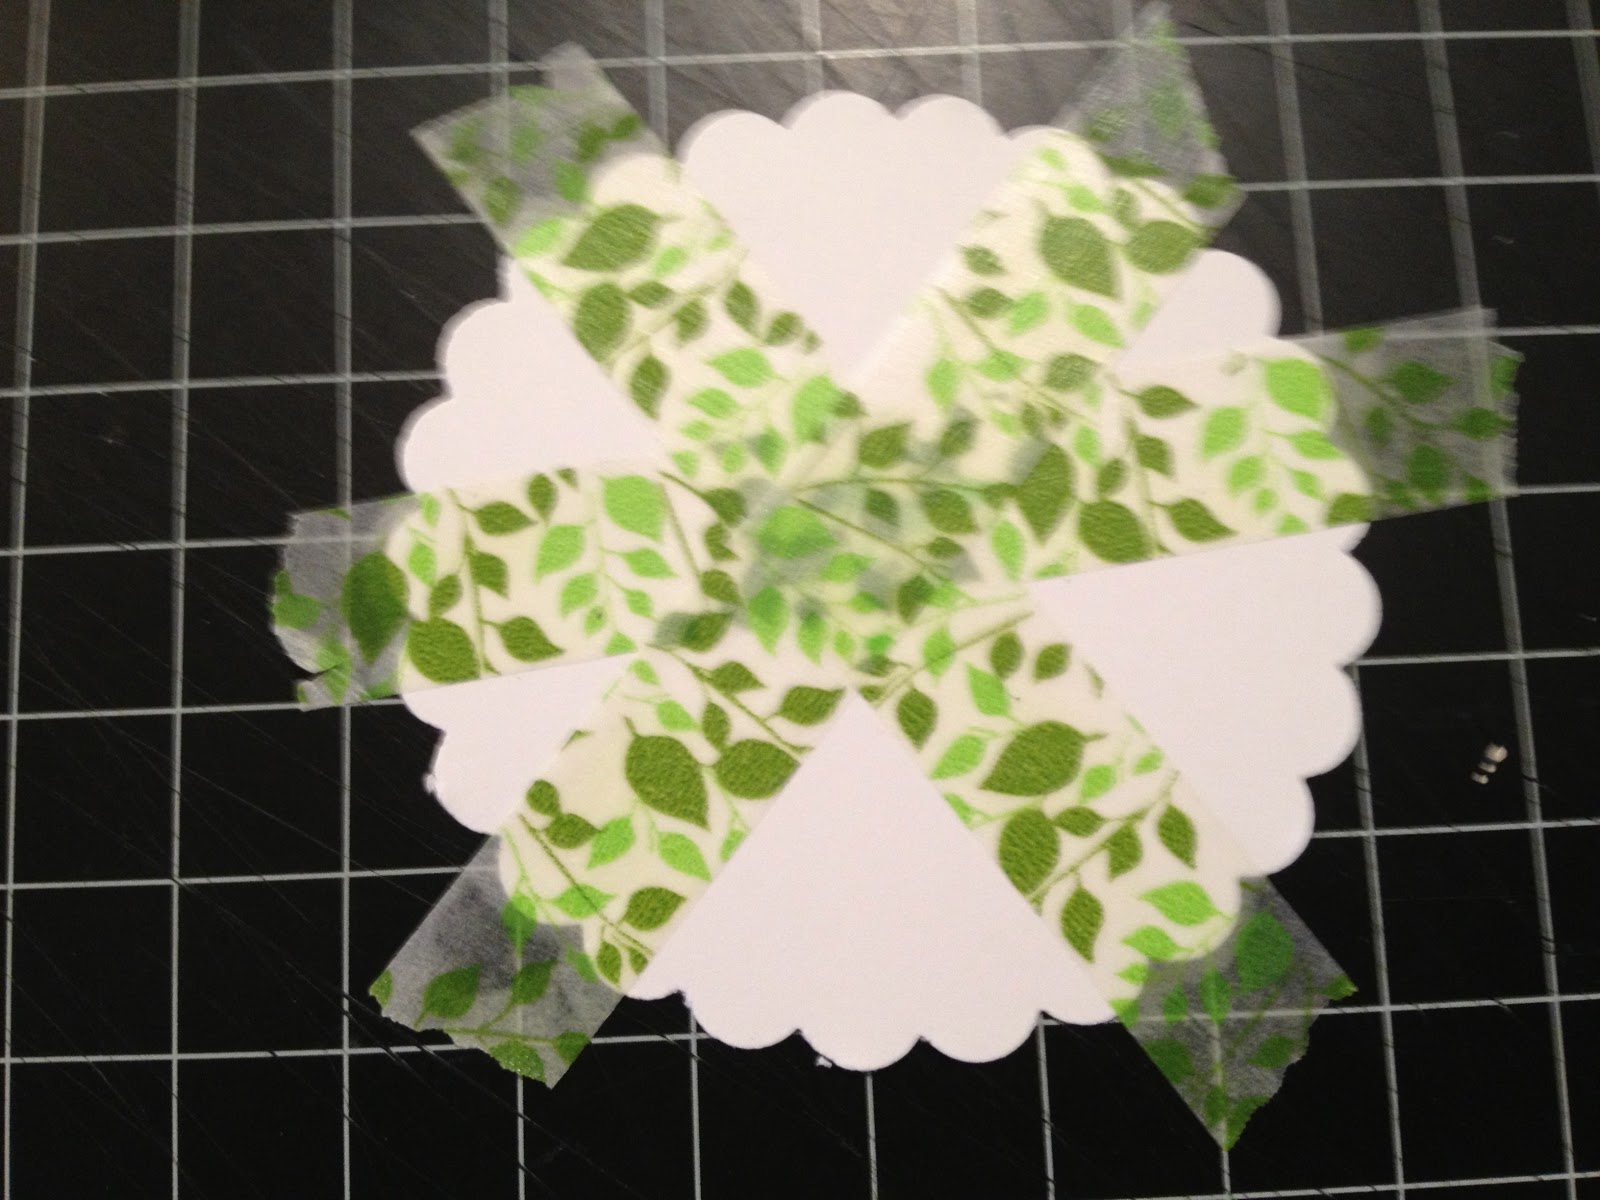


3.  Continue to add tape strips until the entire white circle is covered.  
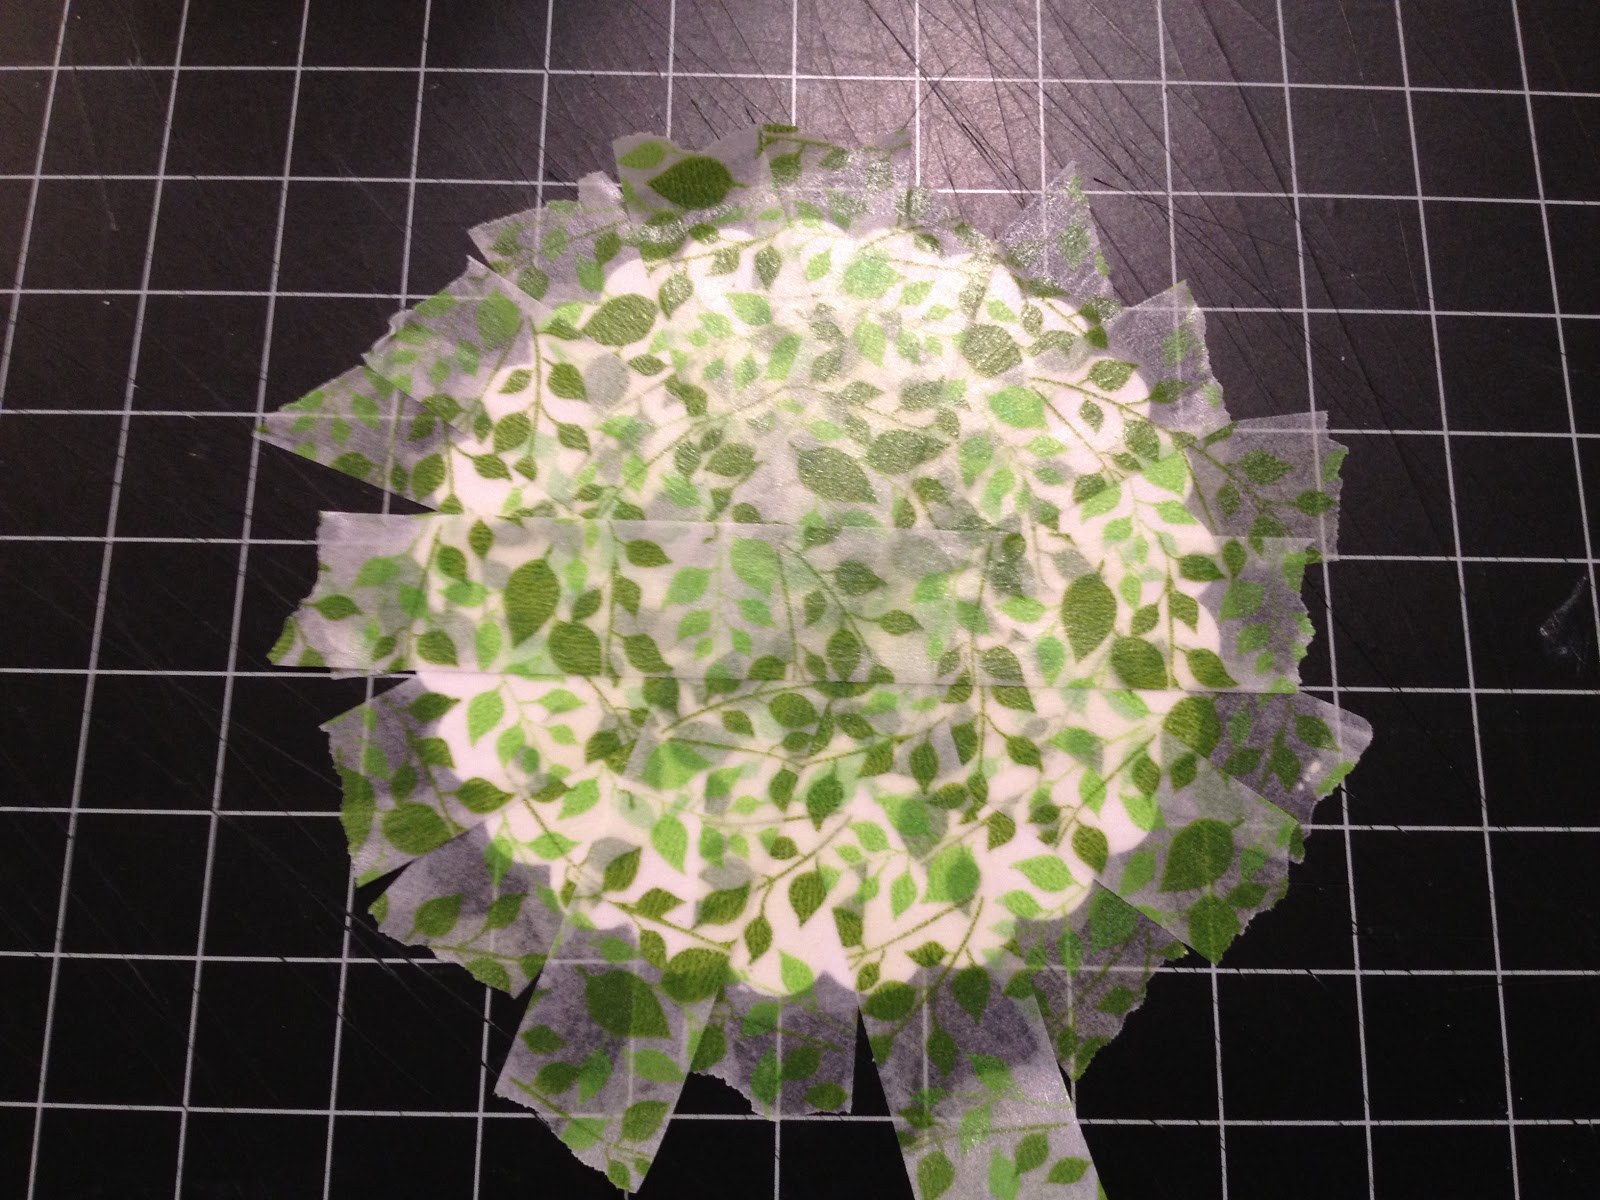

4.  Carefully peel the circle up from your surface and flip it over to repeat the process on the other side.
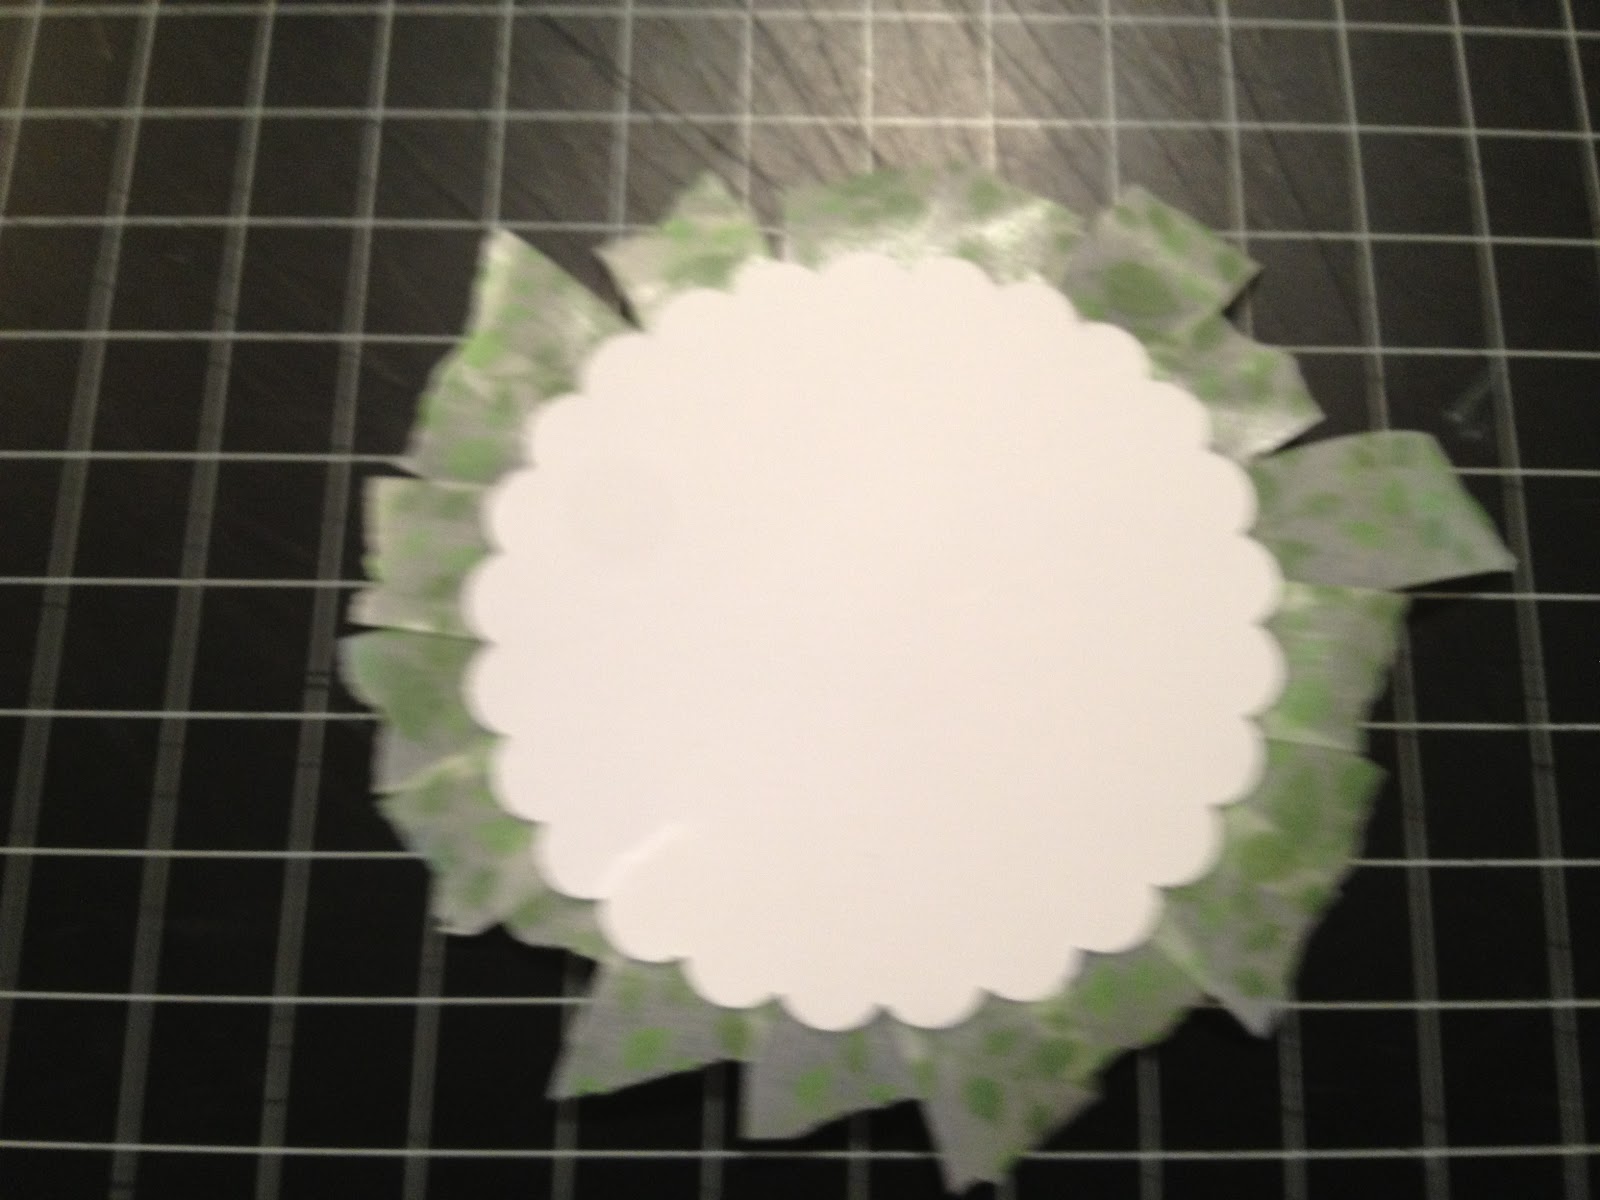

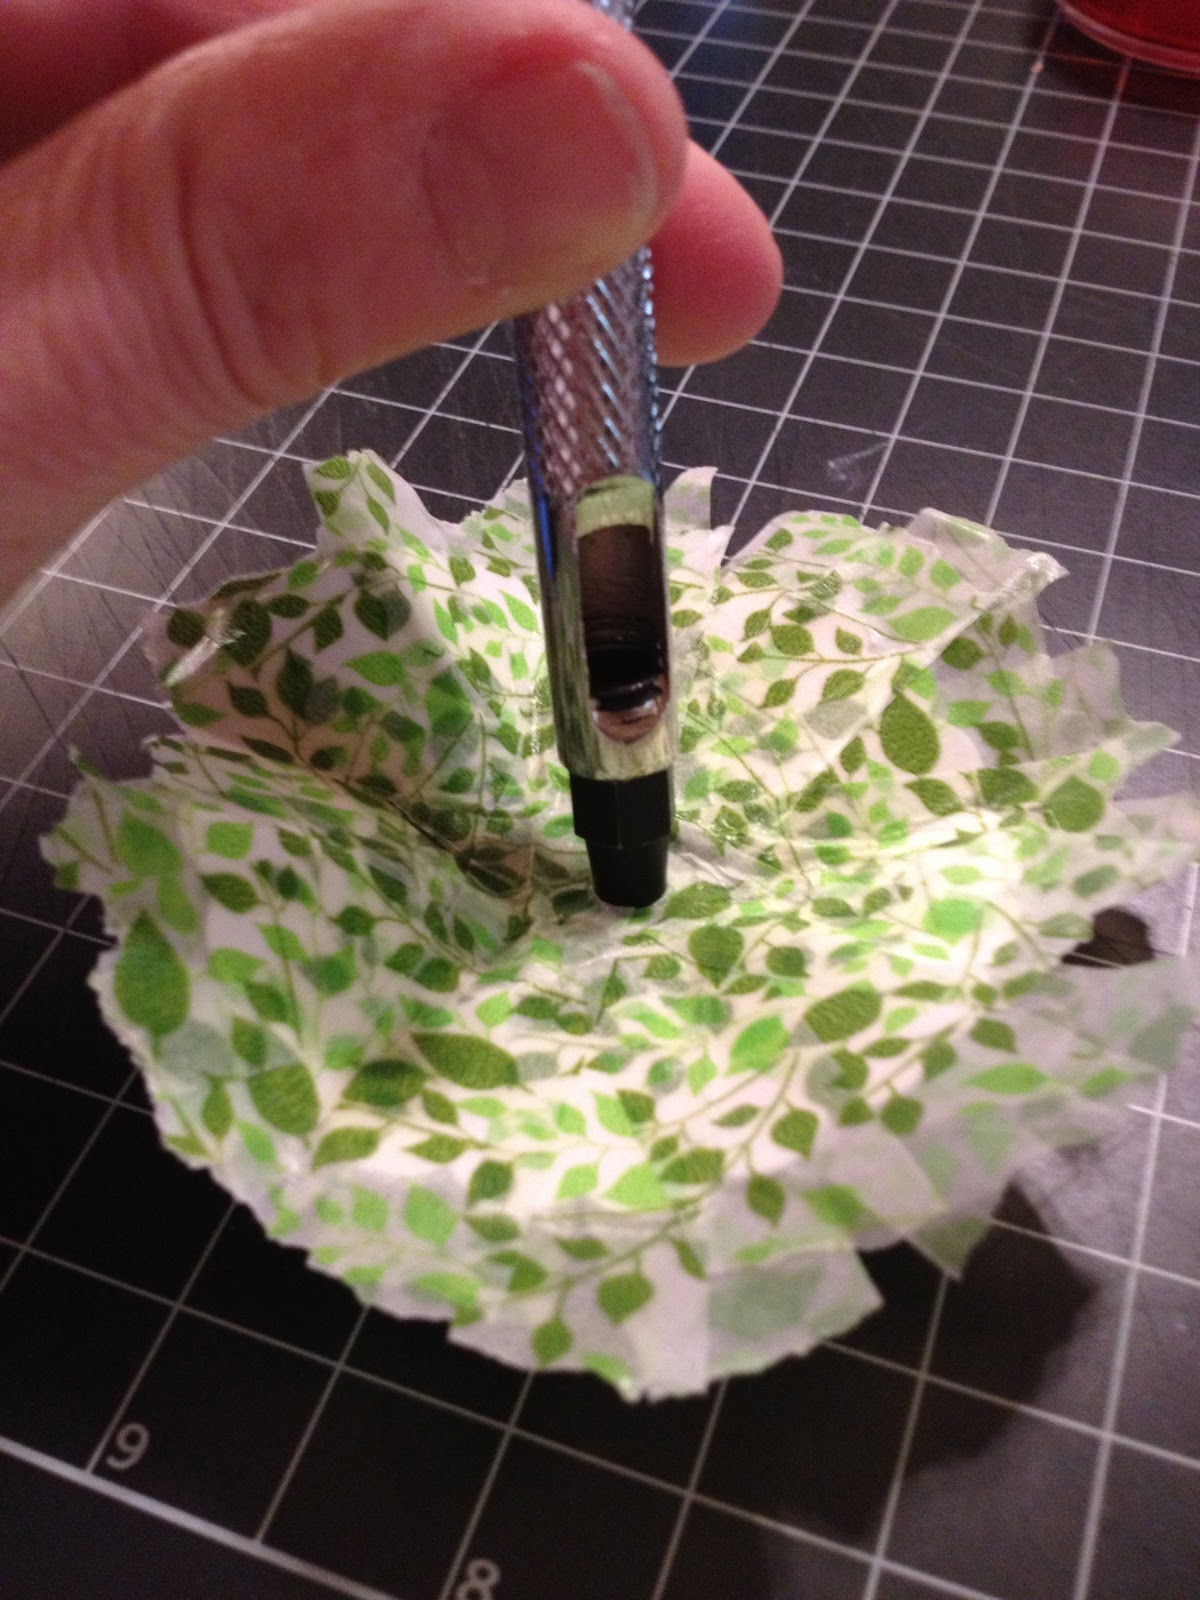
5.  Once both sides of your circle are covered with washi tape strips, punch a tiny hole in the center of the circle.  For smaller circles you can use a small 1/8" hole punch.  For larger circles you can use a paper piercer or an "anywhere" hole punch.
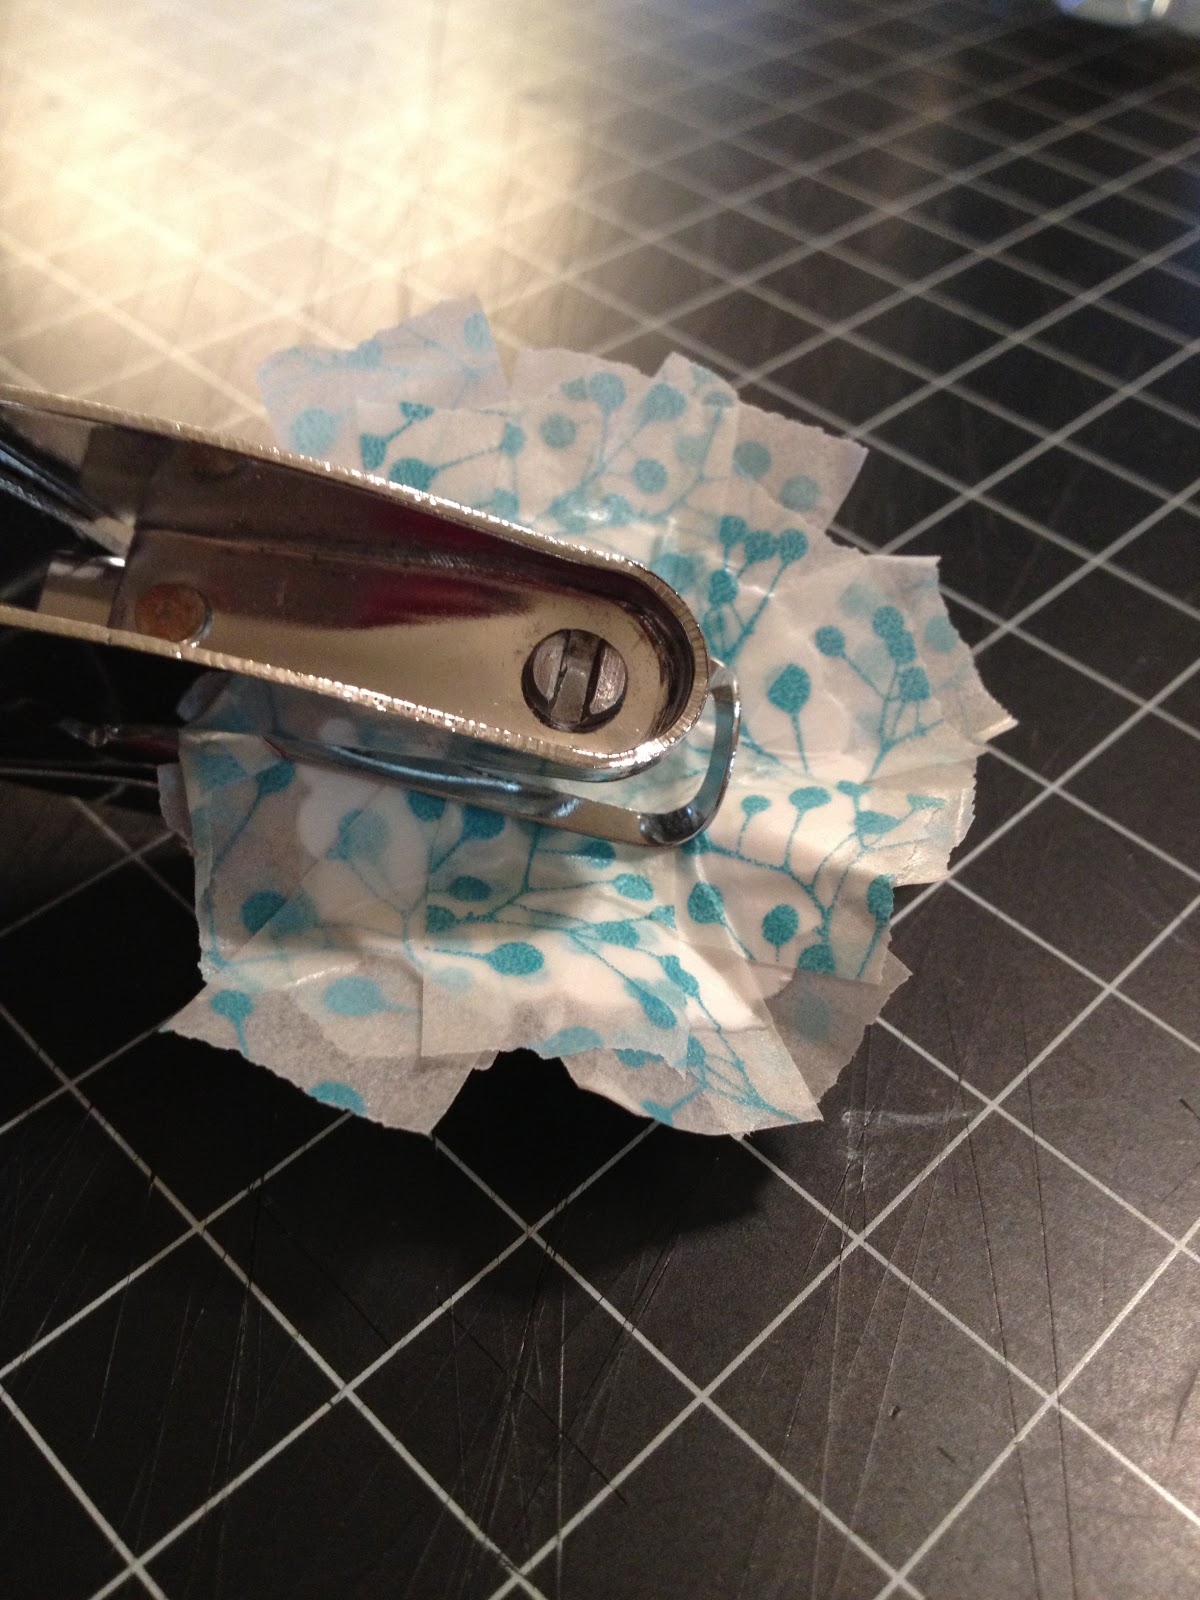
 

6.  Once your holes are punched, crumple the circle in your fingers, folding all of the sides up into a "cone" shape.   Without completely flattening your shape, pull the sides out slightly to create your first flower layer.
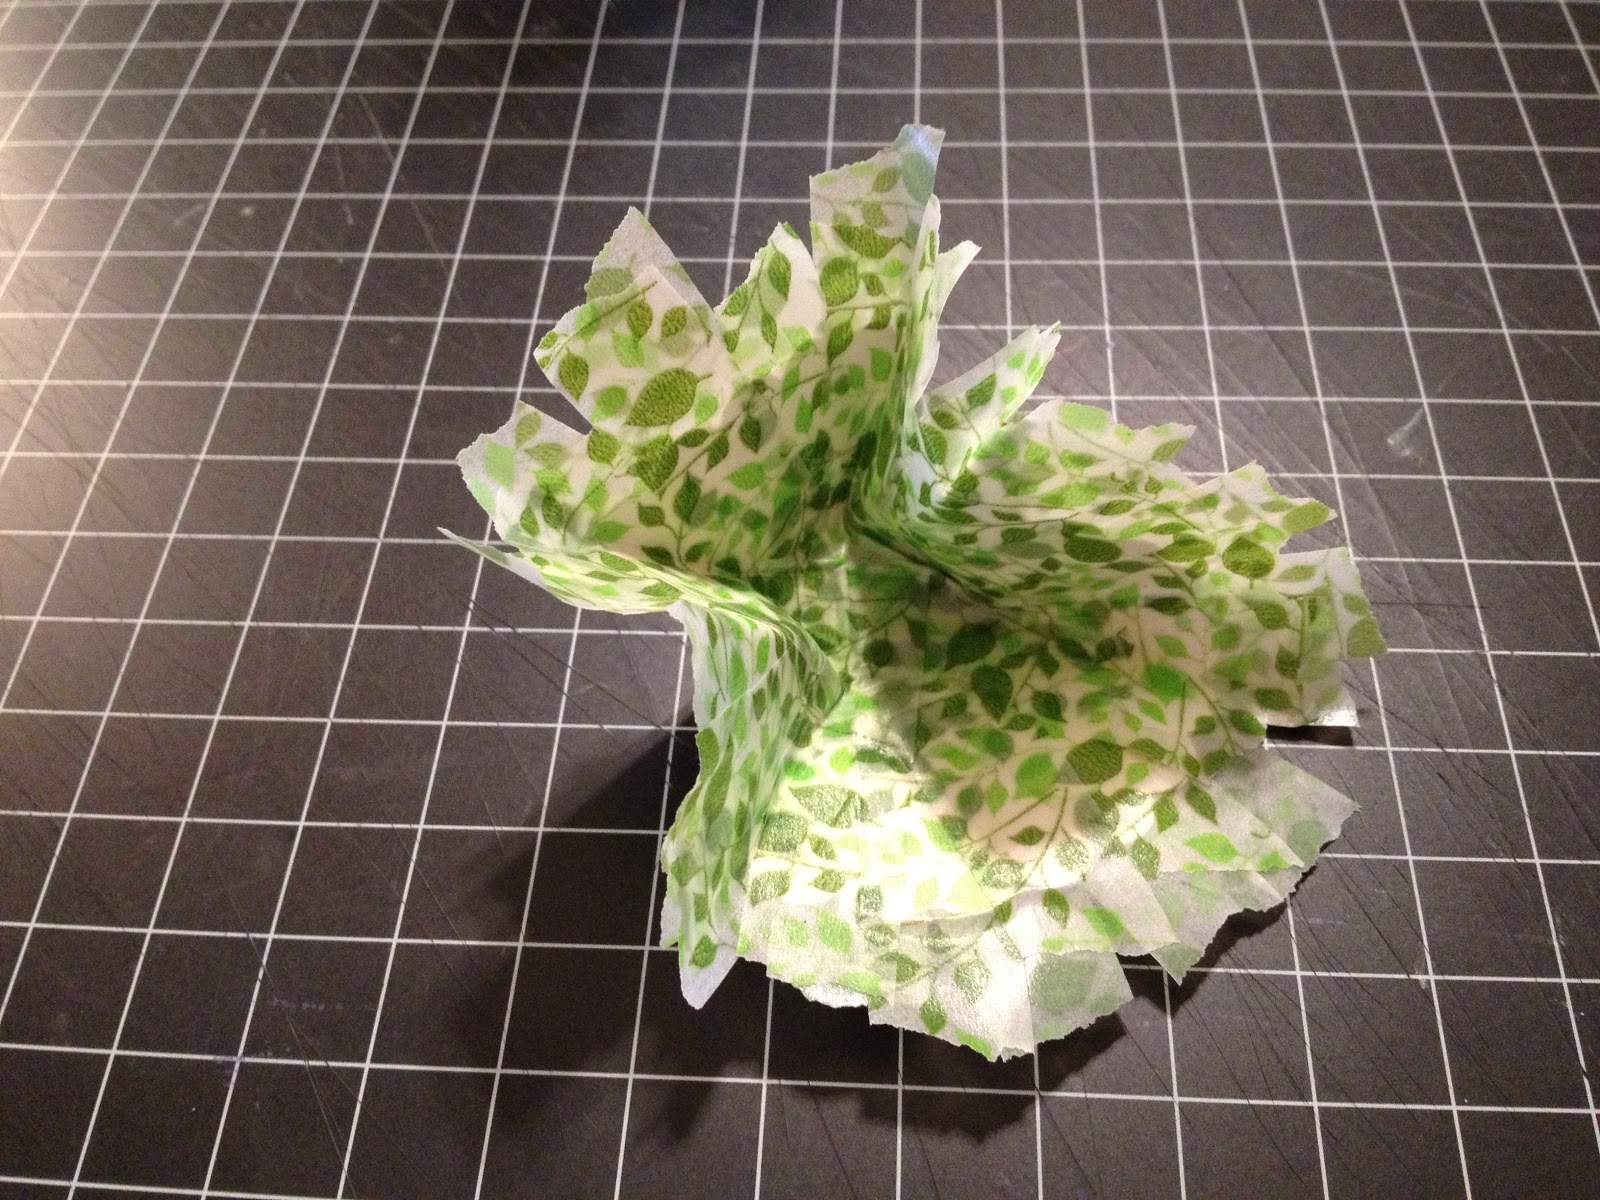

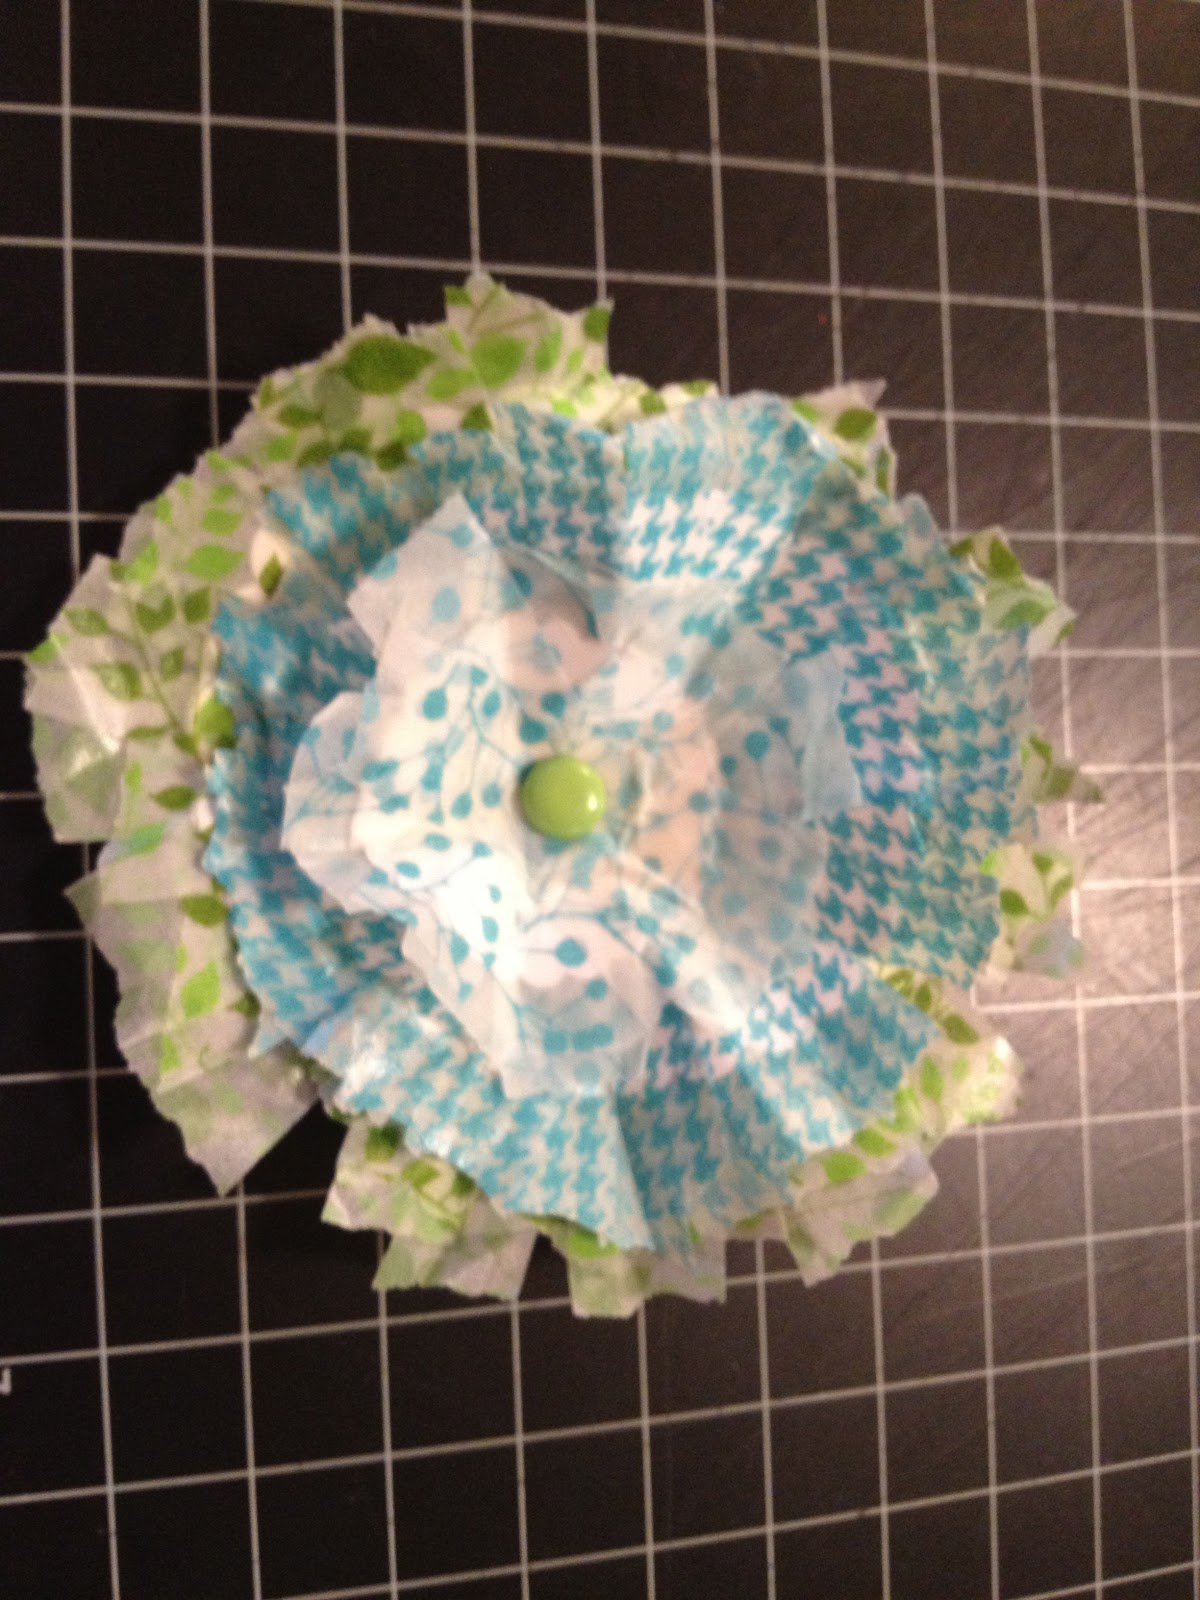
7.  Repeat the steps above to create two more taped circles.  Once complete, layer the three circles and attach a brad (find one with long "legs") through the holes in each layer.  
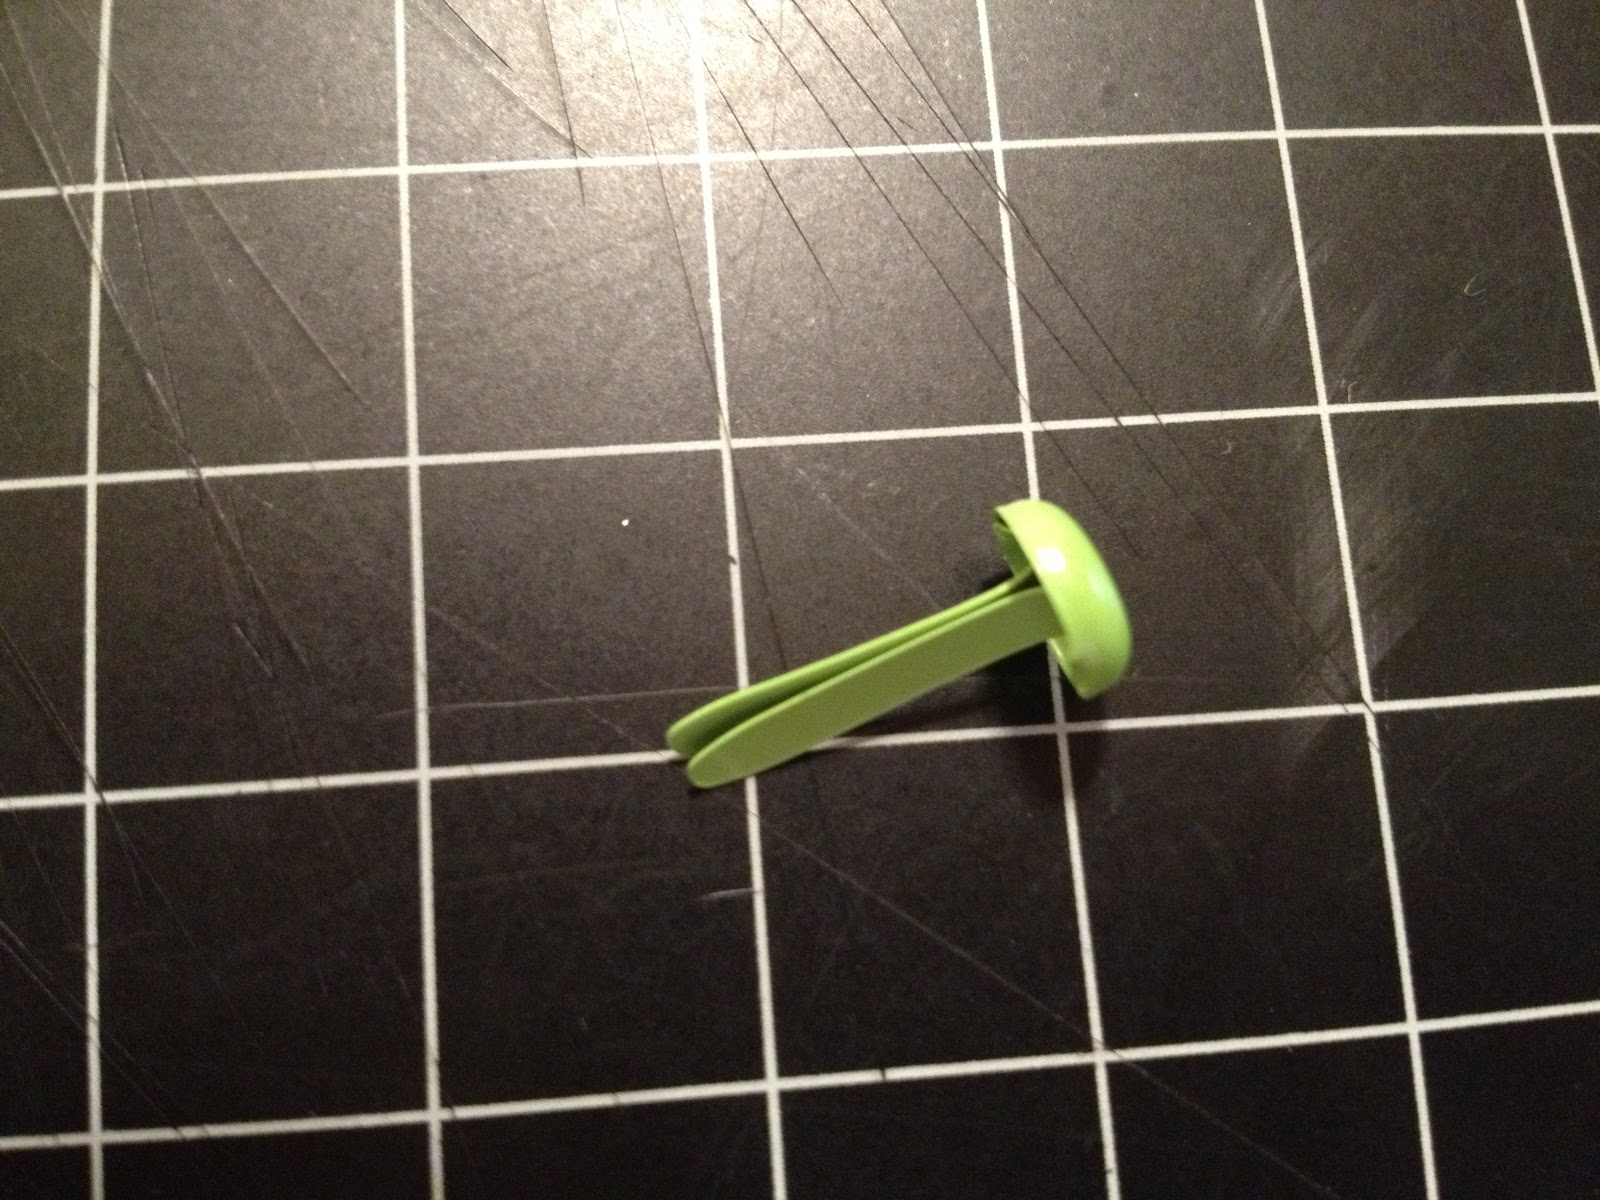

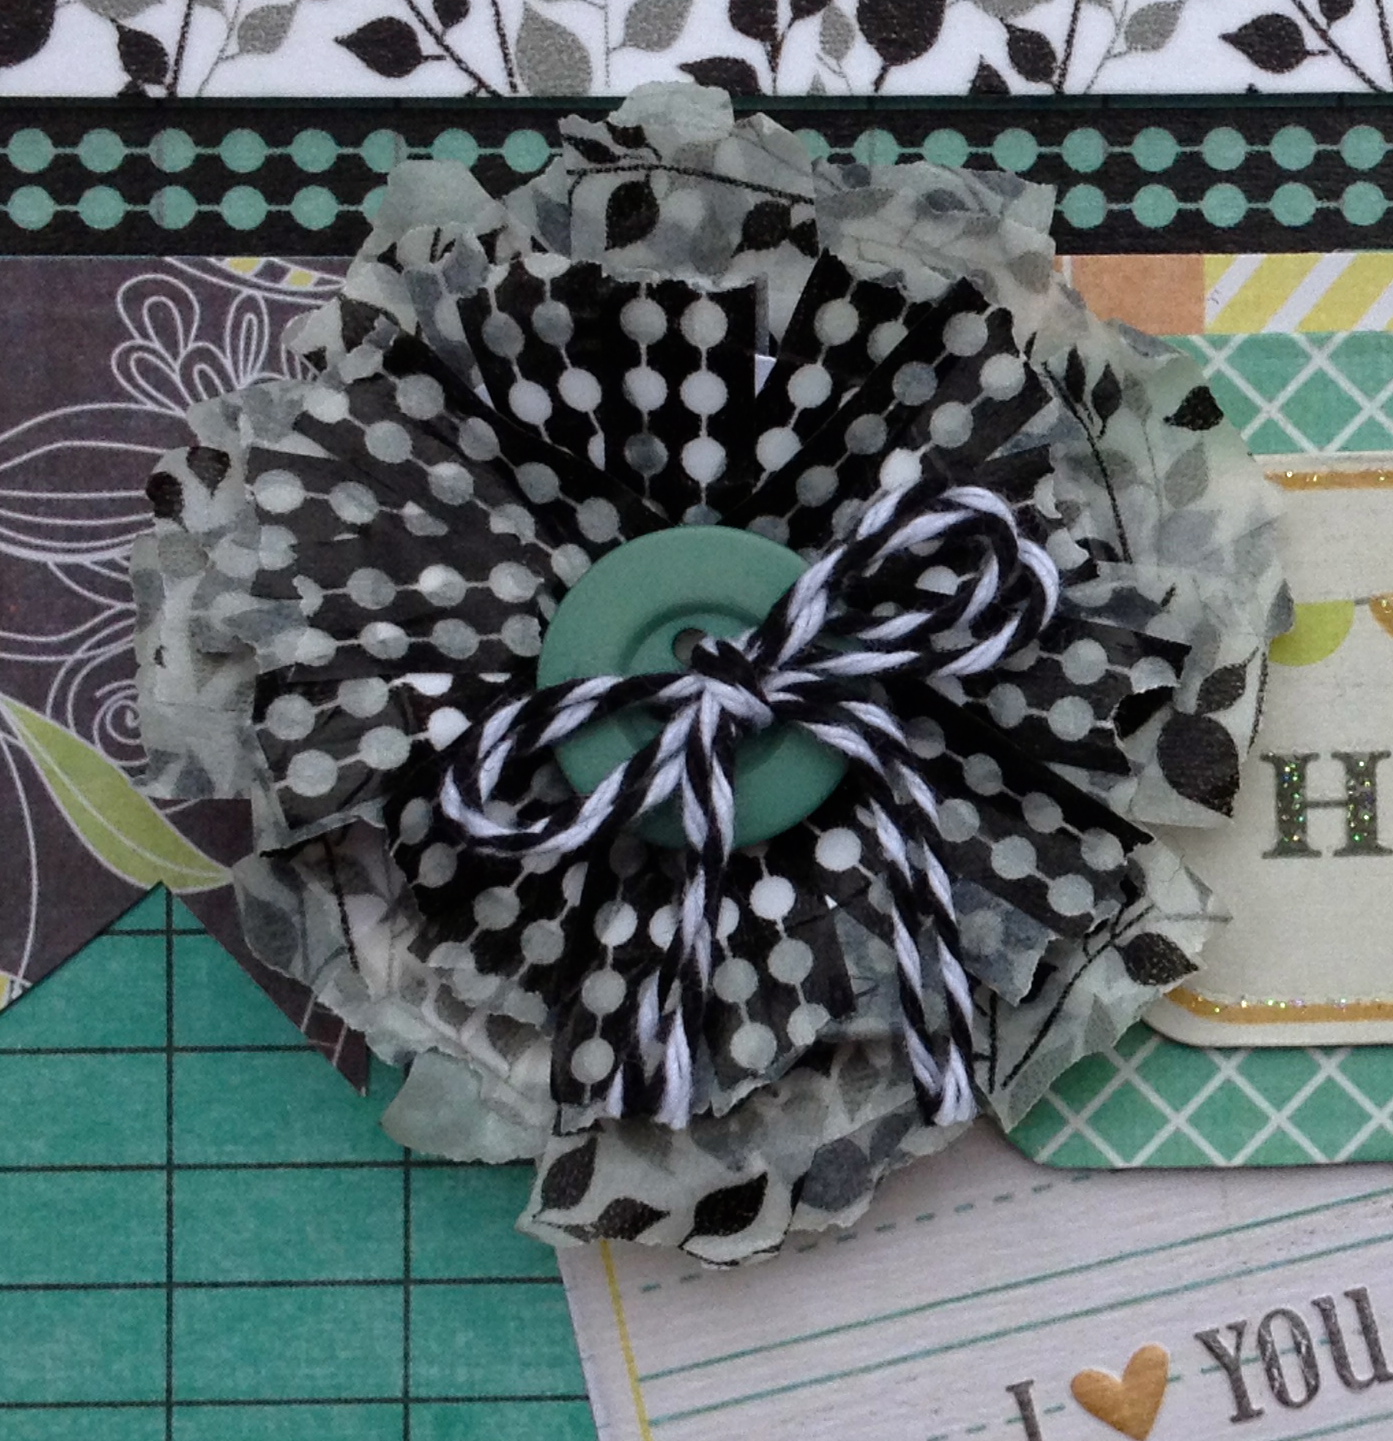
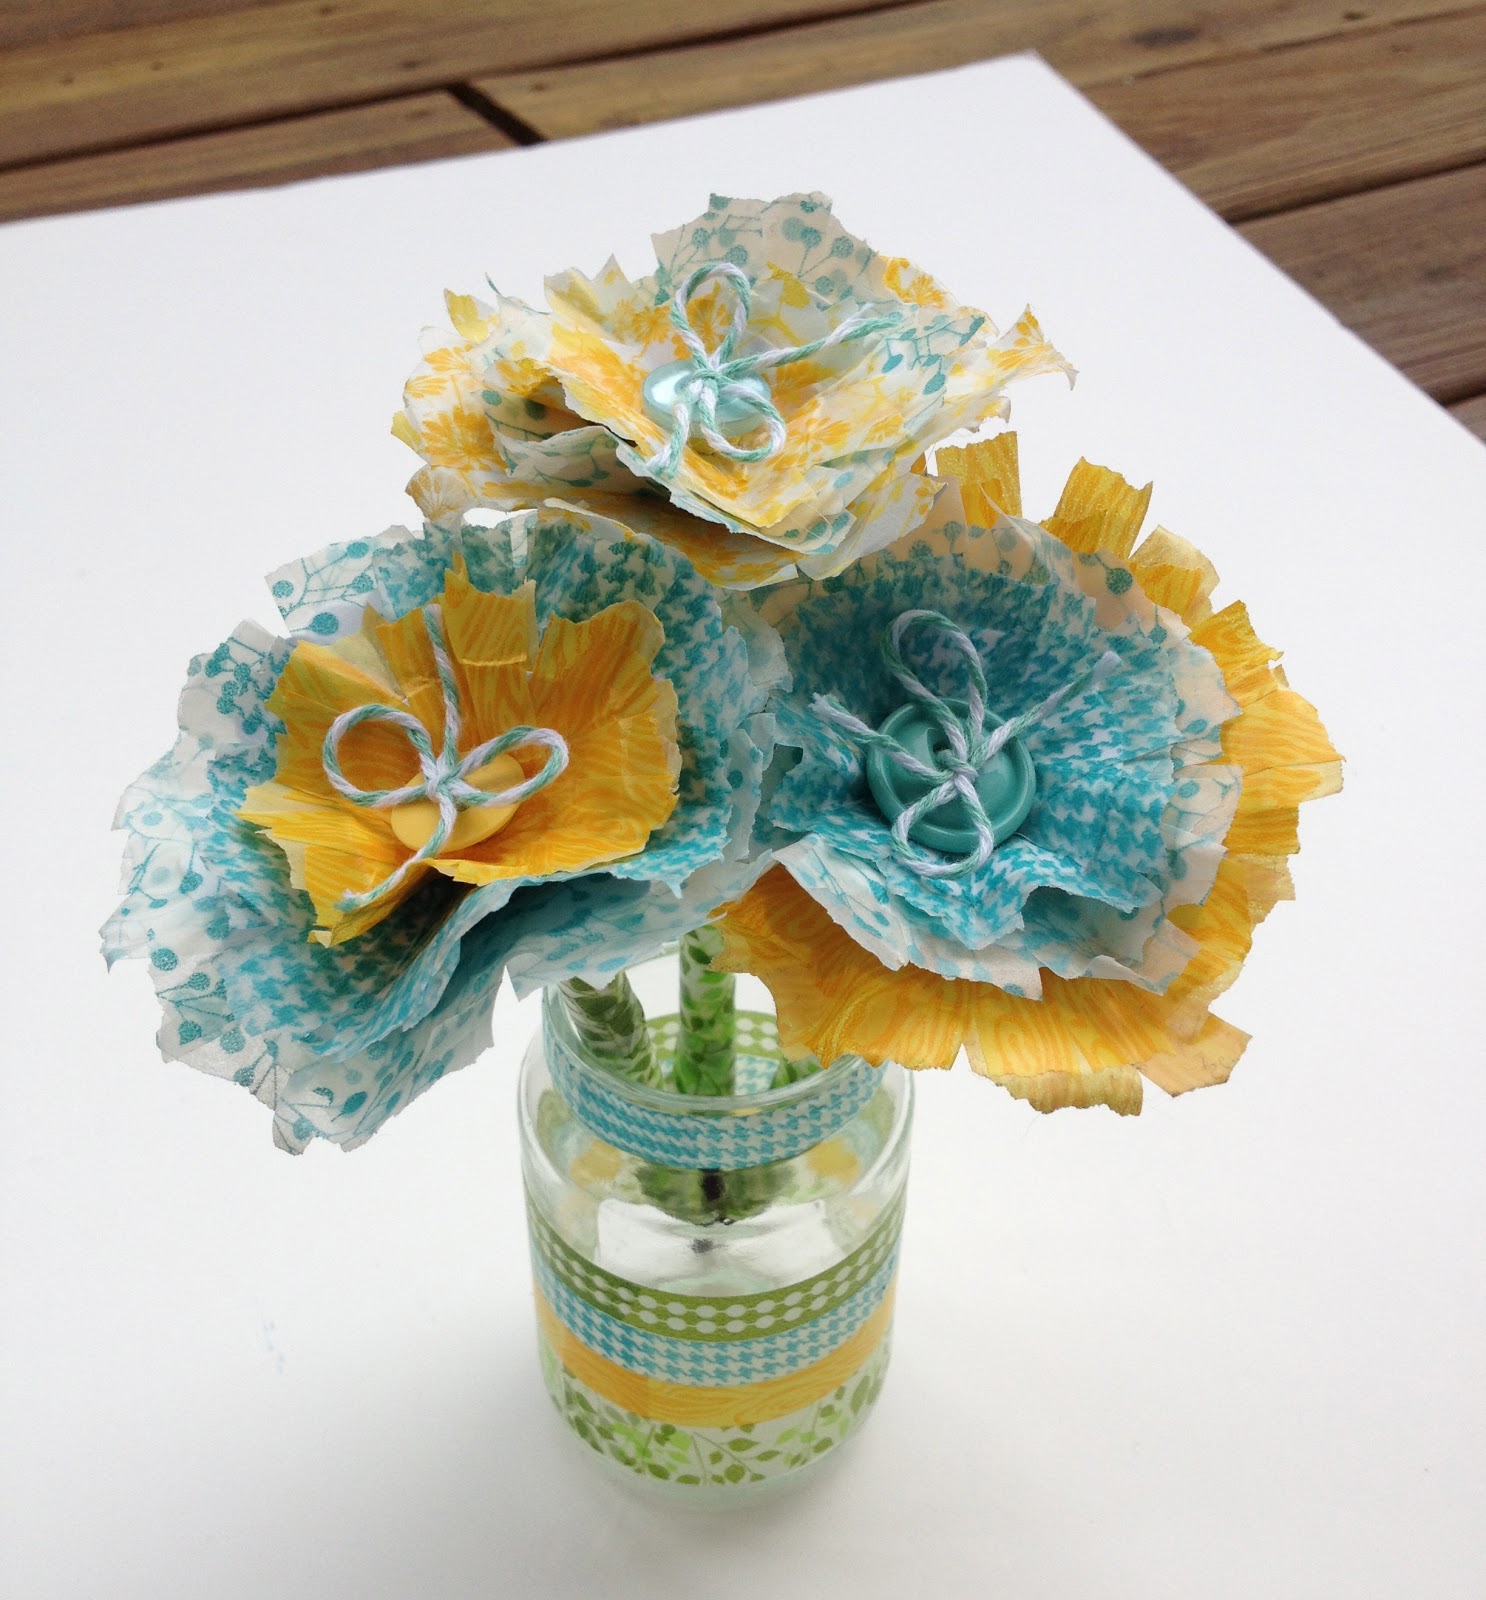
8.  Finally, you can leave the brad showing, or do what I did and add a colorful button and some twine over the brad.

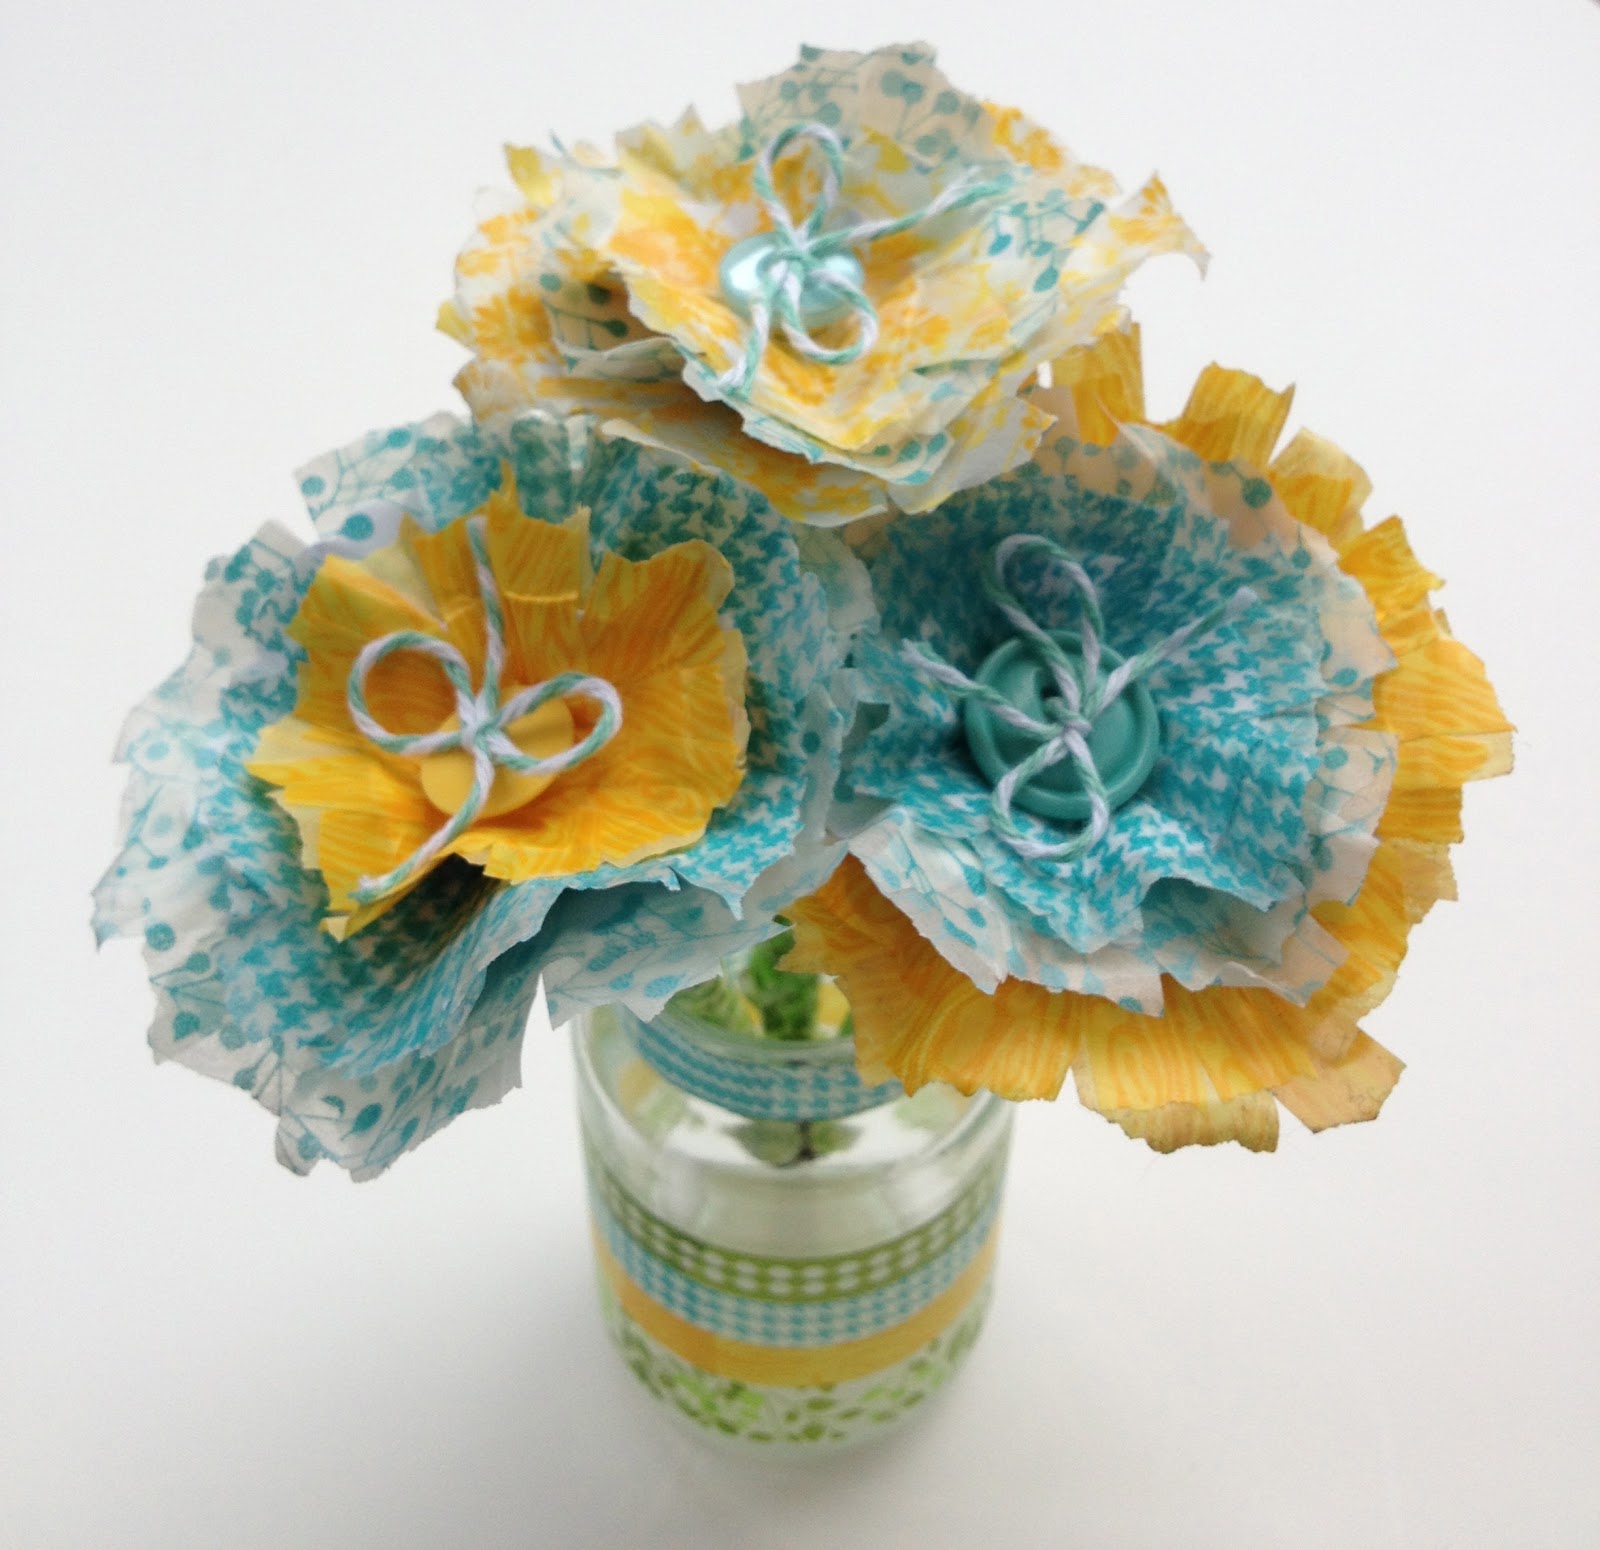
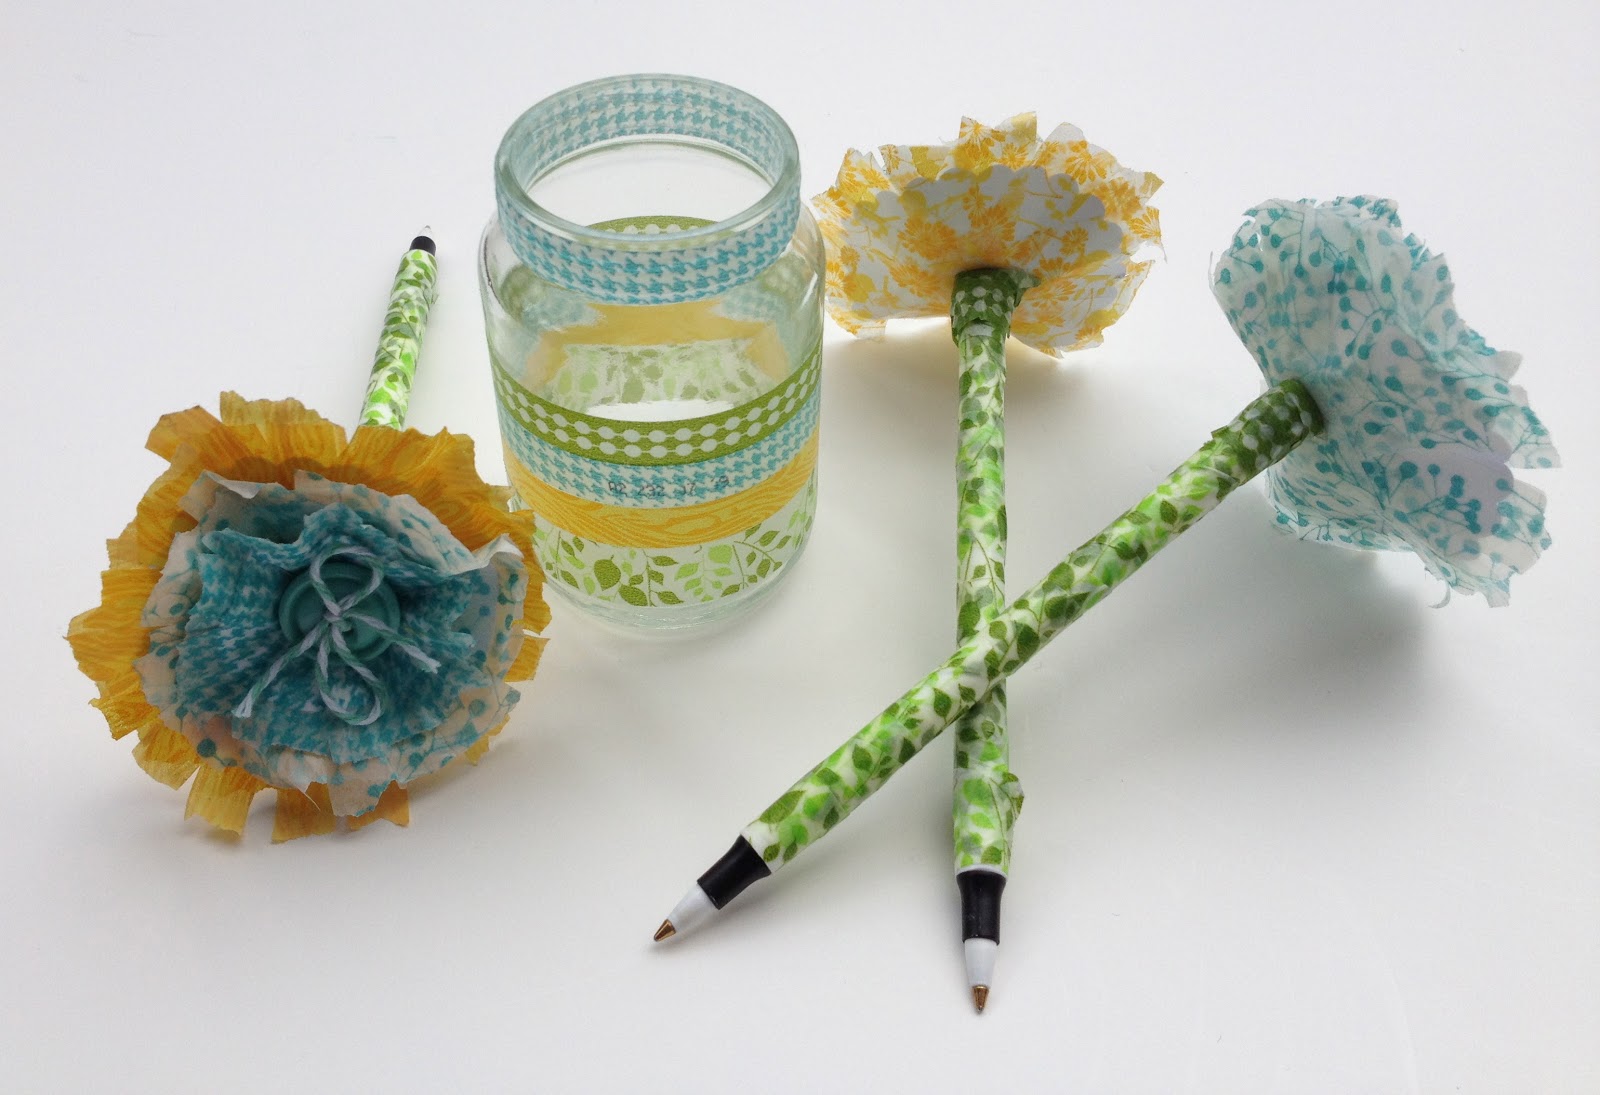
You can use these cute flowers on pages or cards, or hot glue them to the top of pens.  Wrap washi tape around the pen to create a flower stem.  Make several "flower pens" and add them to a cute recycled baby food jar (with washi tape stripes of course)!

Thanks for stopping by!  Leave me a comment and let me know how your flowers turn out!

Monday, February 4, 2013

Washi Tape Ideas & We R Memory Keepers

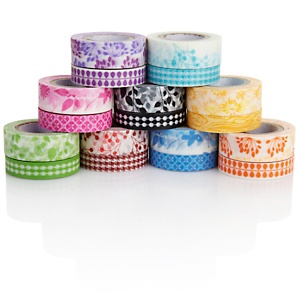
Washi tape is all the rage right now, so when We R Memory Keepers sent me some samples for an upcoming HSN project, I had fun coming up with creative uses for this popular new scrap supply.


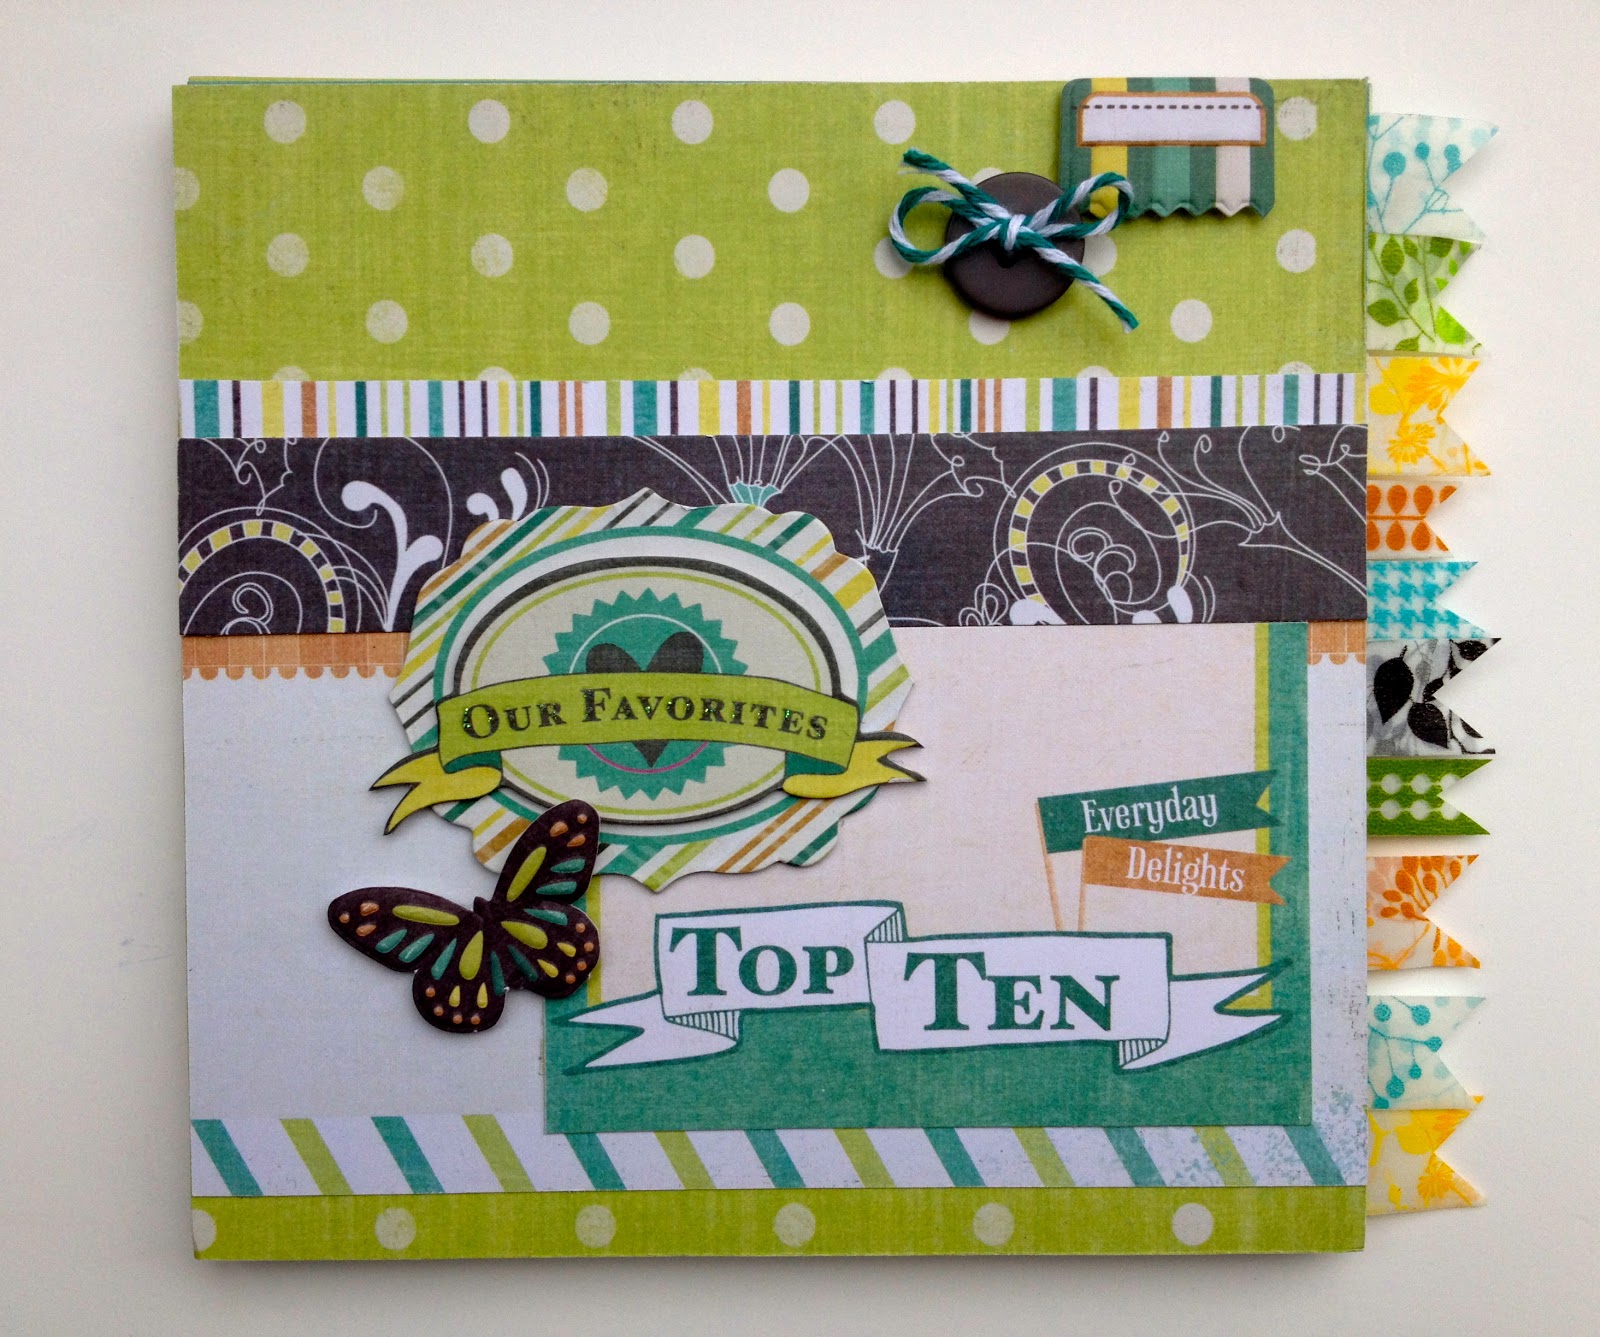
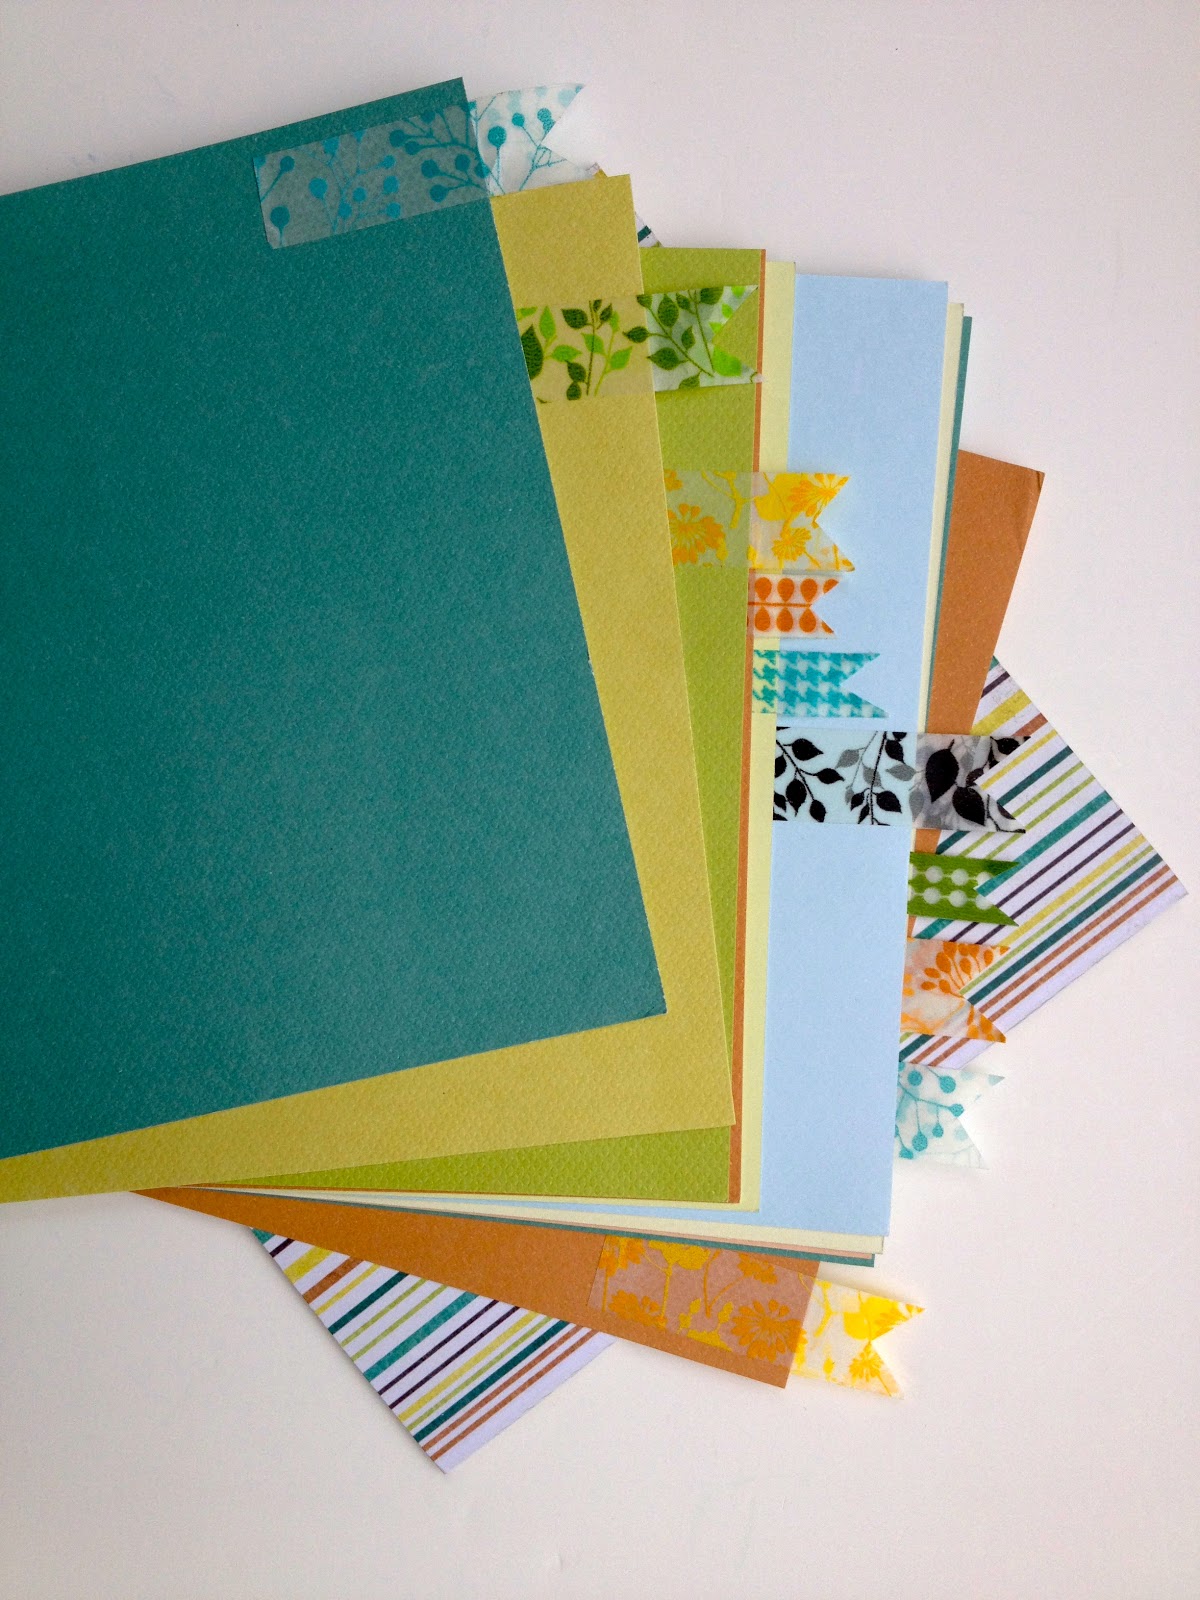
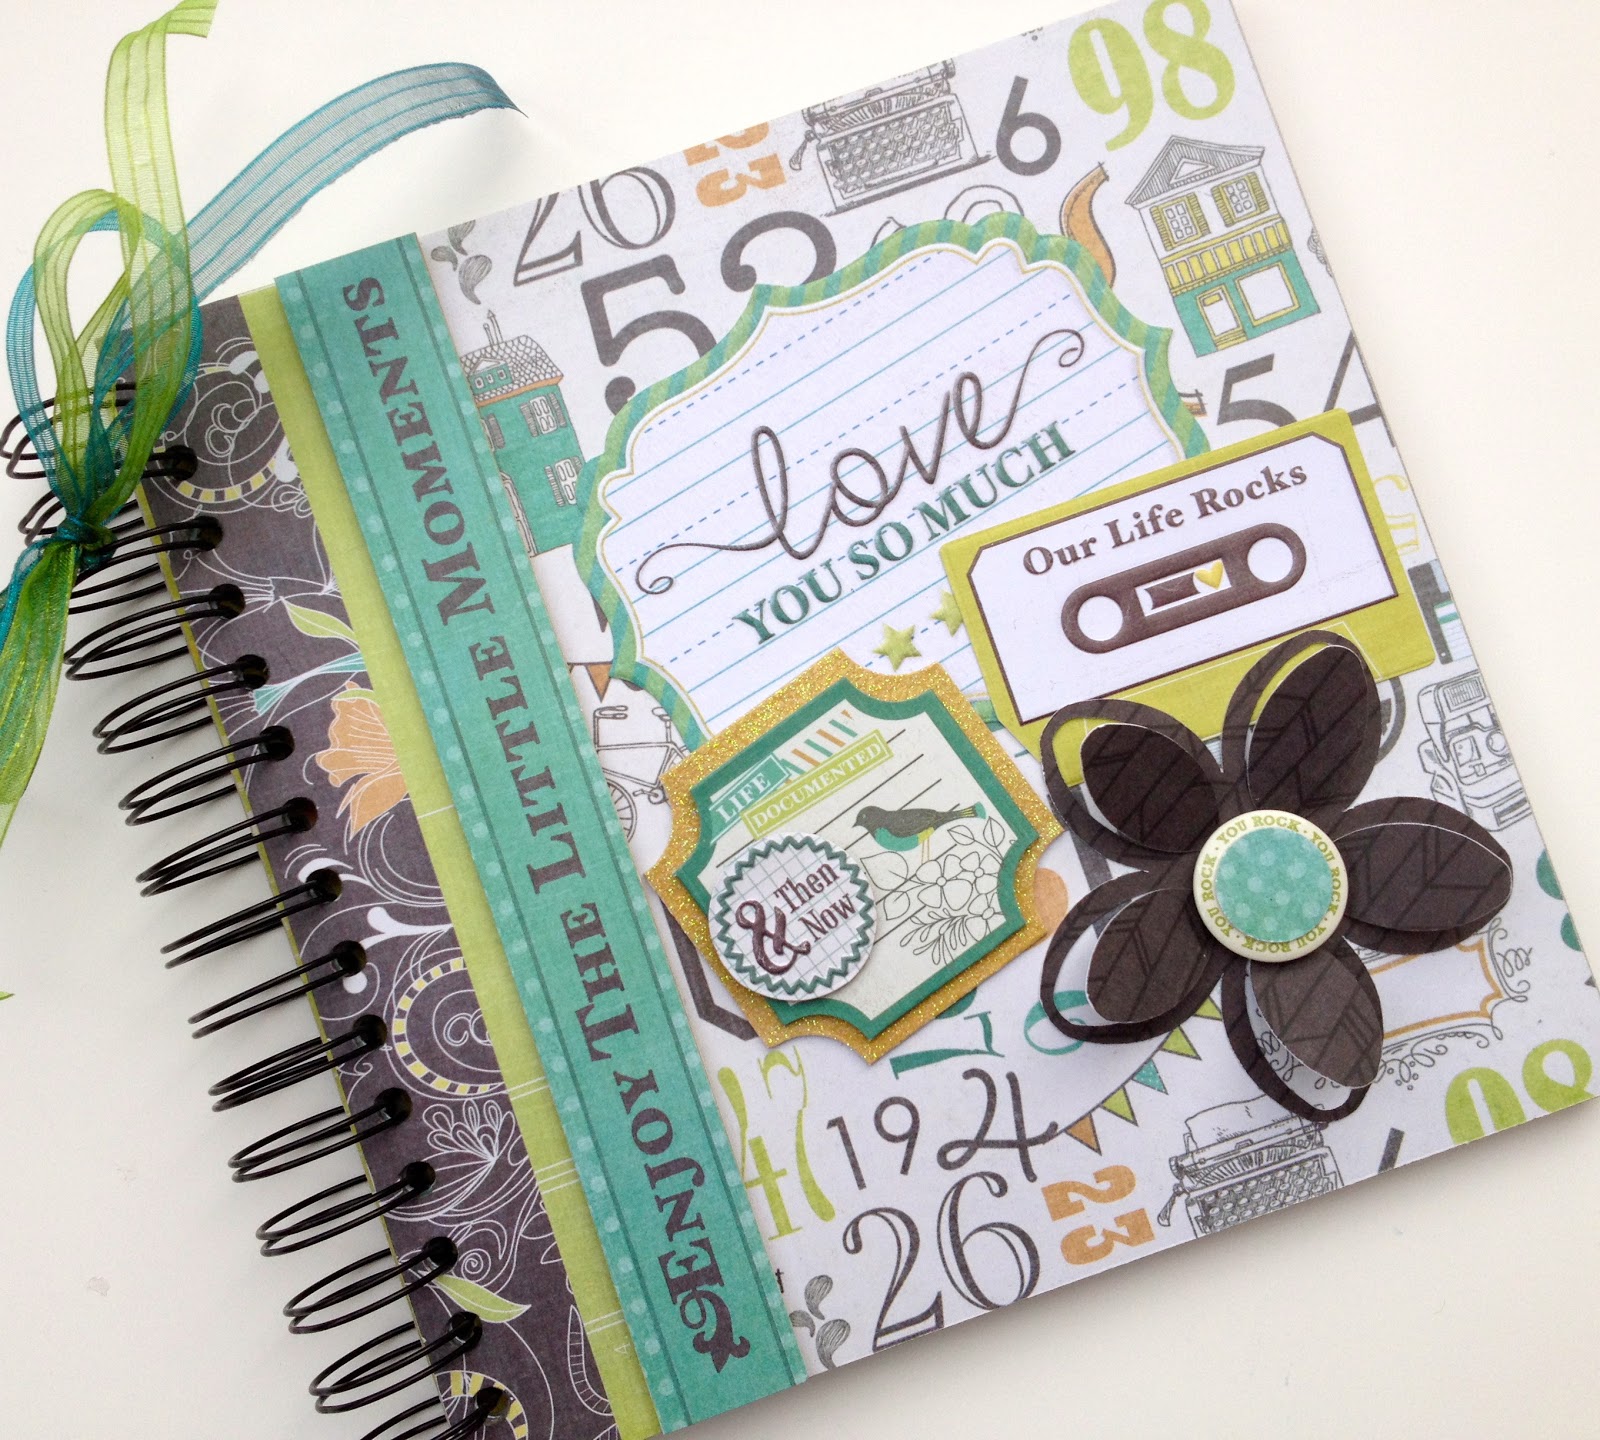
 I created little washi tape "tabs" on this mini album first.  I folded the tape around each page from front to back, leaving about a 1/2" hanging off the paper.  The tab portion becomes two layers of tape, back to back, so that none of the sticky sides are exposed.  Then I snipped a "v" into the end to create a banner or flag shape.  How cute is all of this colorful tape sticking out of the side of the album? 

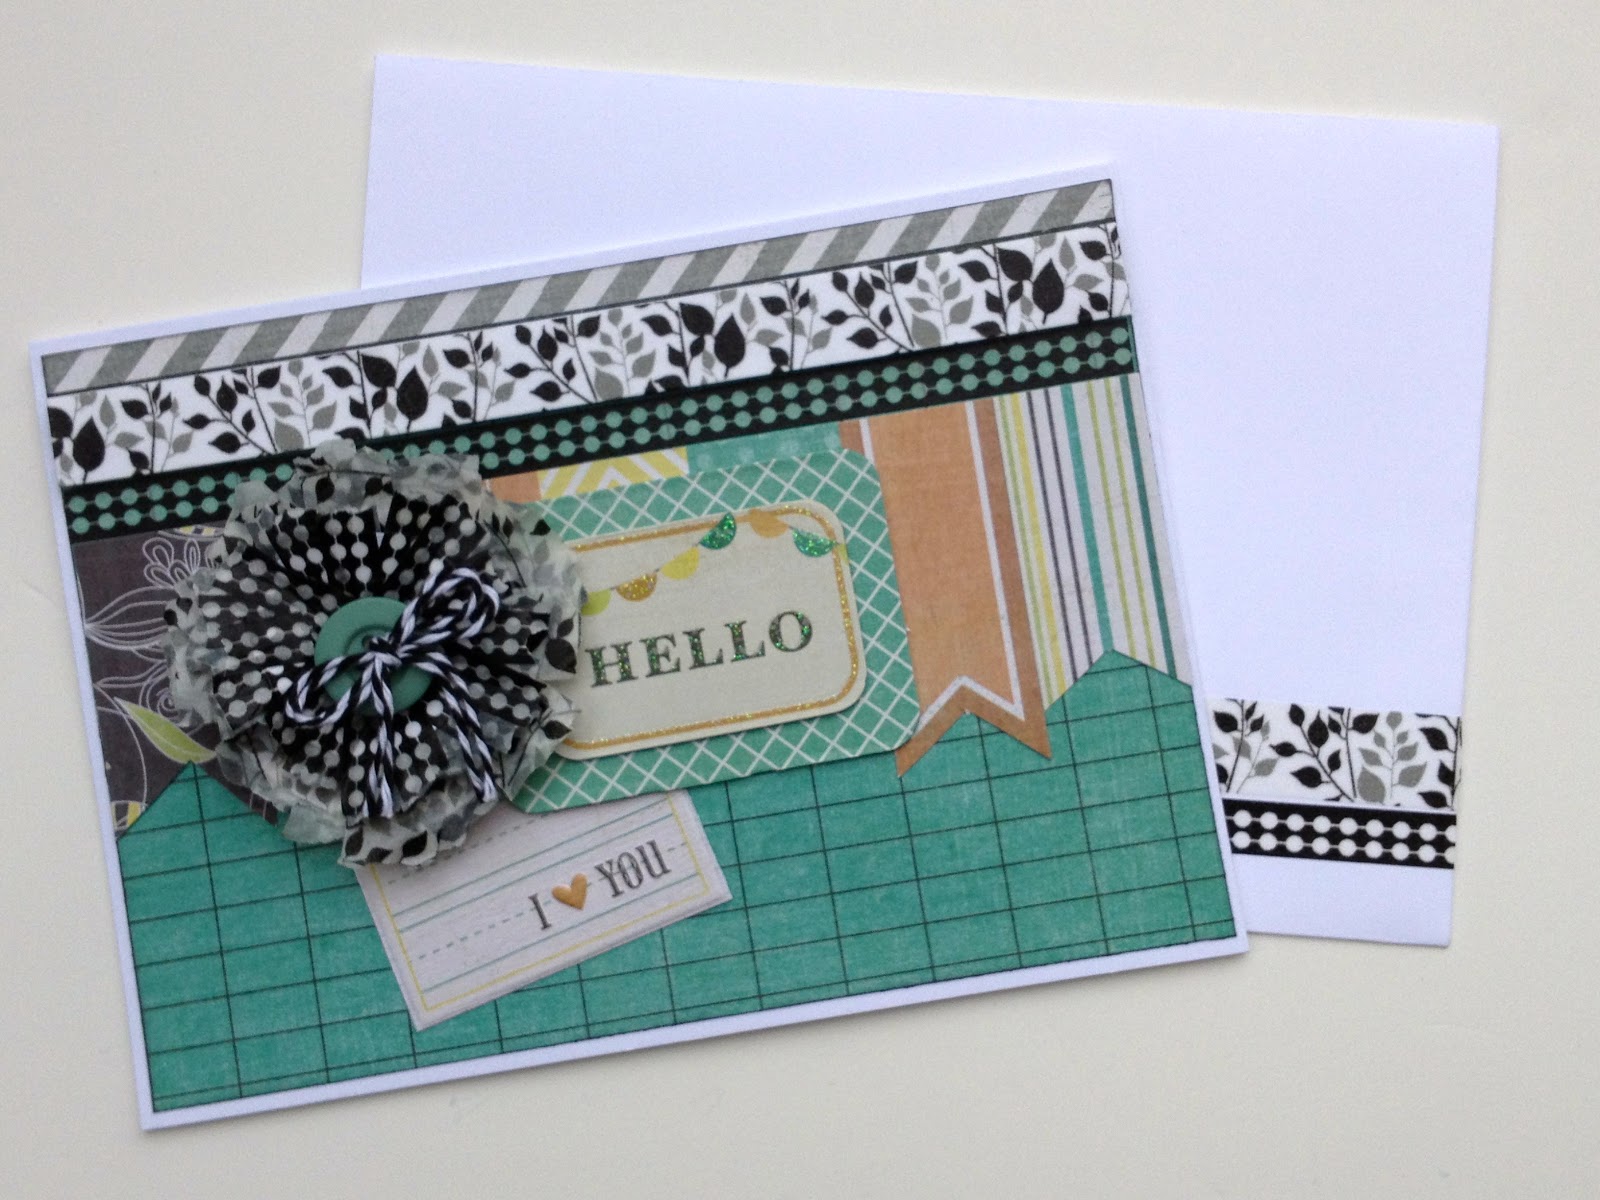
The next project took a little more thinking.  I wanted to create a flower for a card, but wanted it to have fun dimension and layers.  I checked online to see if I could find a washi tape flower tutorial, and although there were some out there, the shapes of the flowers were not what I was envisioning.  So I started playing with paper and tape and eventually came up with the look I was going for.  


I had so much fun creating this flower, that I decided to make some more.  


Check in with Artsy Albums tomorrow -- I will be posting a tutorial on how to make these fun washi tape flowers!  But beware, once you see how easy and fun they are to make, you might be running out to your local scrappy supply store to stock up on a few rolls for yourself!

Note:  Projects shown on the blog today all use supplies from We R Memory Keepers and will be featured on an upcoming episode of the Home Shopping Network.  Stay tuned!

Friday, February 1, 2013

For the Record...the Cinch is pretty cool!

Good morning Artsy friends!

Today I want to share a fun little project that I created with the Cinch tool from We R Memory Keepers.   We R Memory recently asked me to create a few projects for an upcoming Home Shopping Network show that is featuring the Cinch tool  (once I have the details I will post about the show because if you don't have a Cinch, you might want to get one)!  Love!

The Cinch helps you create a binding on fun projects like mini albums, presentation books, scrapbooks, and more.  It punches the holes and "cinches" up the wire to create fun books for crafting, school, or office.

The paper used on this 8x8 mini is called "For The Record" and is one of We R's newest CHA winter releases -- super cute!


Monday, January 28, 2013

Fern & Forest by Little Yellow Bicycle

I am one very happy girl today!!  I woke up to a wonderful email from Little Yellow Bicycle inviting me to ride on their cycling team for Fern & Forest!!  Yippee!!  

If you haven't seen these 2 adorable collections, I've added some links and pics below.  

There is one for boy and one for girl and LYB has asked me to make a mini for each!  Whoo Hoo!!  

Fern & Forest Boy

Thank you Little Yellow Bicycle!!
 I am honored and excited to be on this team!


Wednesday, January 9, 2013

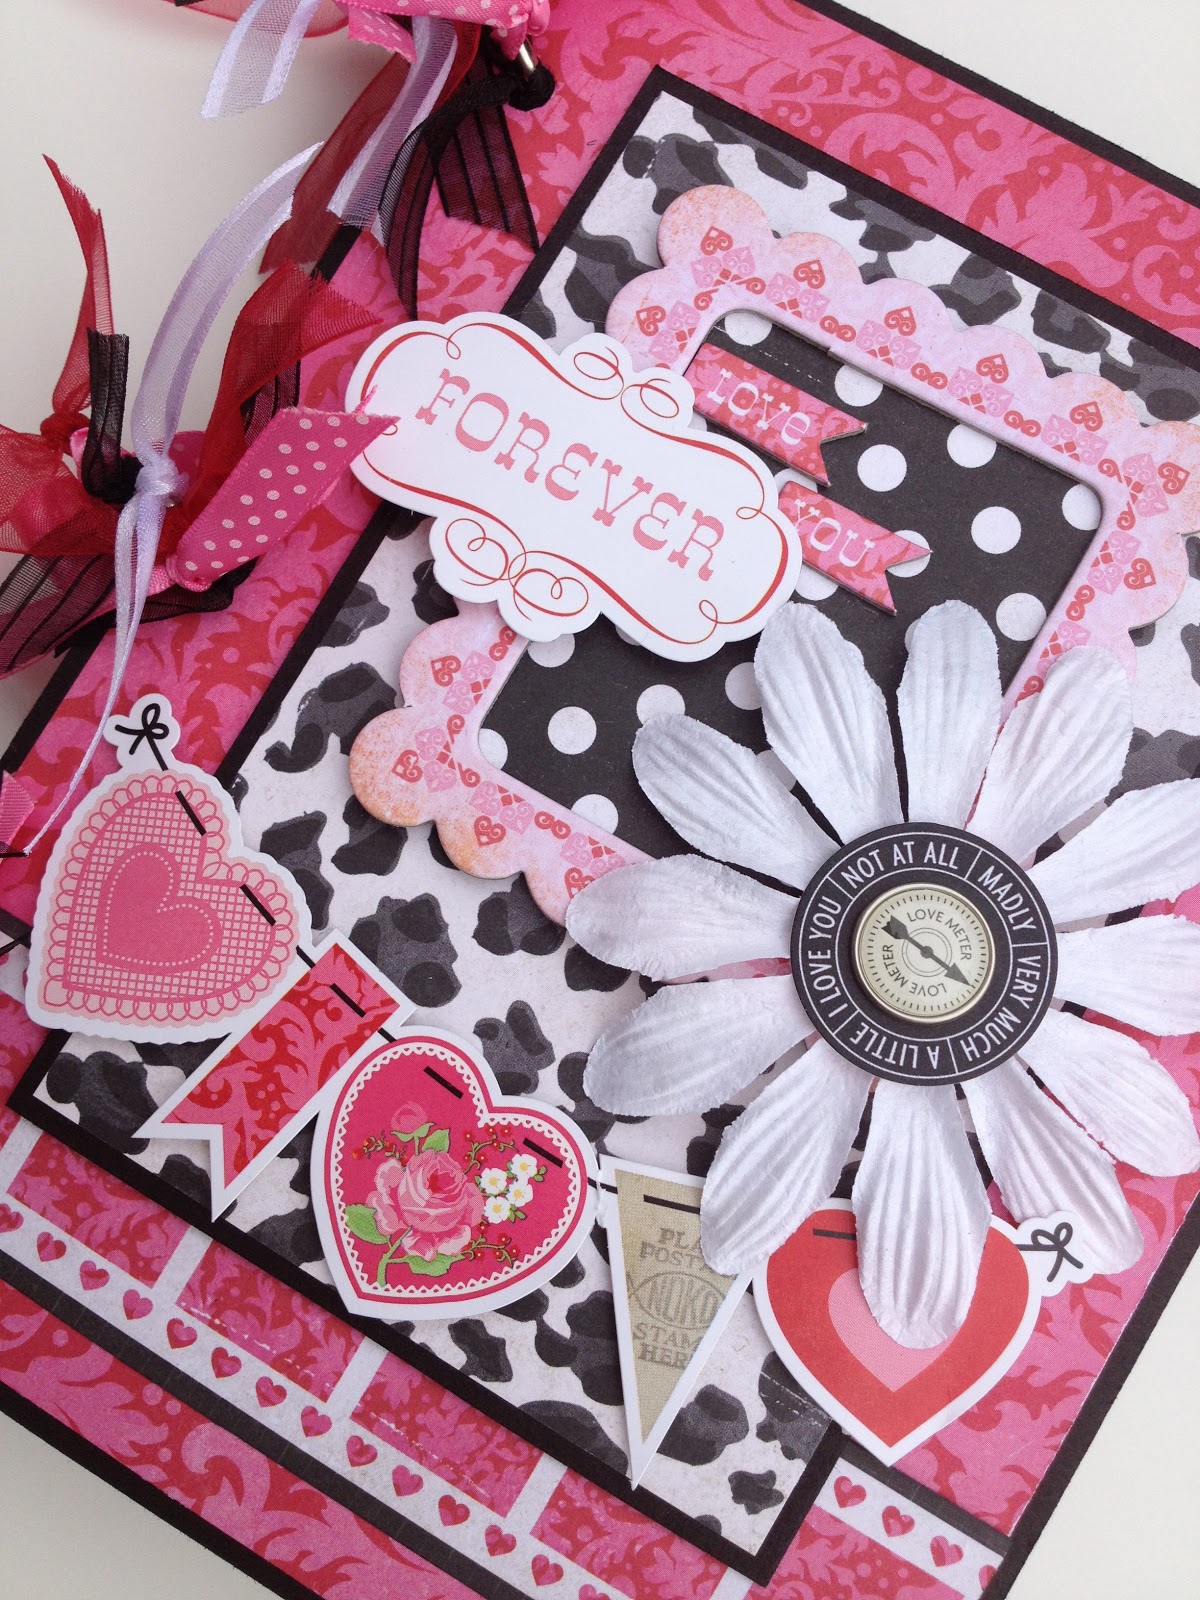
It's An Echo Park "Love Story"

What's not to LOVE??

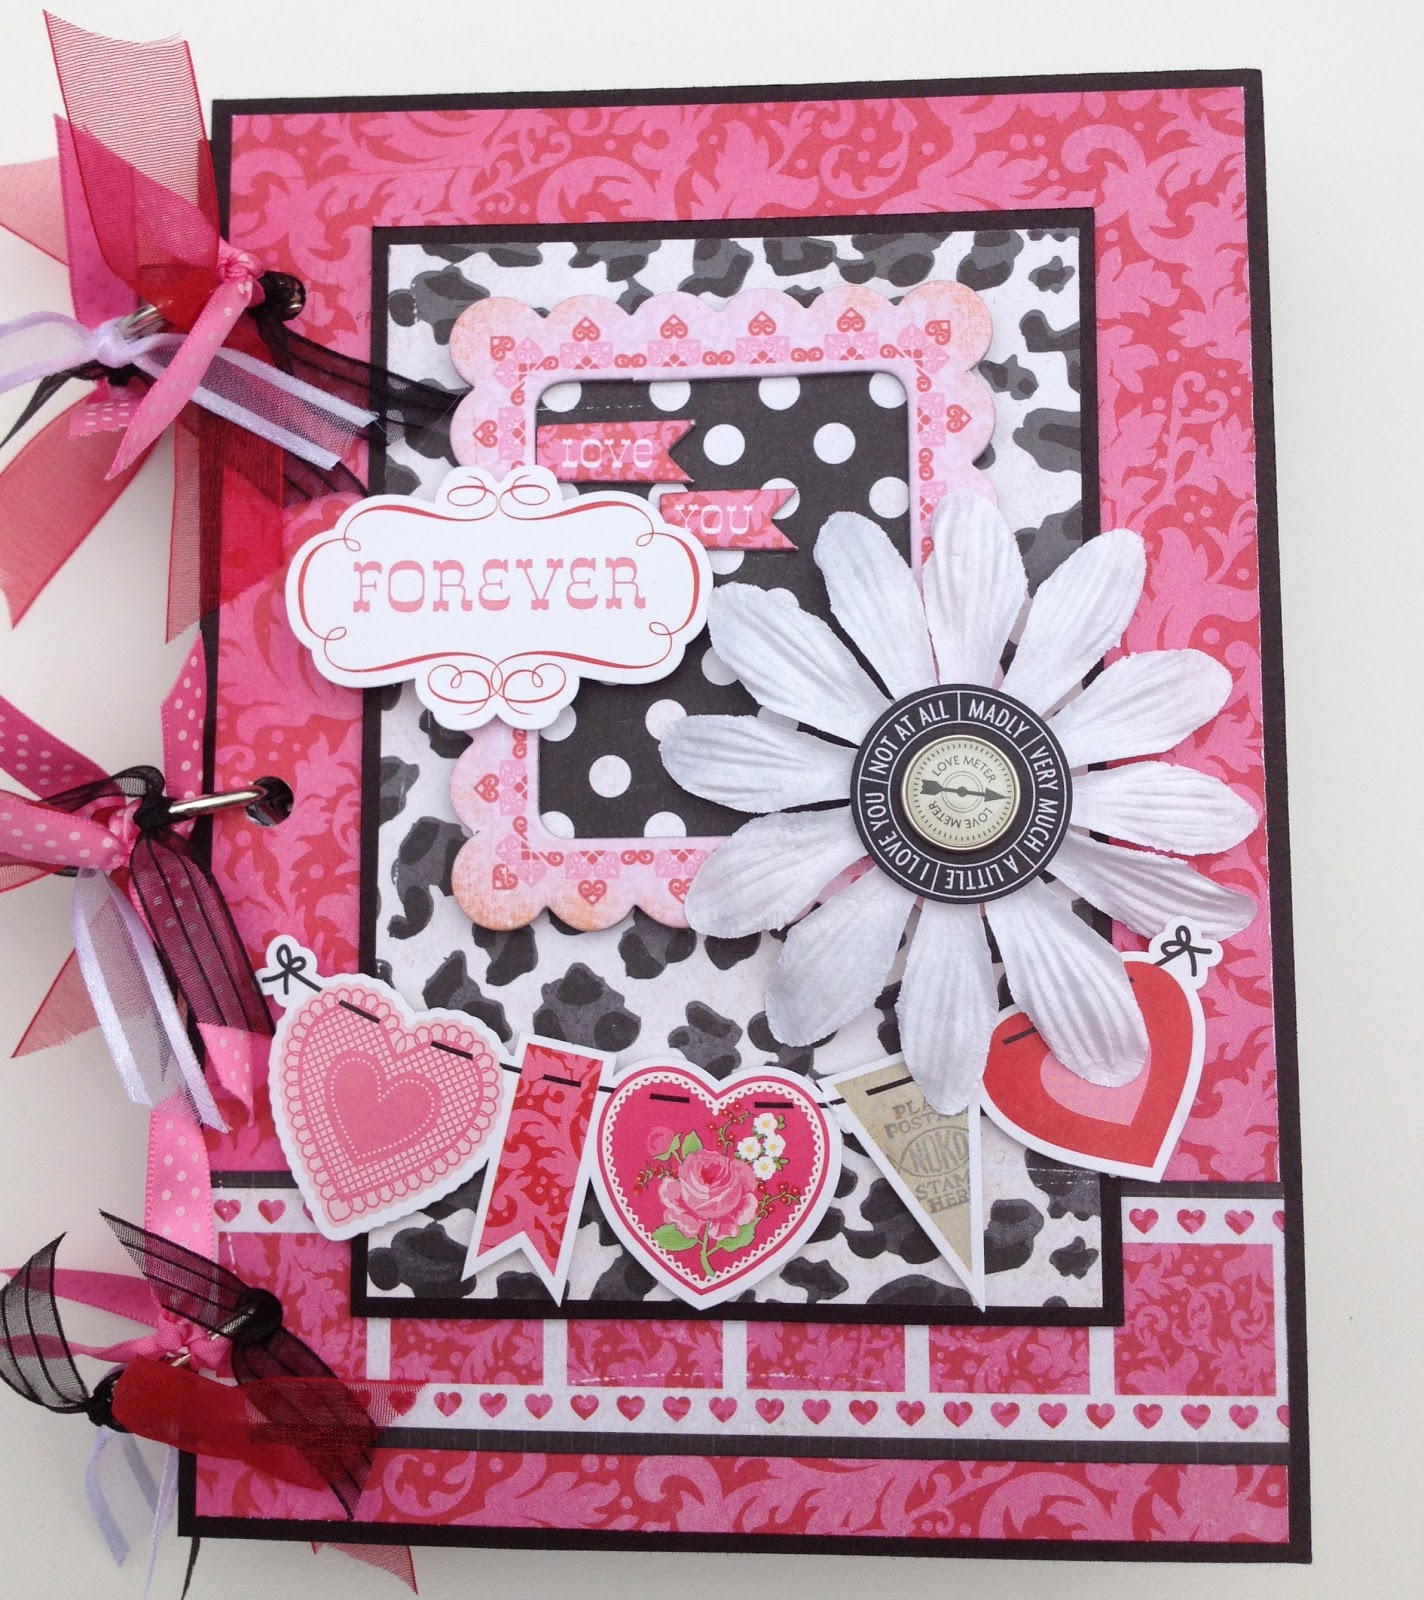
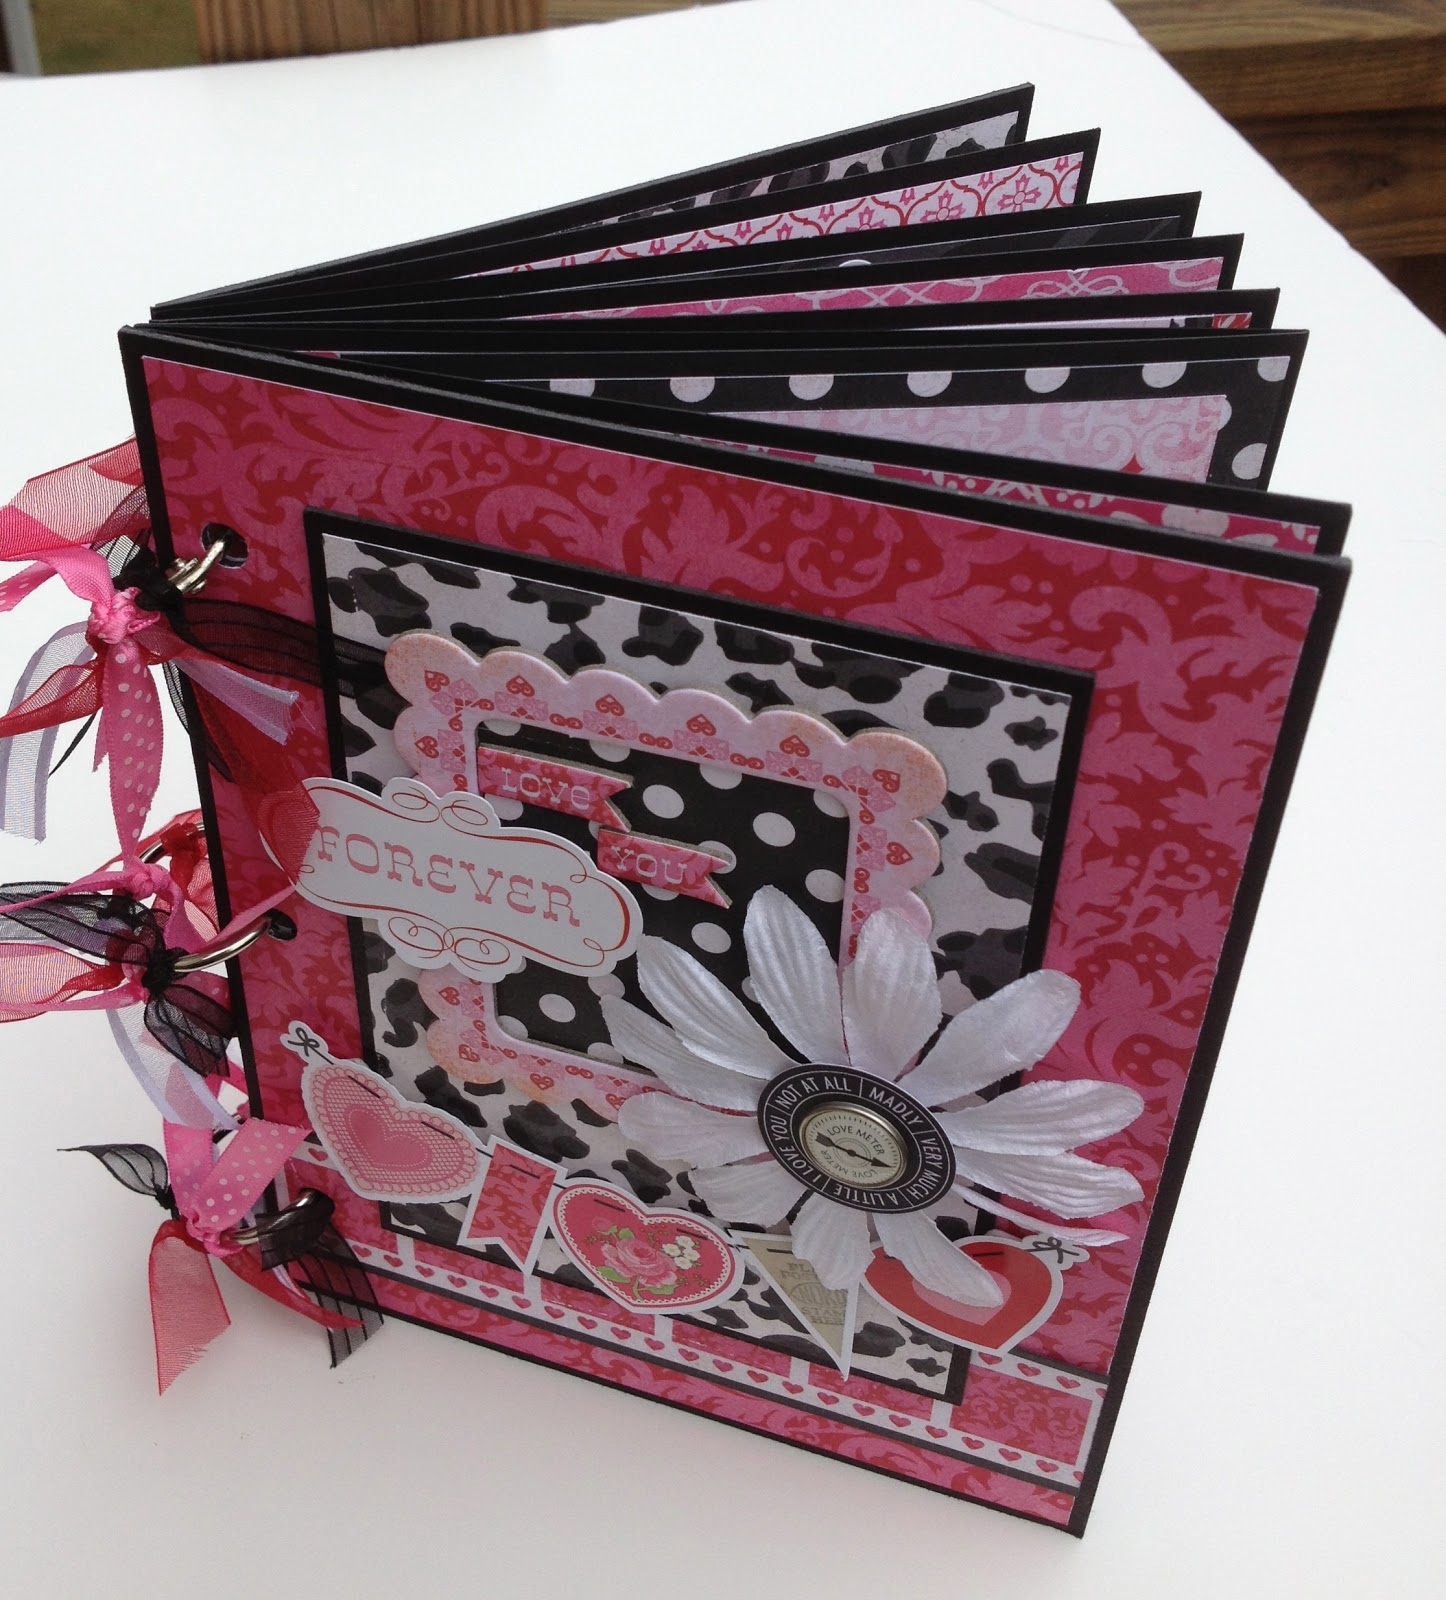
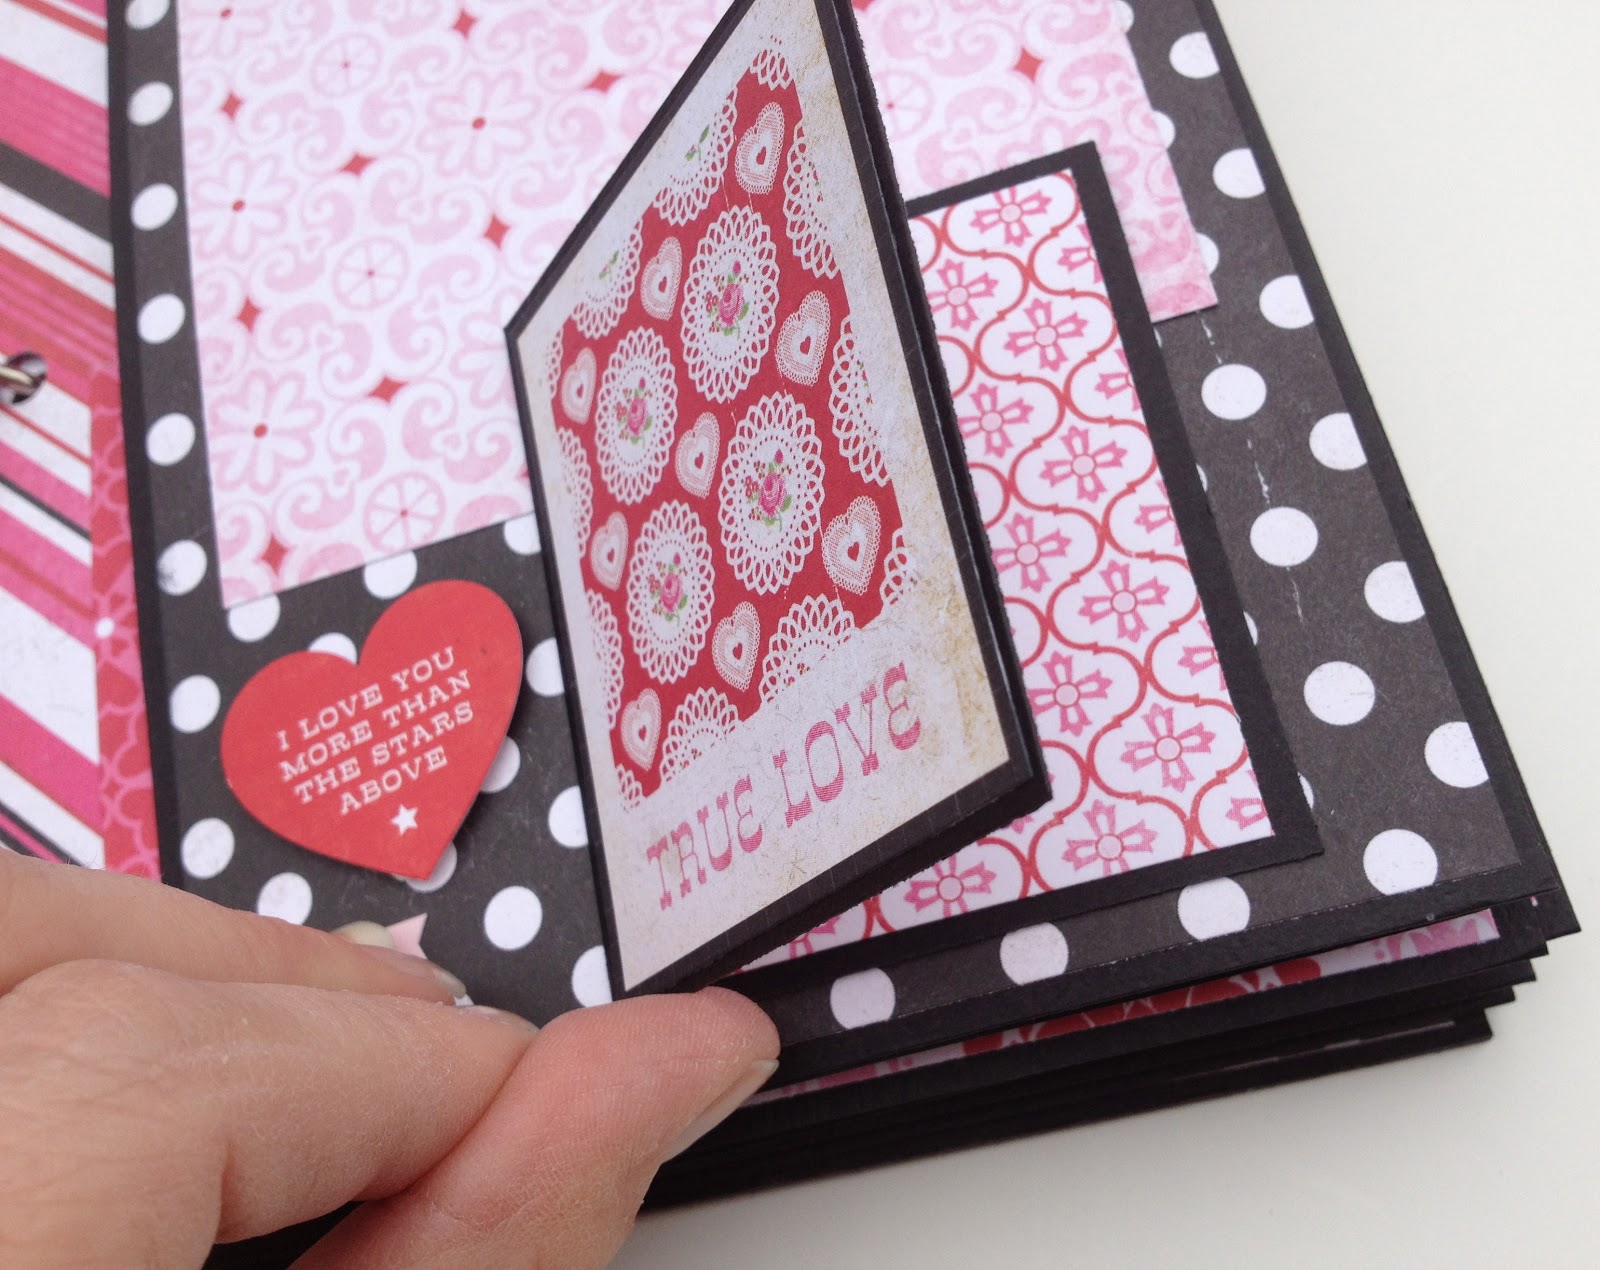
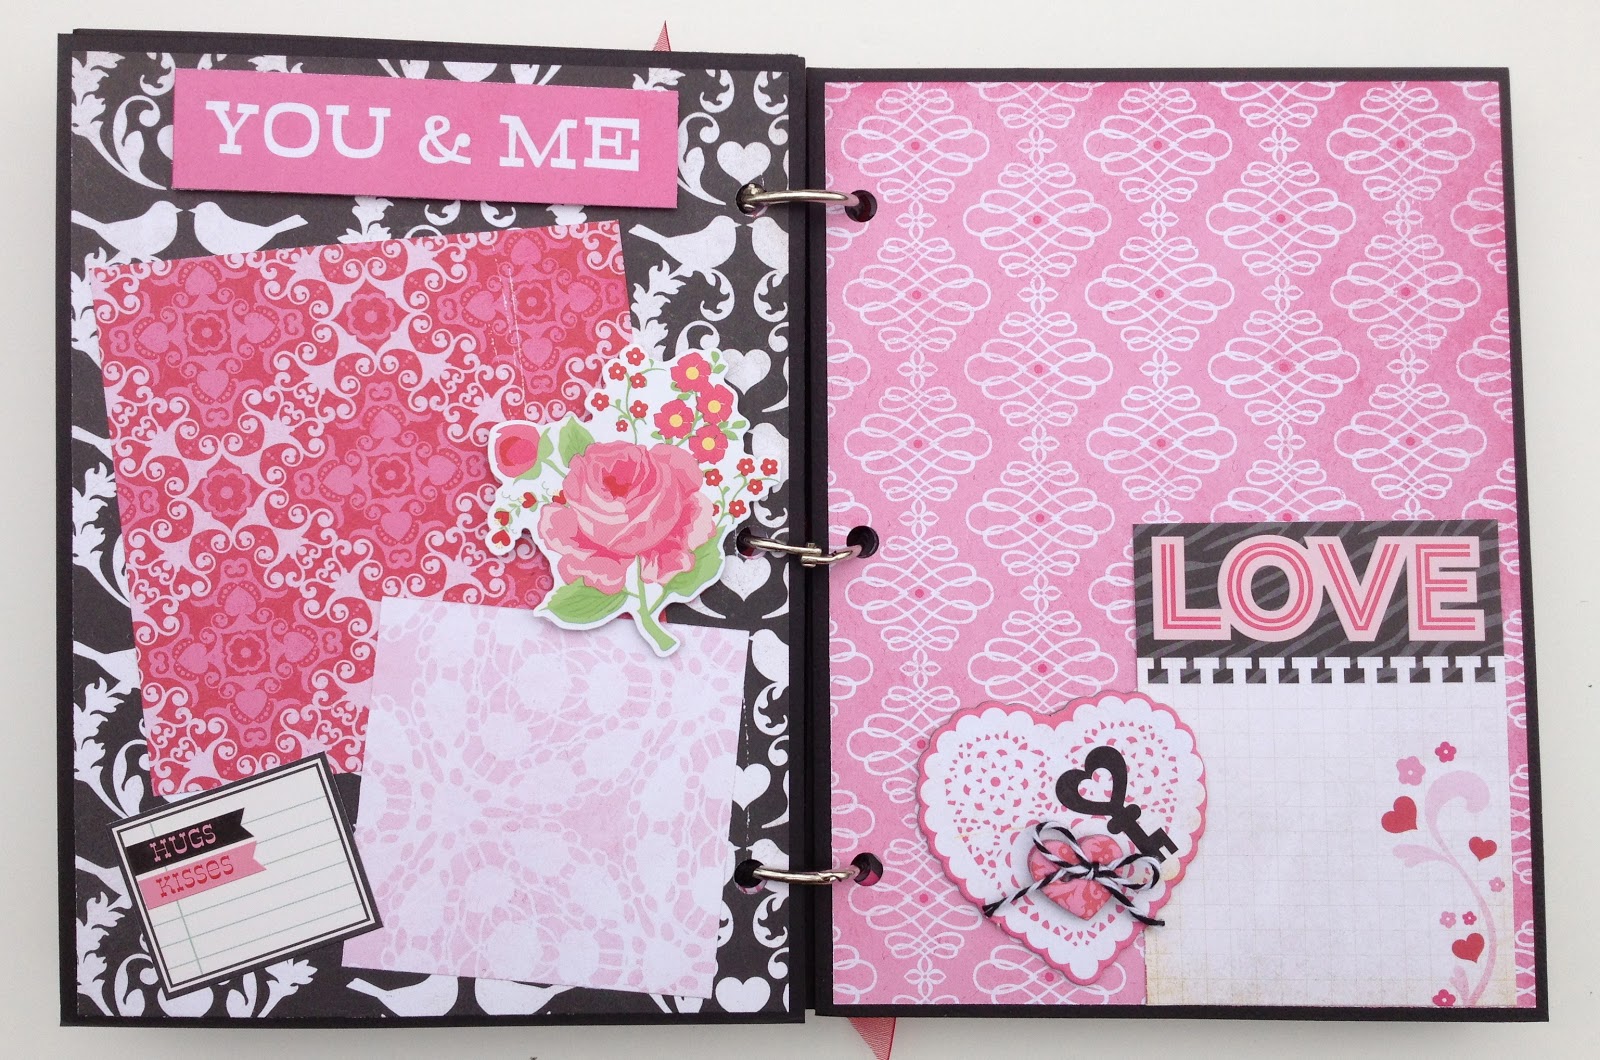
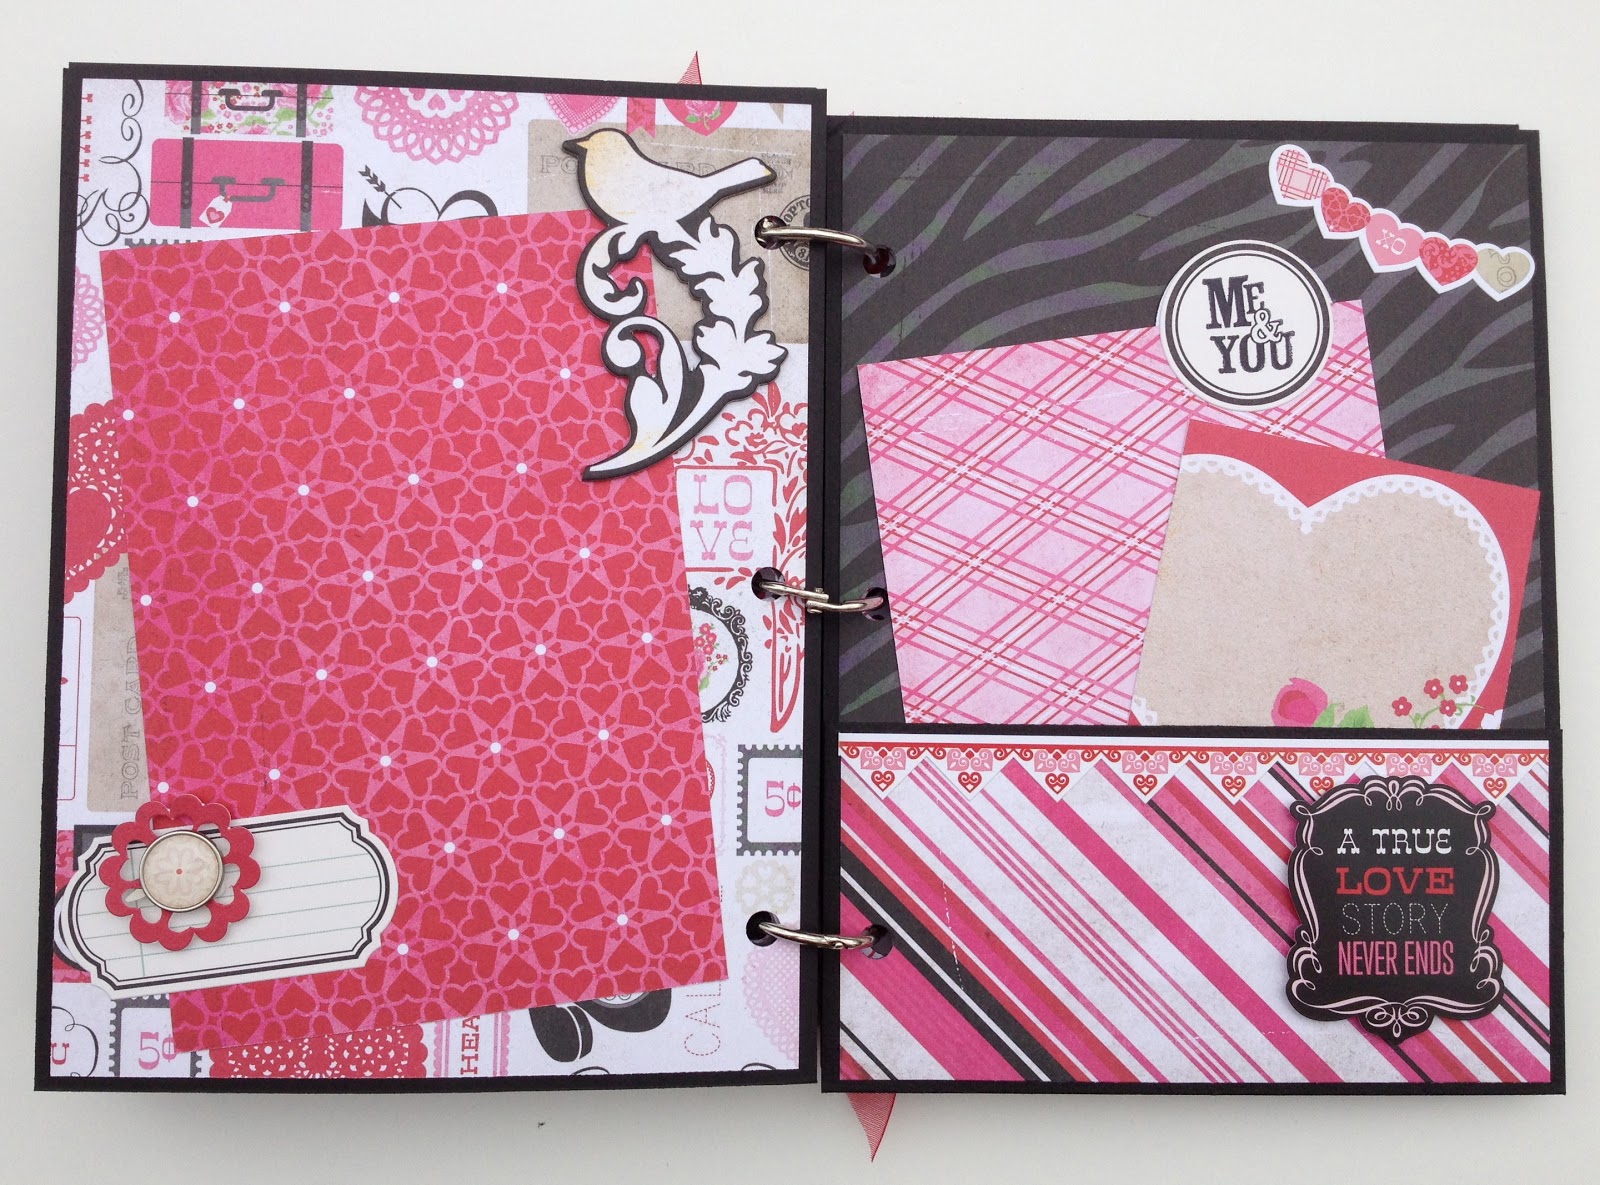
When it comes to creating mini album kits, there is nothing I don't love about Echo Park's papers and embellishments!  I decided to go with one Valentine's line this season and Echo Park won my vote!  Check out this brand new mini album kit available in the shop now!


To purchase this mini album kit, or any kit from Artsy Albums, visit the "Kit Collection" tab or go directly to the shop at Artsy Albums.

Thanks for stopping by!

Friday, January 4, 2013

Recycled Nemo Game Turned Mini Album

Sometimes my clients contact me to do some of the funnest projects!  This one was so much fun that I wanted to share it with all of my Artsy Albums friends!

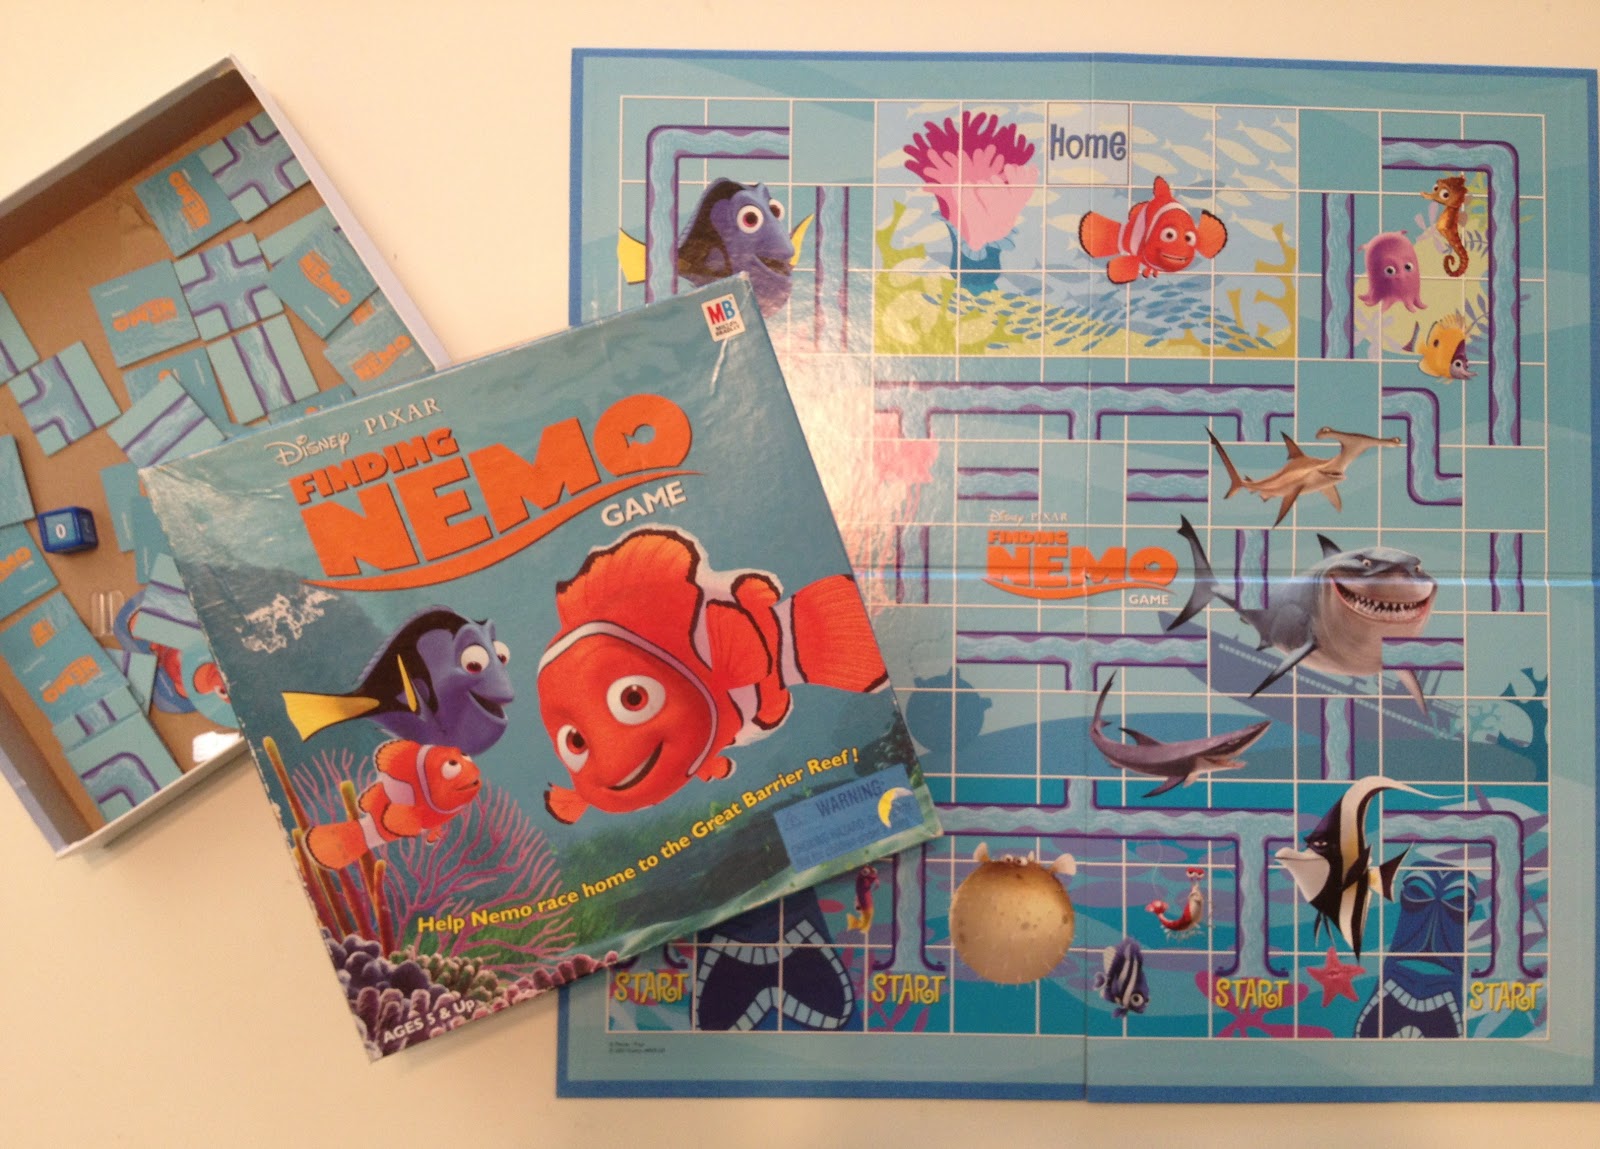
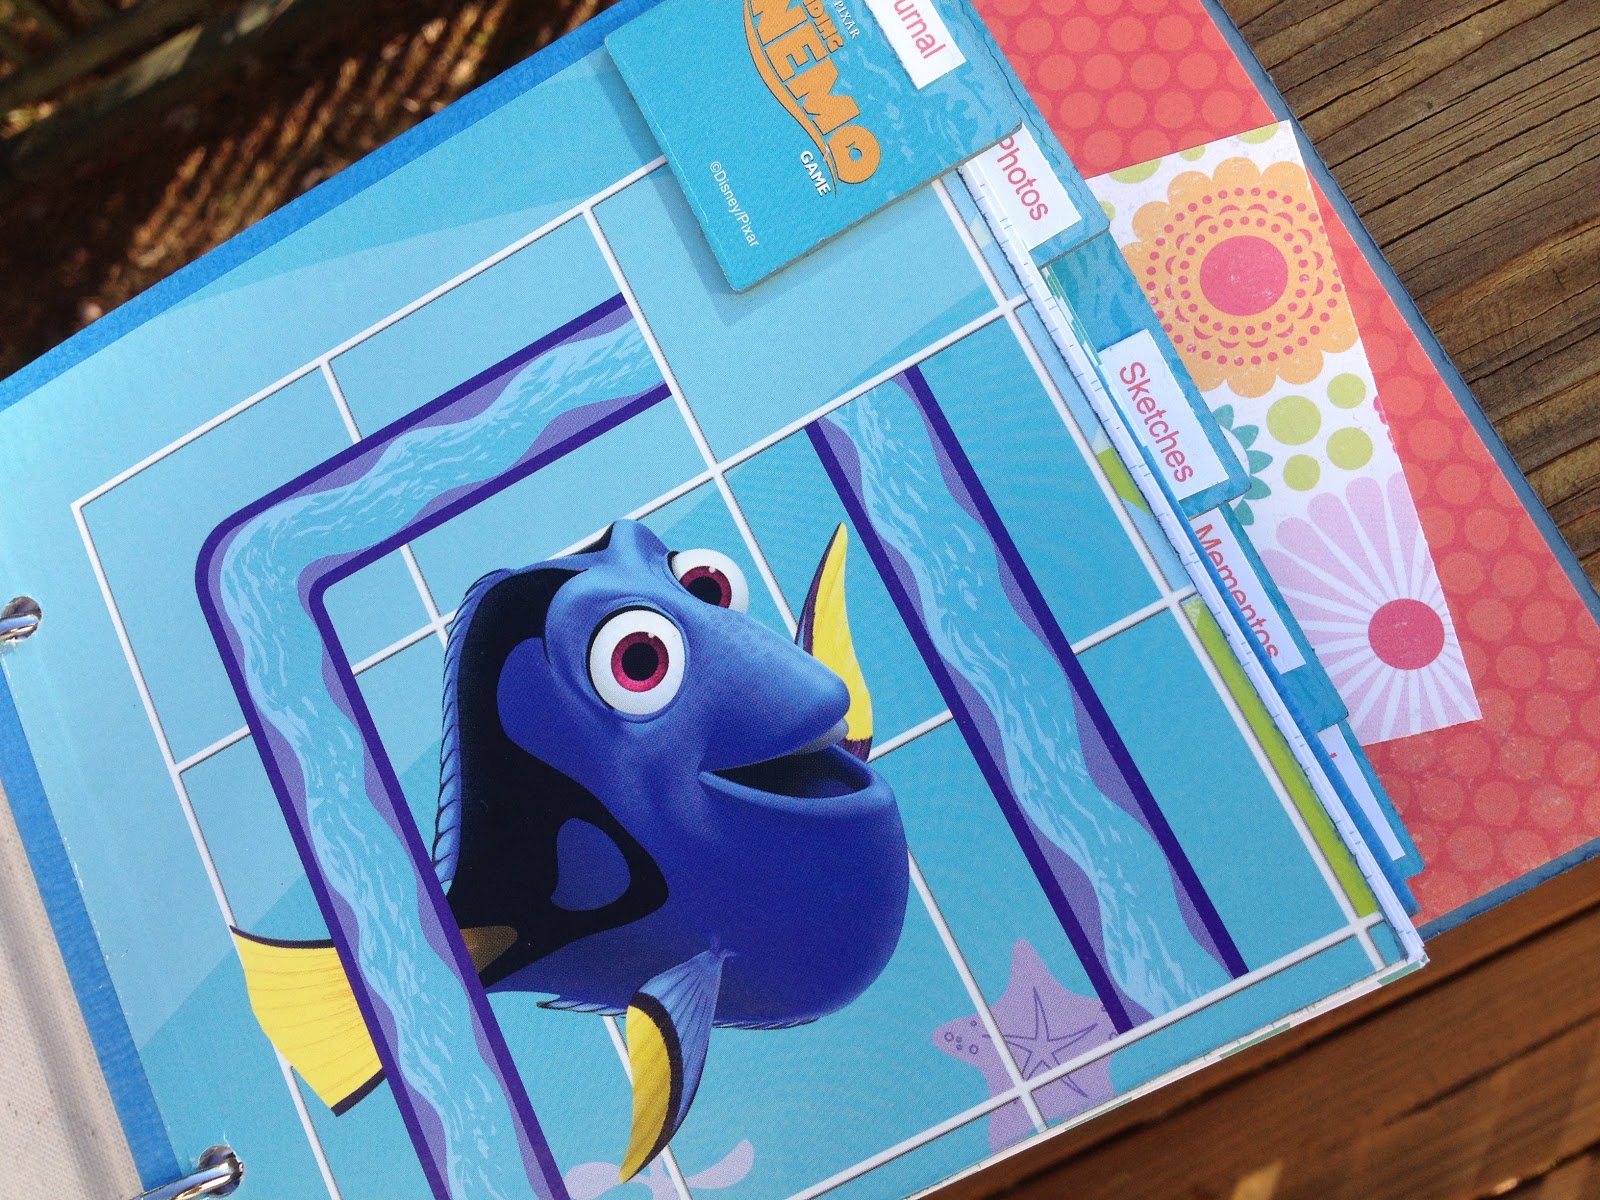
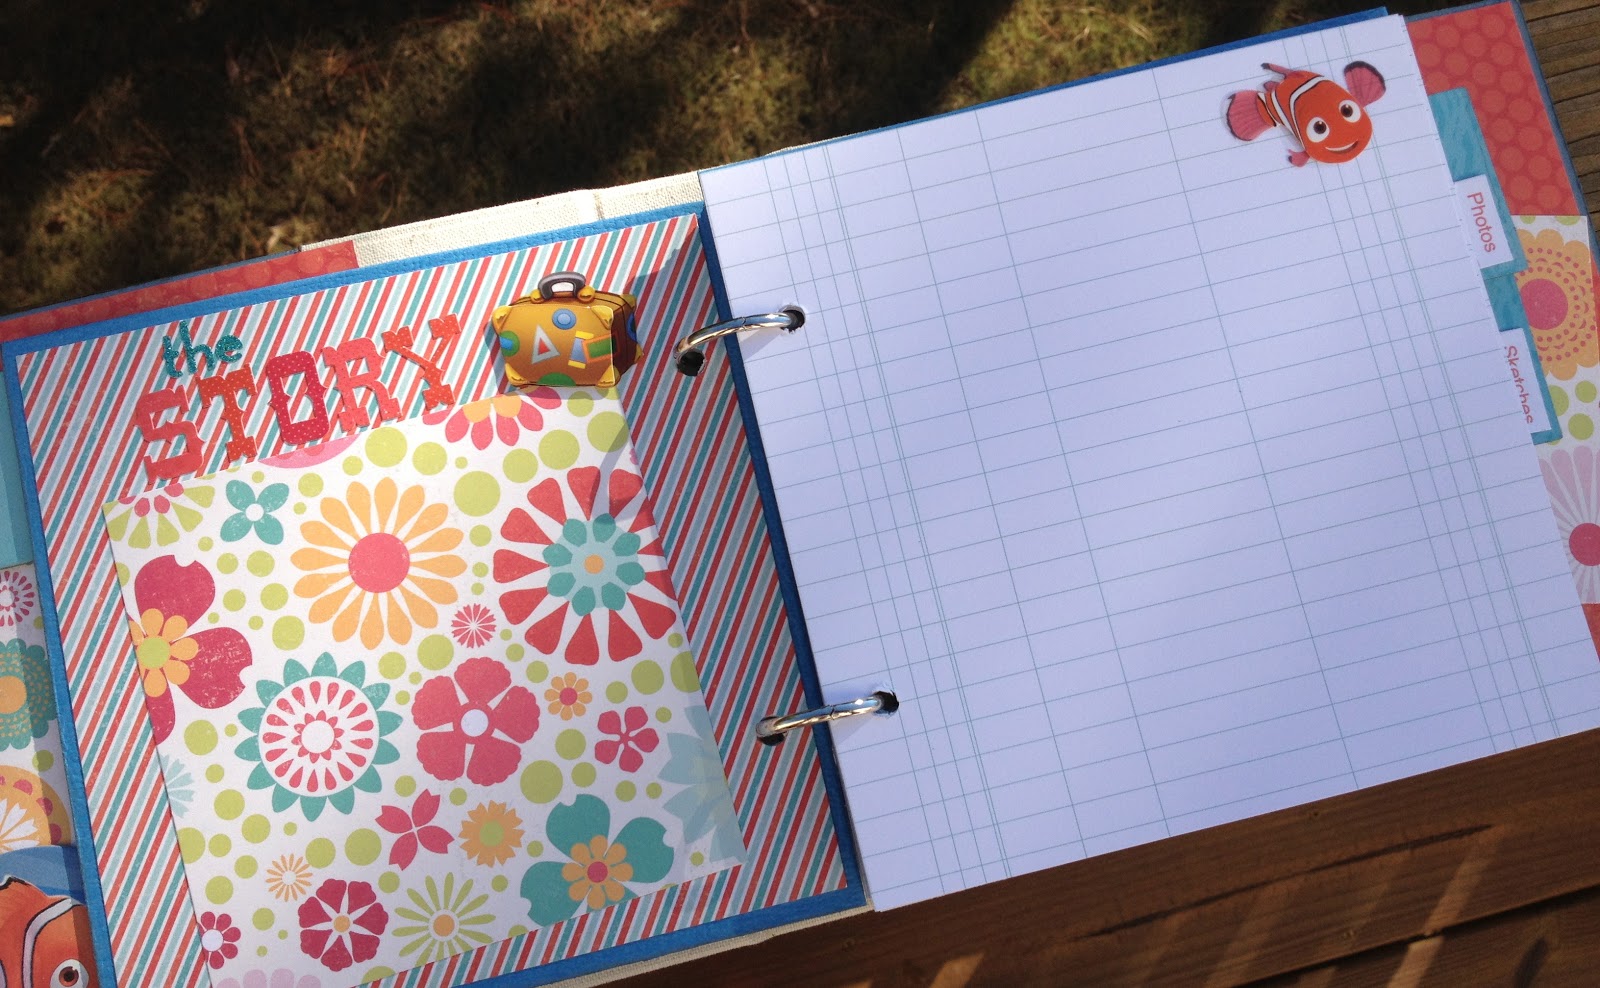
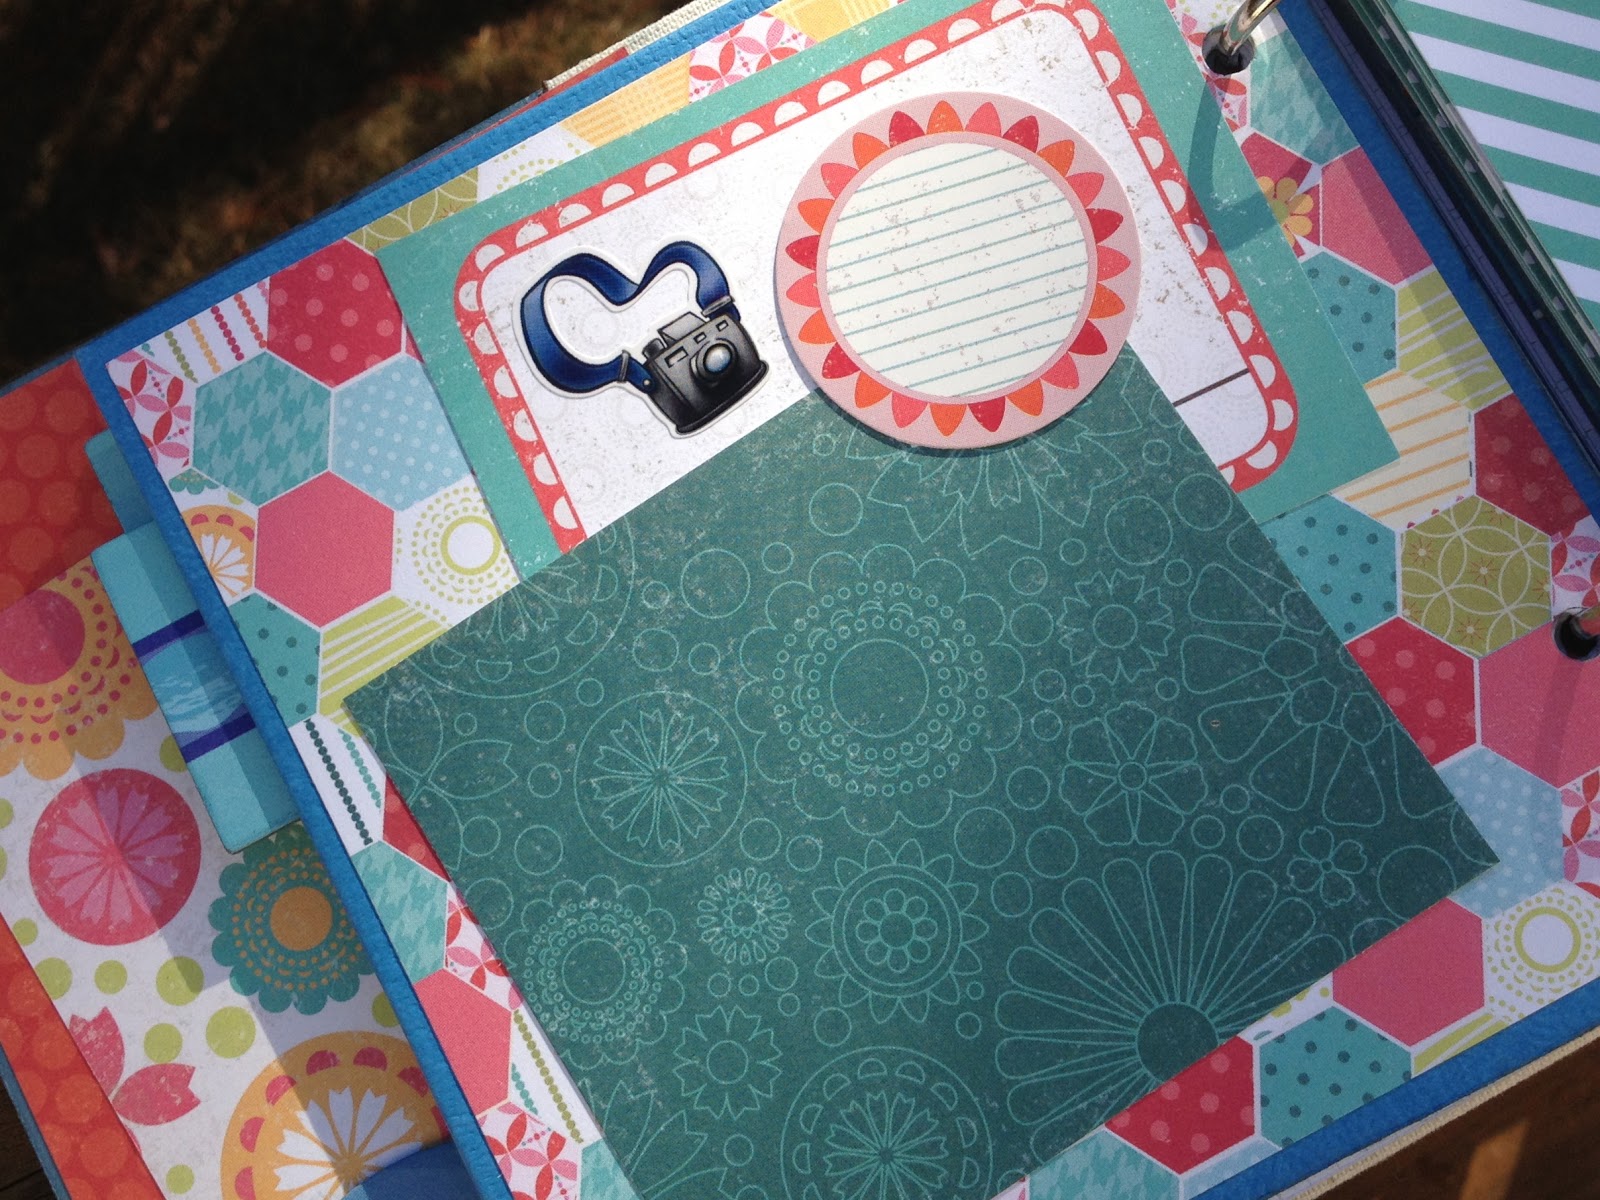
A very sweet client of mine sent me a Disney "Finding Nemo" board game recently.  She asked me to turn it into a travel album as a gift for someone who's nickname is Nemo :)  How fun is that?!

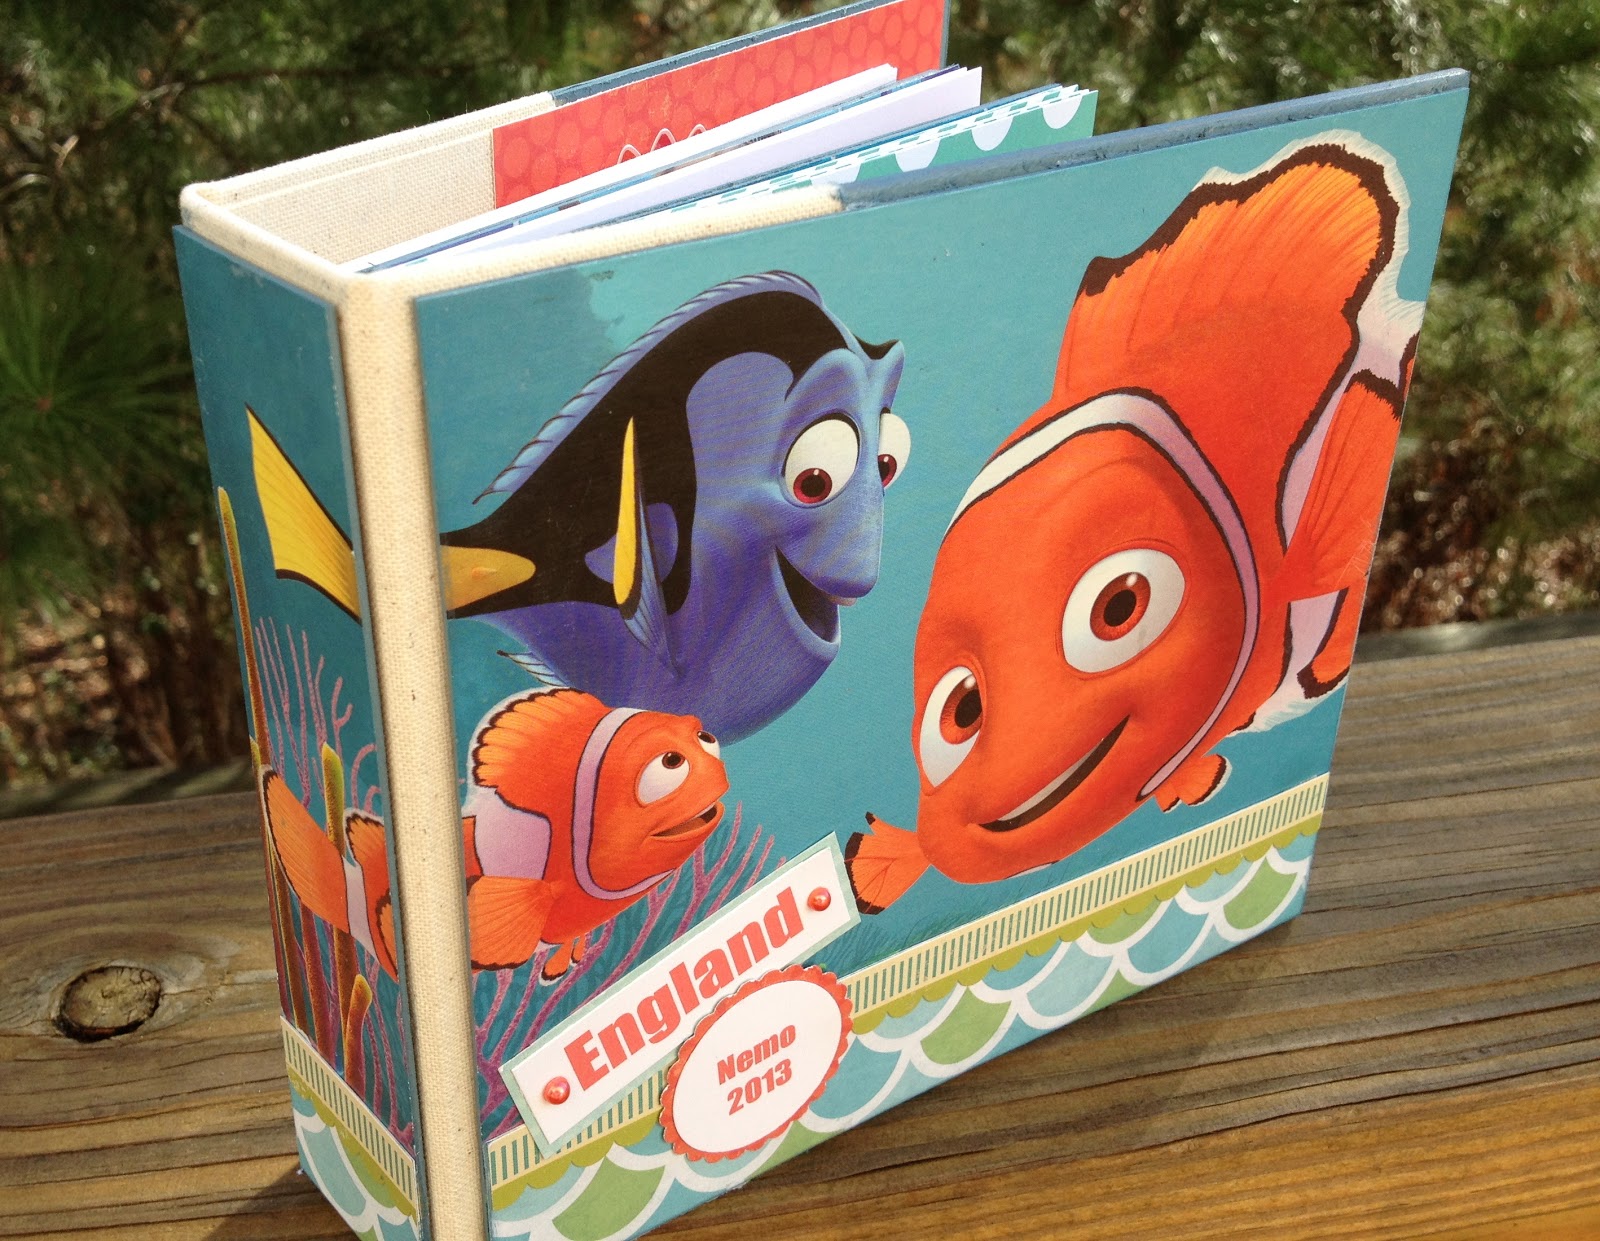
So here's what I came up with:

The Original Game Board and Box

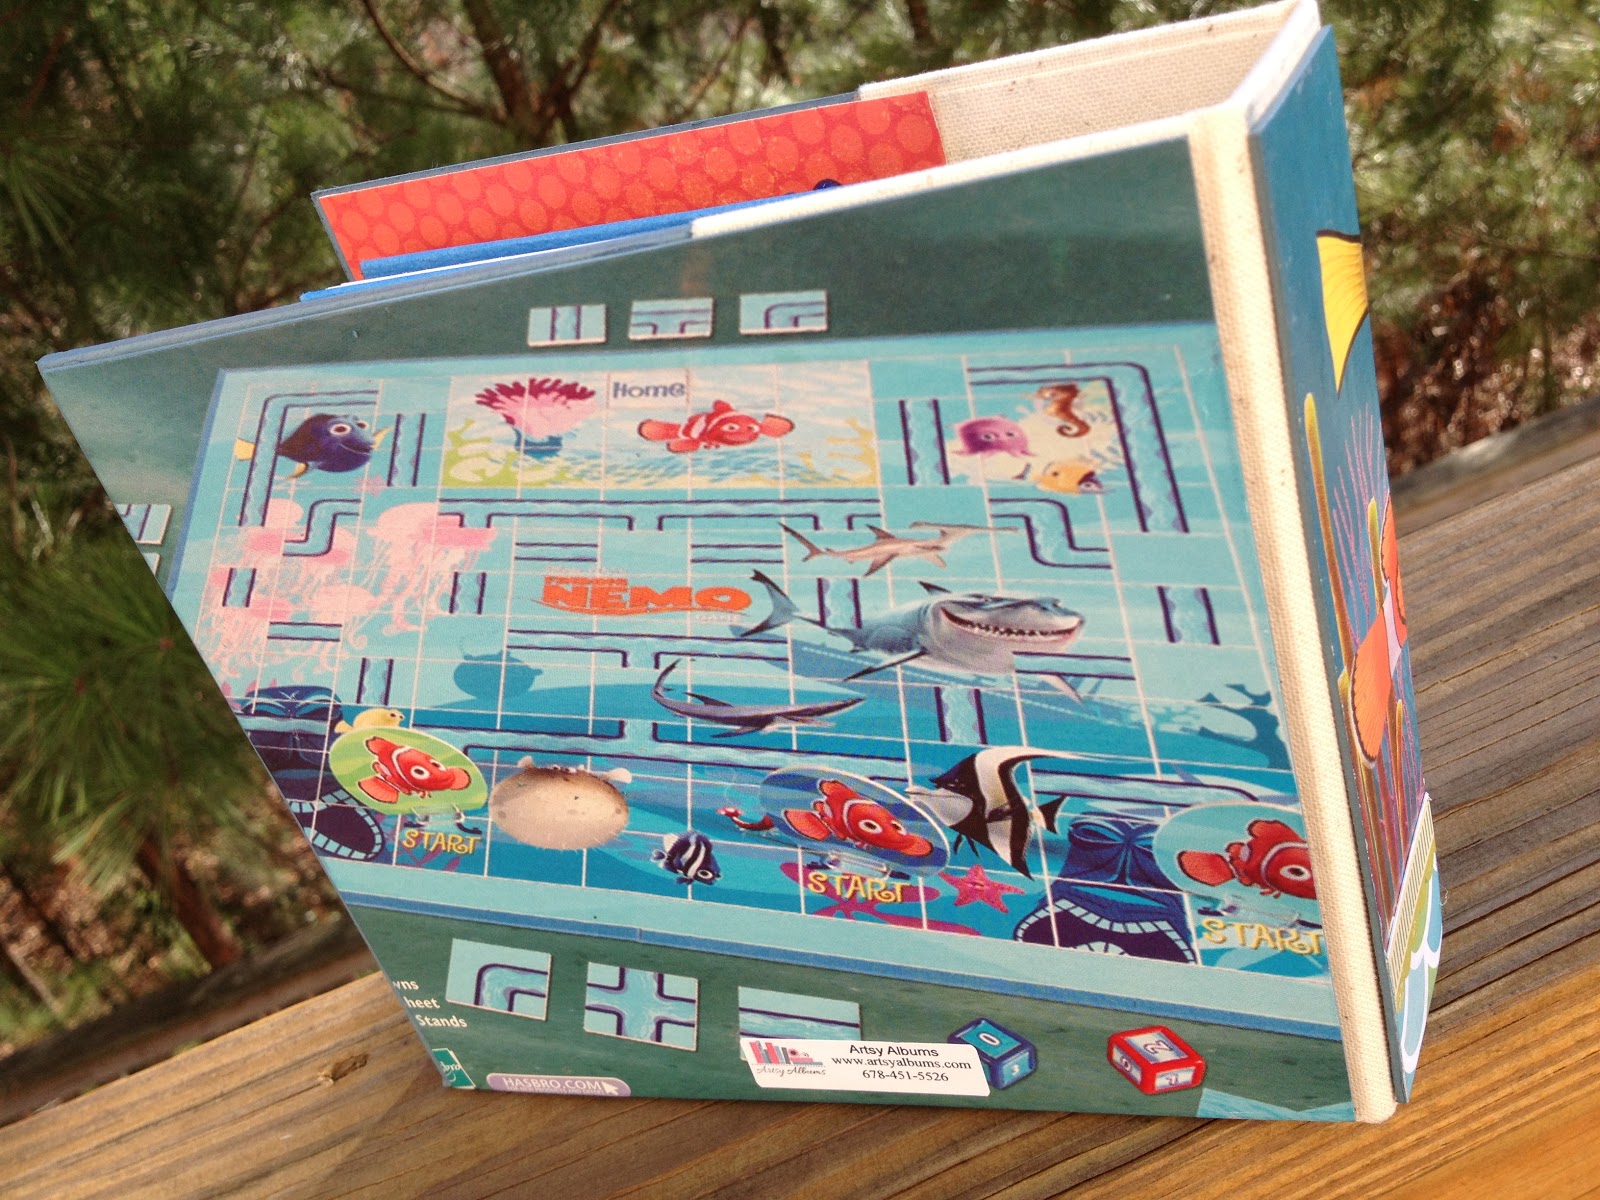
I covered a 6x6 Bo Bunny chipboard album with pieces of the box top and added a small strip of paper to the bottom to cover up some words that did not fit our theme.

My client wanted 5 tabs in this travel journal so I cut apart the heavy chipboard game board and used this to create the divider pages.  Then I used the little game "cards" as the tabs.


Finally, I finished off the back cover of the album with a piece of the bottom of the game box.
This project has really inspired me to make more recycled mini albums out of 
games or other found objects.  

Have you ever repurposed an older object into a mini album or craft project?  I'd love to hear about it!

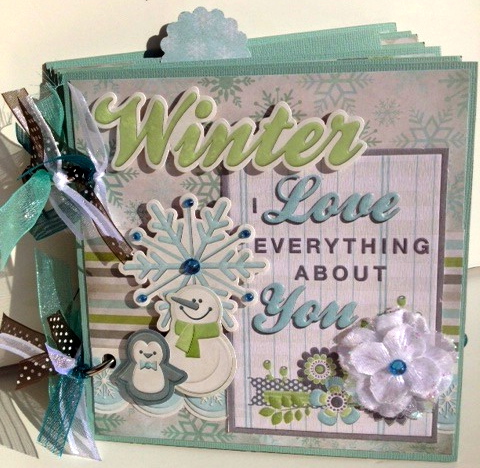
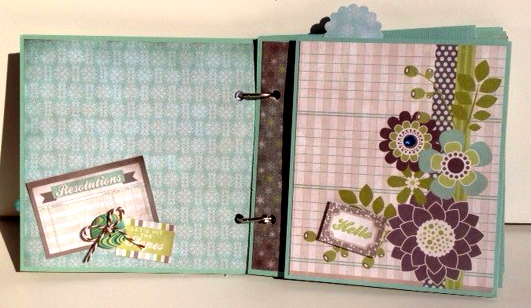
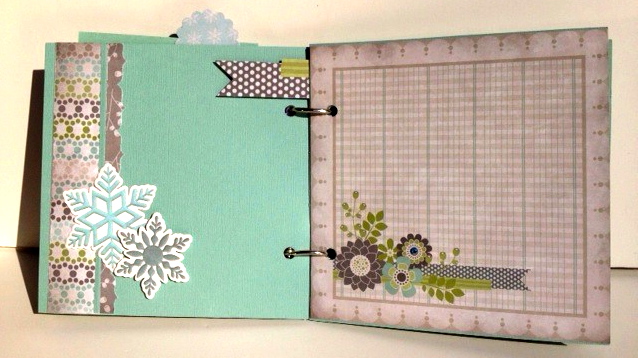
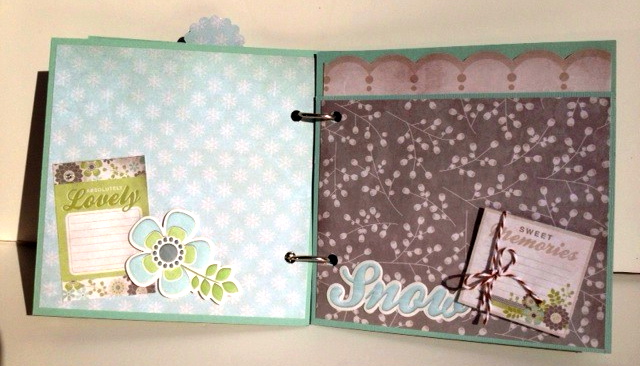
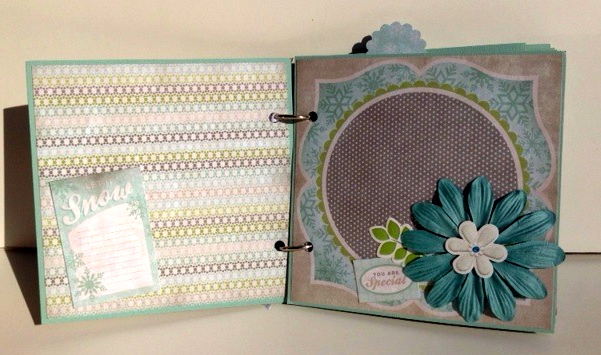
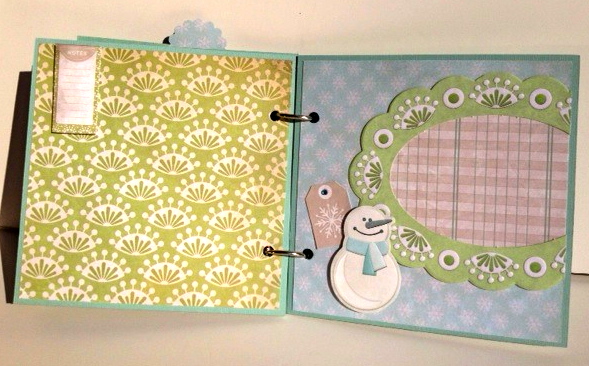
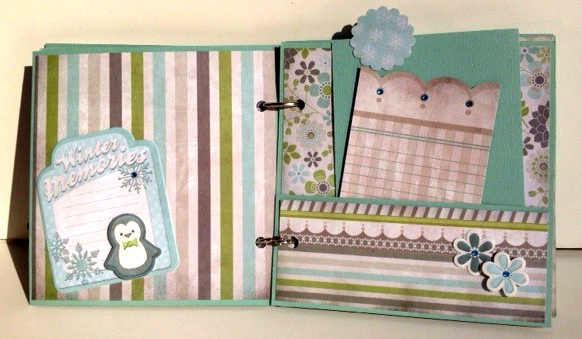
Winter Mini Album with We R Memory Keepers

Good Friday morning friends!

I woke up to 27 degree weather here in Georgia today -- for a southern girl like me, that's a bit chilly!  Still, I don't mind a few months of cold mornings and frosty dew on the ground and my family always looks forward to the rare snow days that occur once or twice each winter.

I was excited to receive some wintery scrapbook goodies in the mail recently after being asked by We R Memory Keepers to be a guest designer this month.  The paper collection is very fun with the adorable snowmen and the colors remind me of frost and ice -- love it!!

So today I am sharing the mini album project that I created for We R -- enjoy!


Tuesday, January 1, 2013

Happy New Year Sale!

Happy New Year everyone!!

2013 is here and I'm so excited about this year's possibilities!  New friends, new opportunities, new experiences and lots of new creative fun!

To start off 2013 right,  I am making room for new product by offering all of my Artsy Albums friends a coupon to use on anything in the shop -- including sale items!

Coupon good through 1-5-13
Visit online at Artsy Albums Shop