Friday, February 22, 2013

Disney Themed & Boy Scrapbook Albums with Echo Park

Good morning friends! Today, I'm posting some fun mini album projects that I've been working on. I designed them all with papers and embellishments from Echo Park and I love them!! I hope you're inspired to preserve your photos, save those memories, and create something fun today!

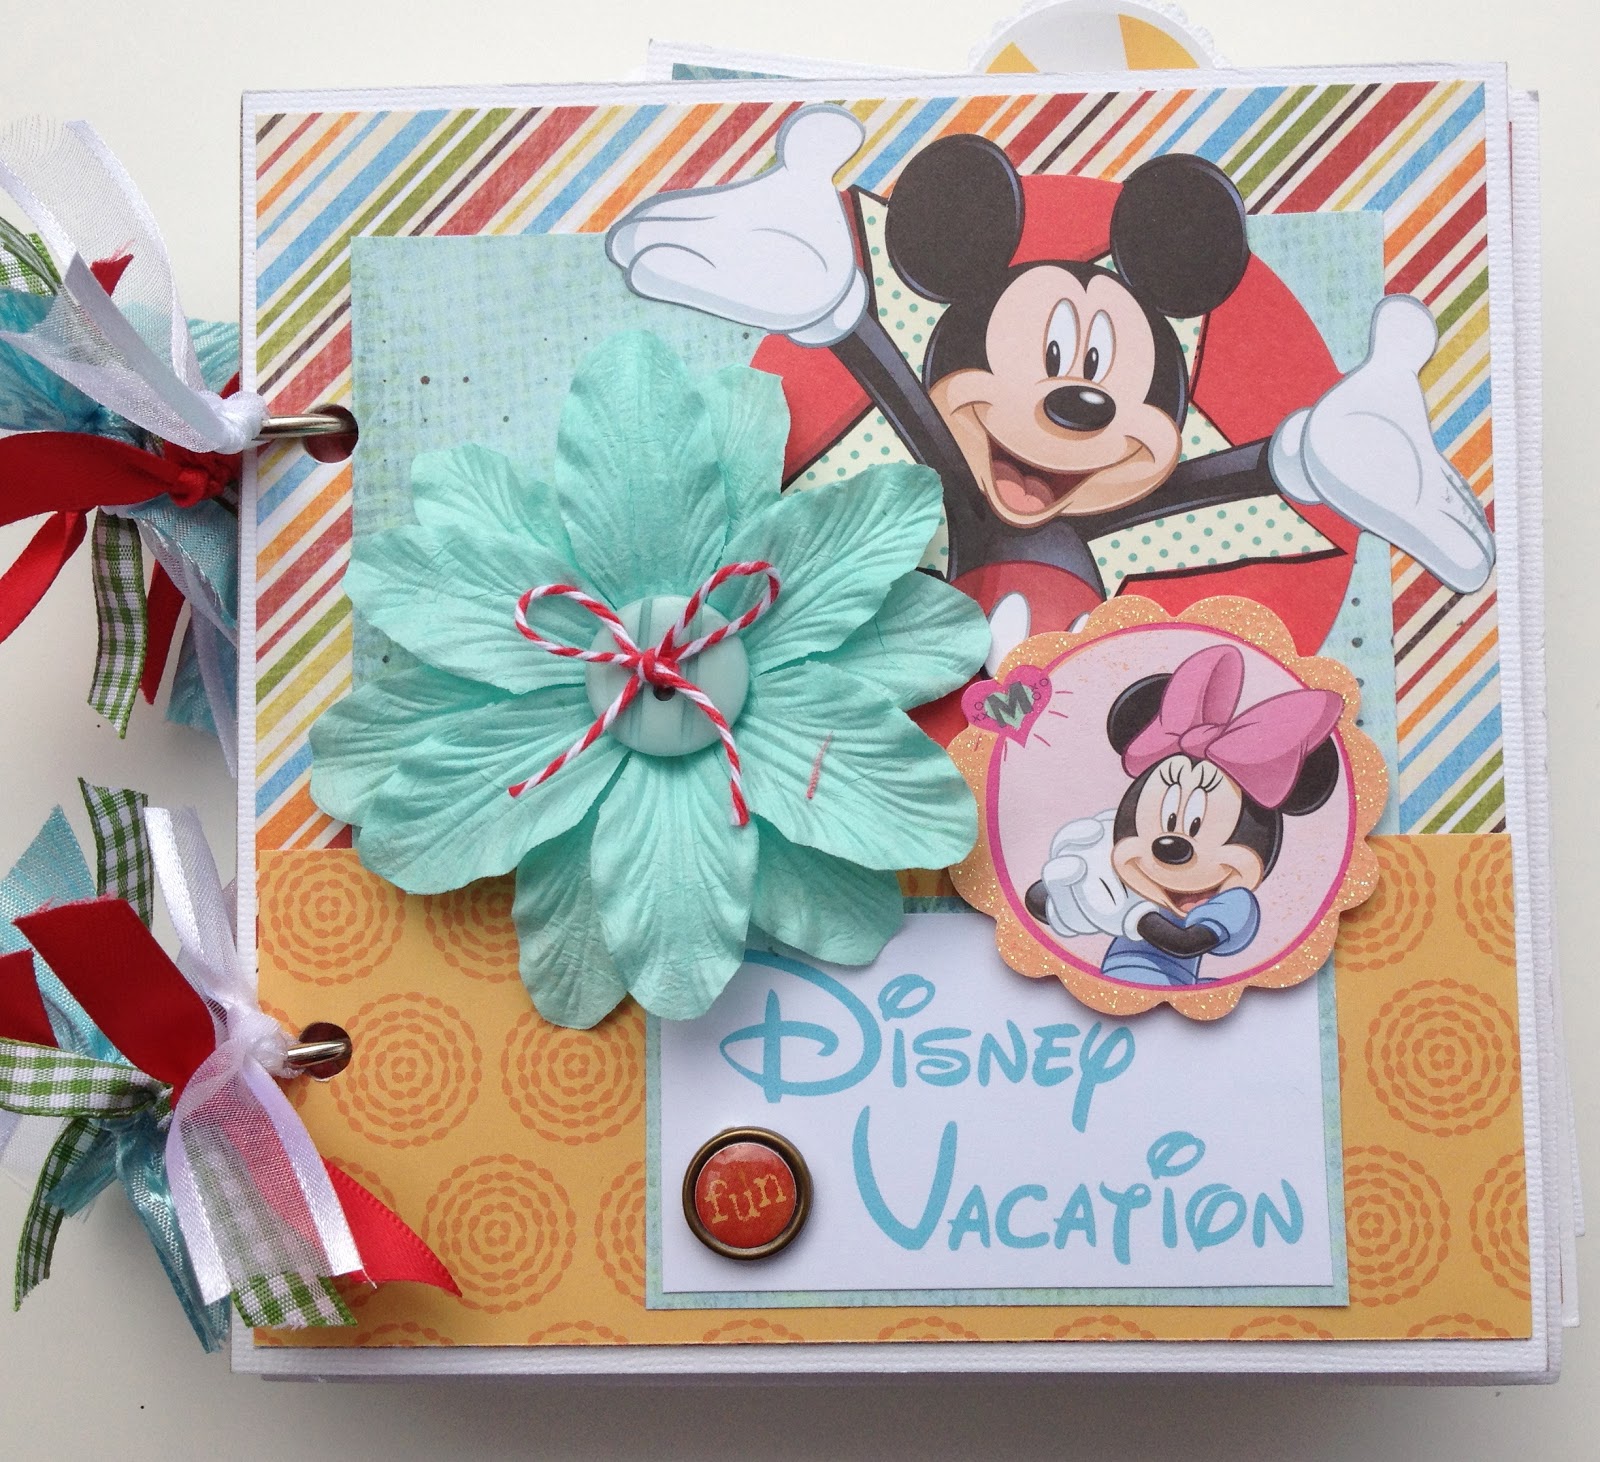
First up is a cute Disney Vacation Mini Album ...

Disney Themed Vacation Scrapbook Album with Mickey & Minnie Mouse

I created this one with the Echo Park, Paradise Beach Collection and added separate Disney themed embellishments.

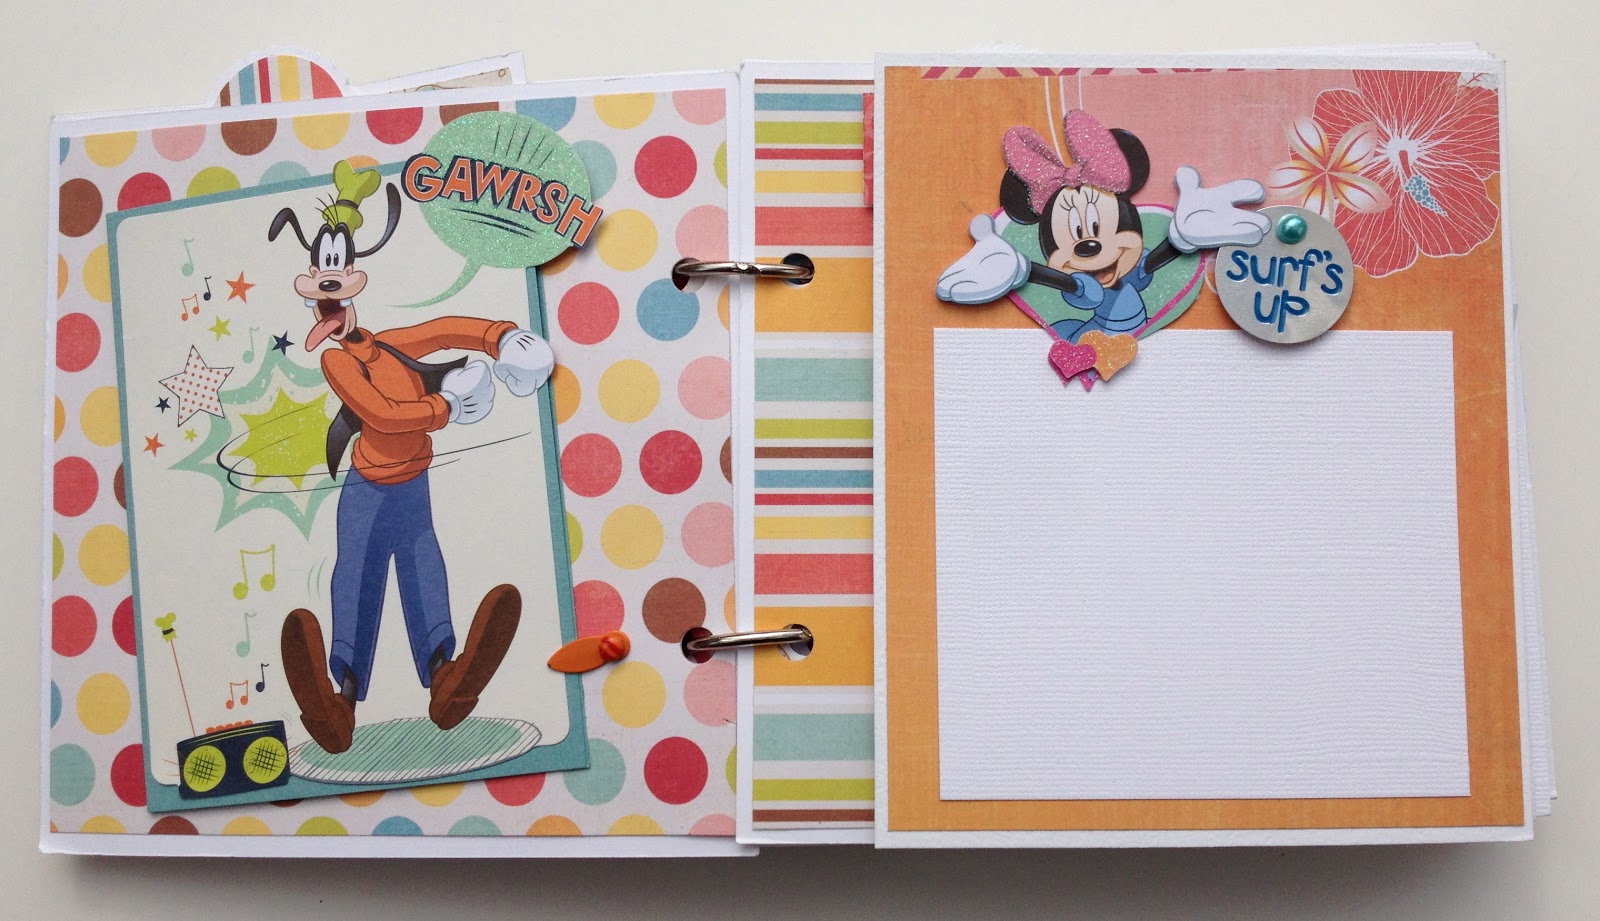
Disney Themed Vacation Scrapbook Album with Goofy & Minnie Mouse

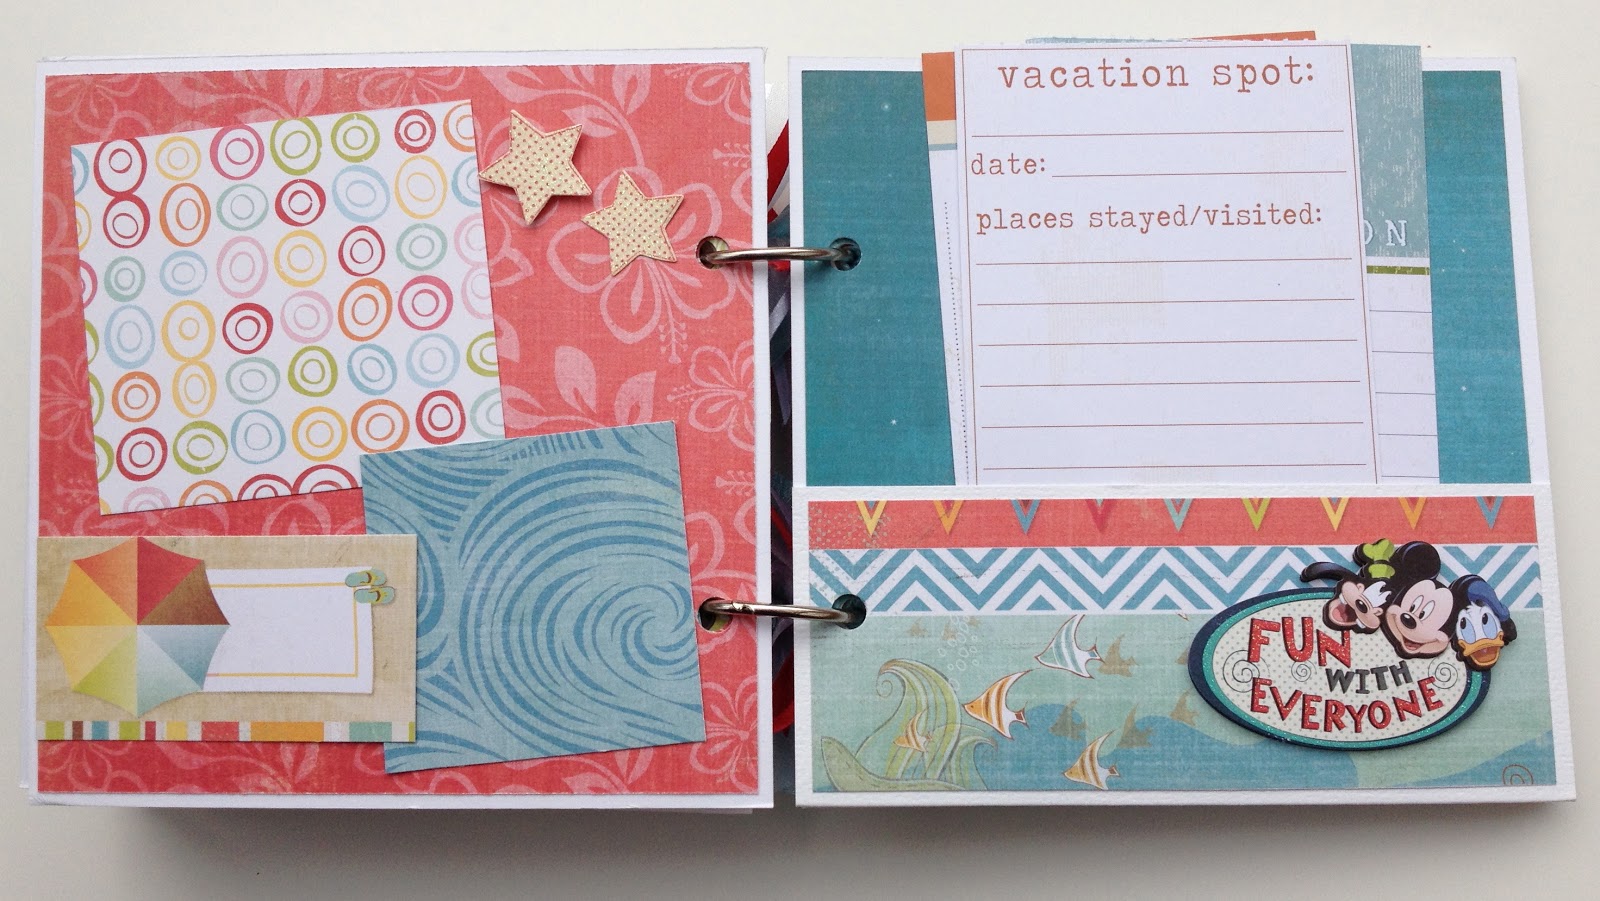
Disney Themed Vacation Scrapbook Album with Mickey, Donal Duck, & Goofy

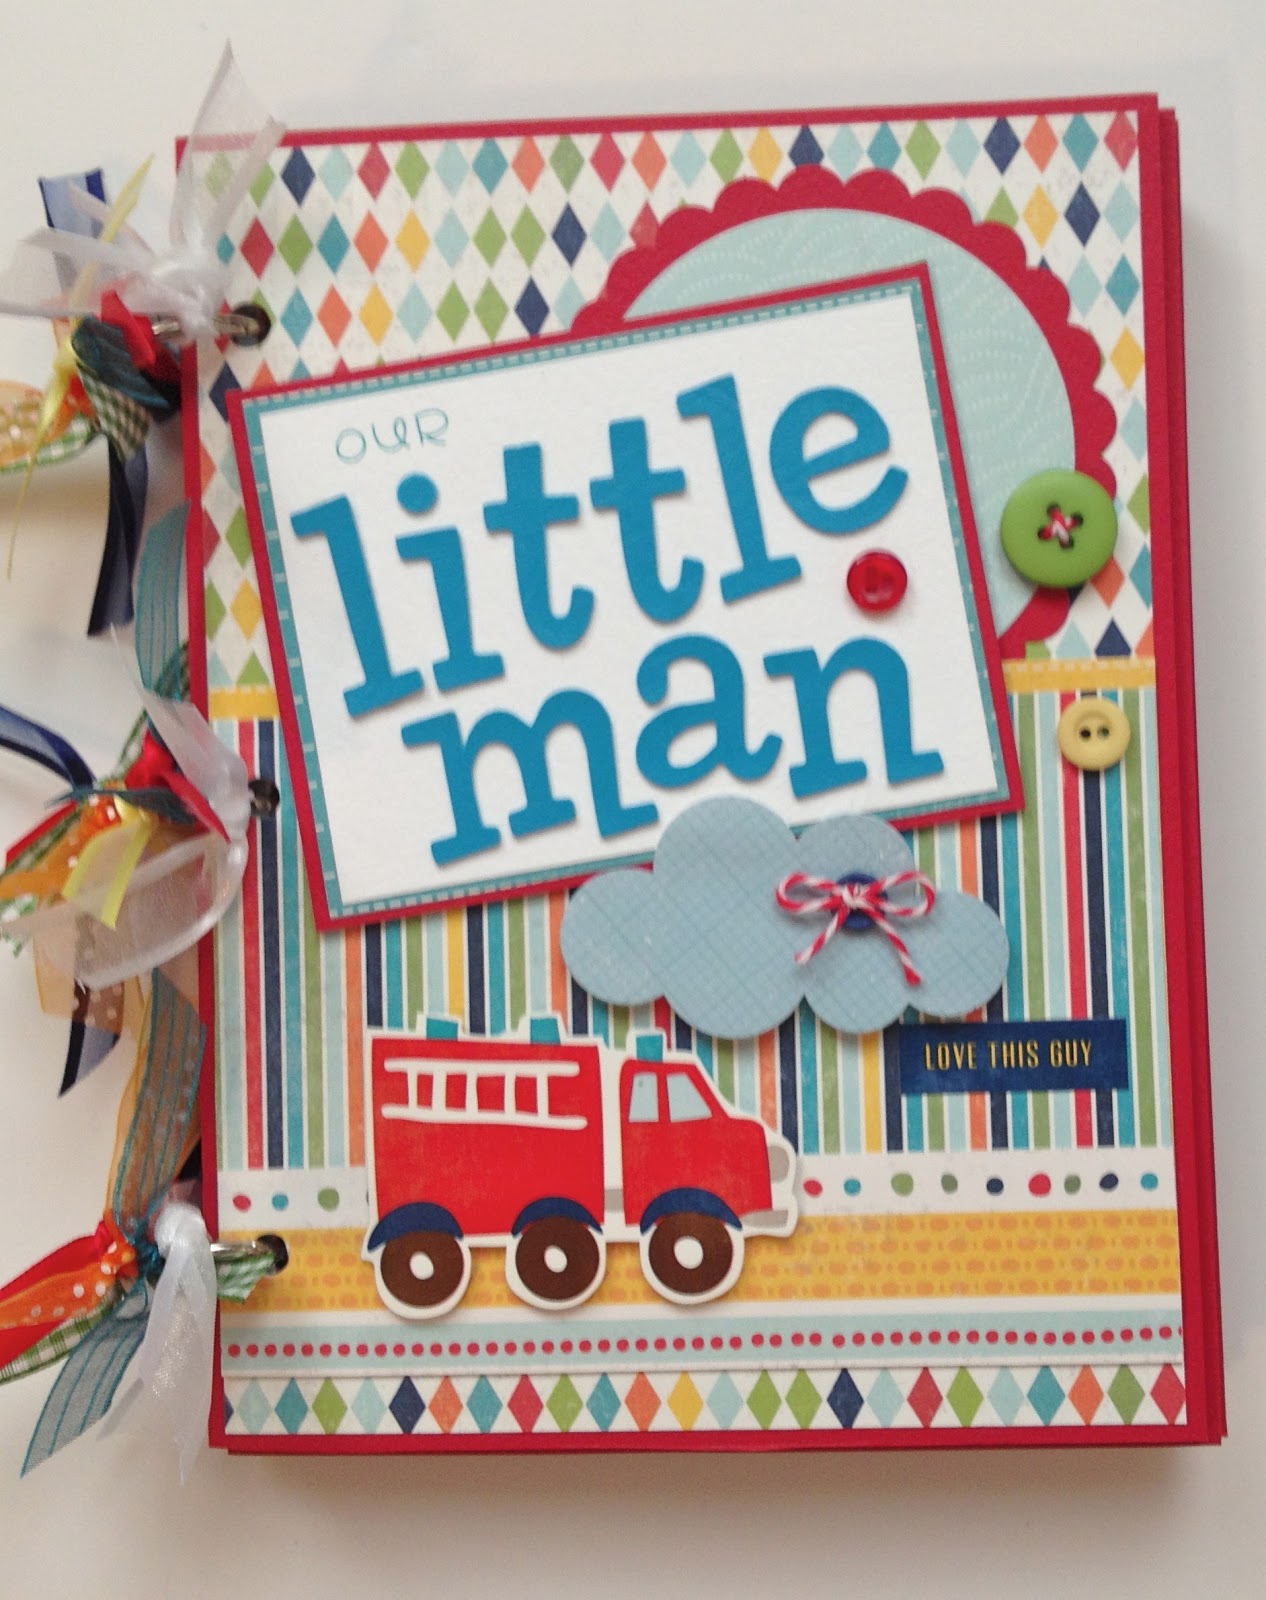
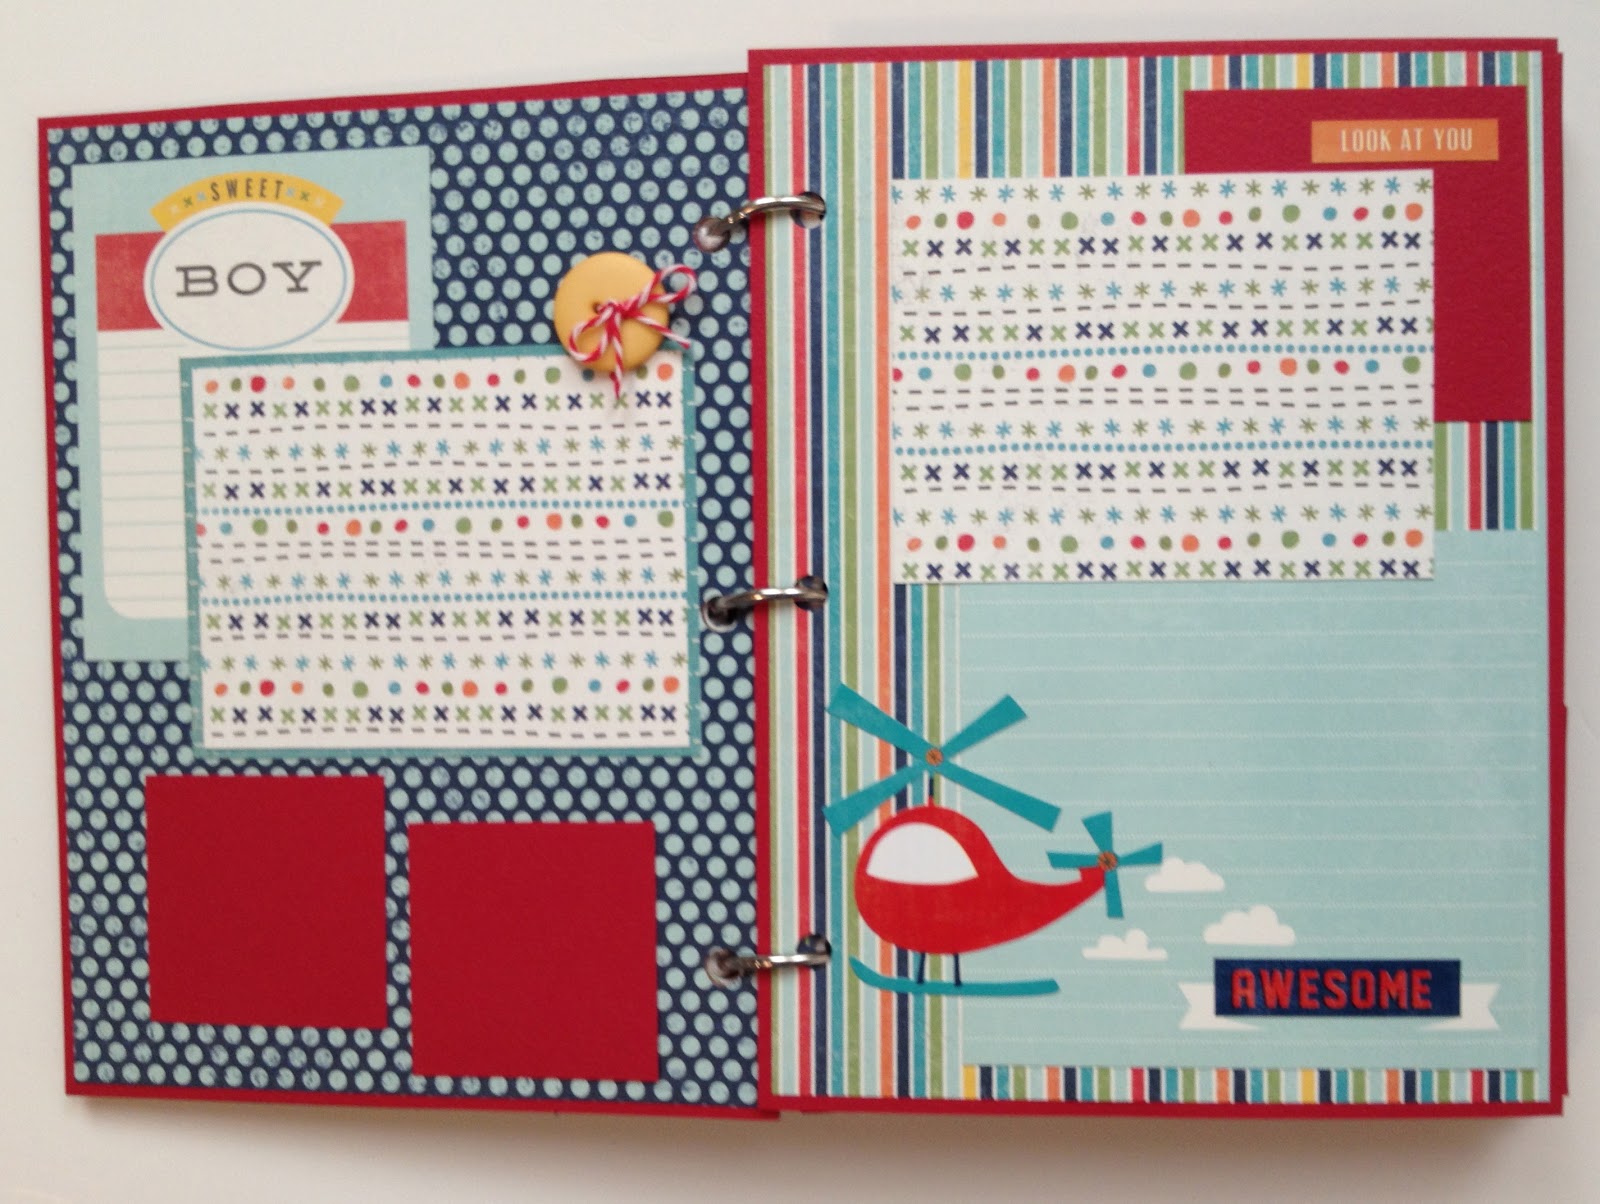
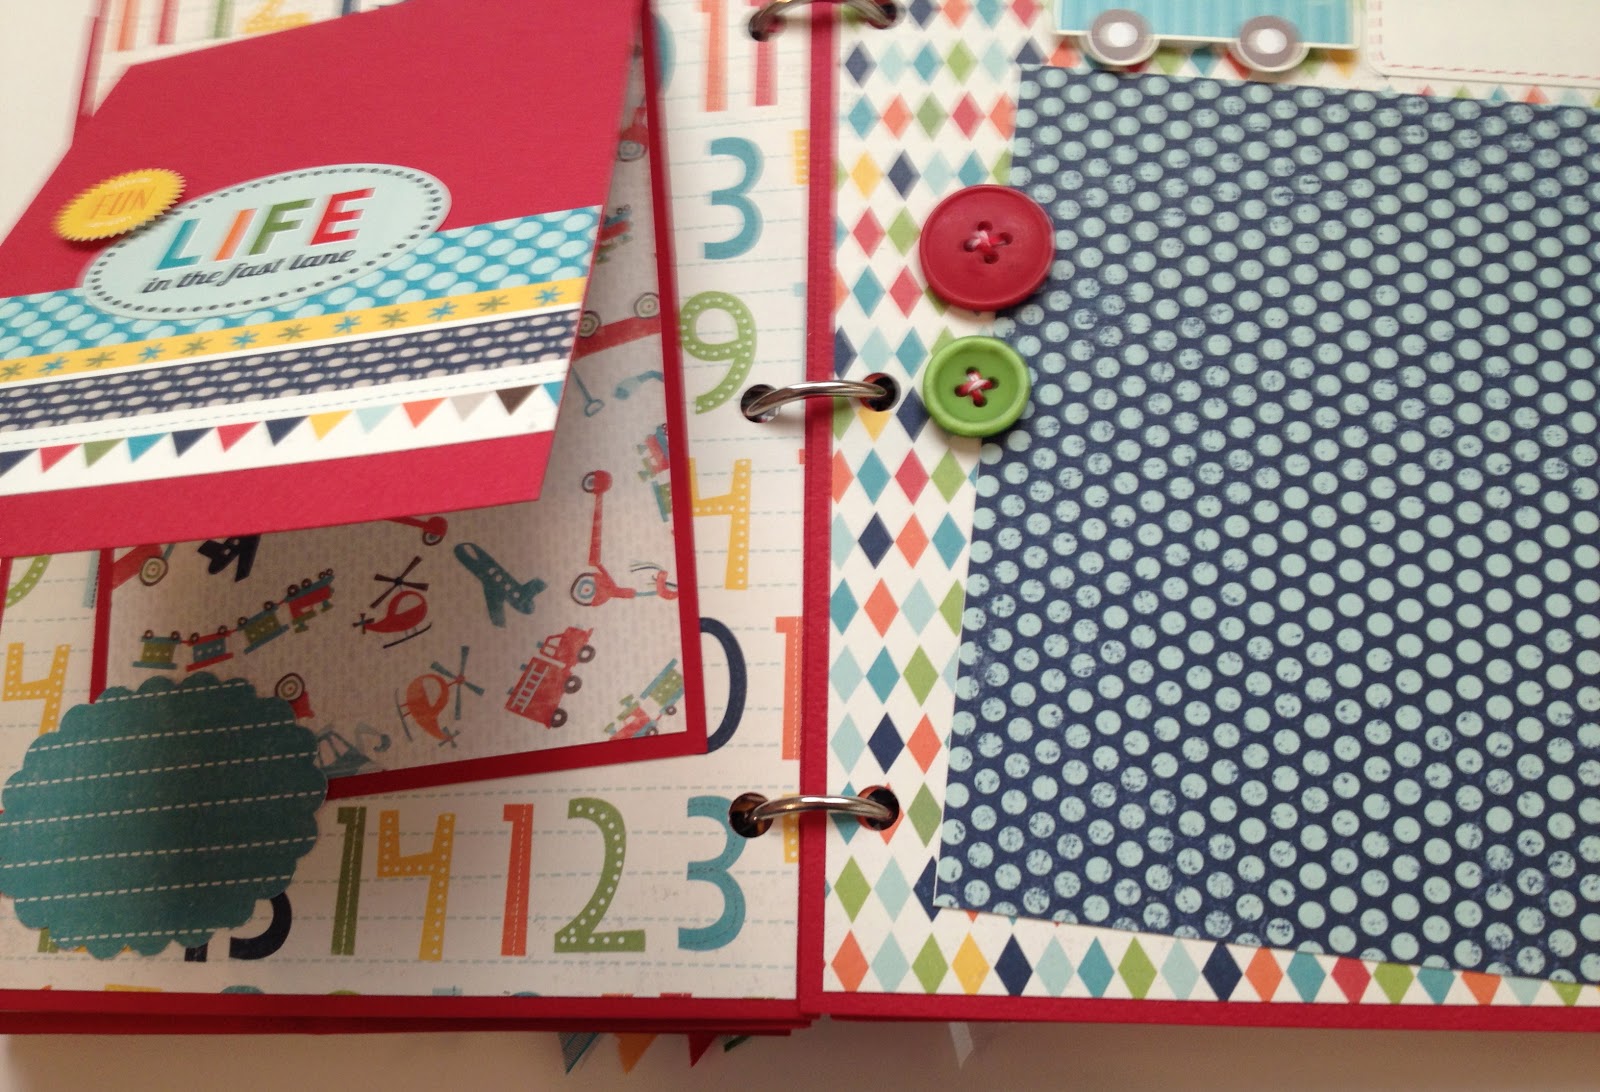
Next is a boy themed mini album titled, Our Little Man ...  

I designed this with the Echo Park Scoot Collection, a red card stock album, buttons, twine, and lots of colorful ribbons!

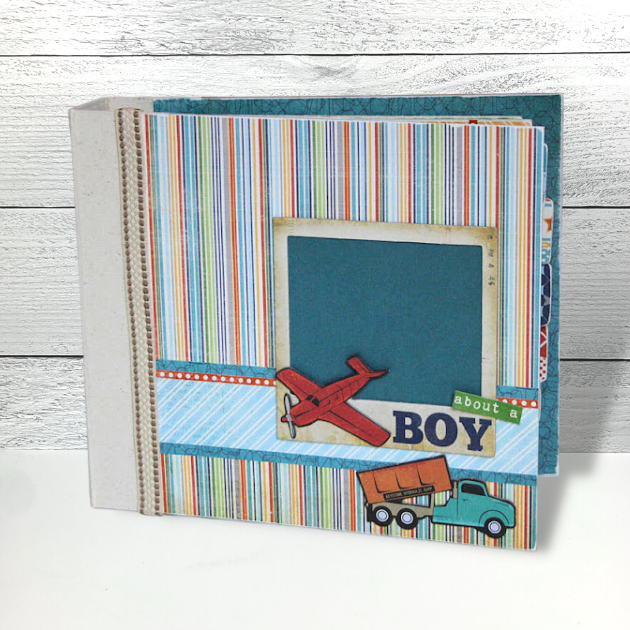
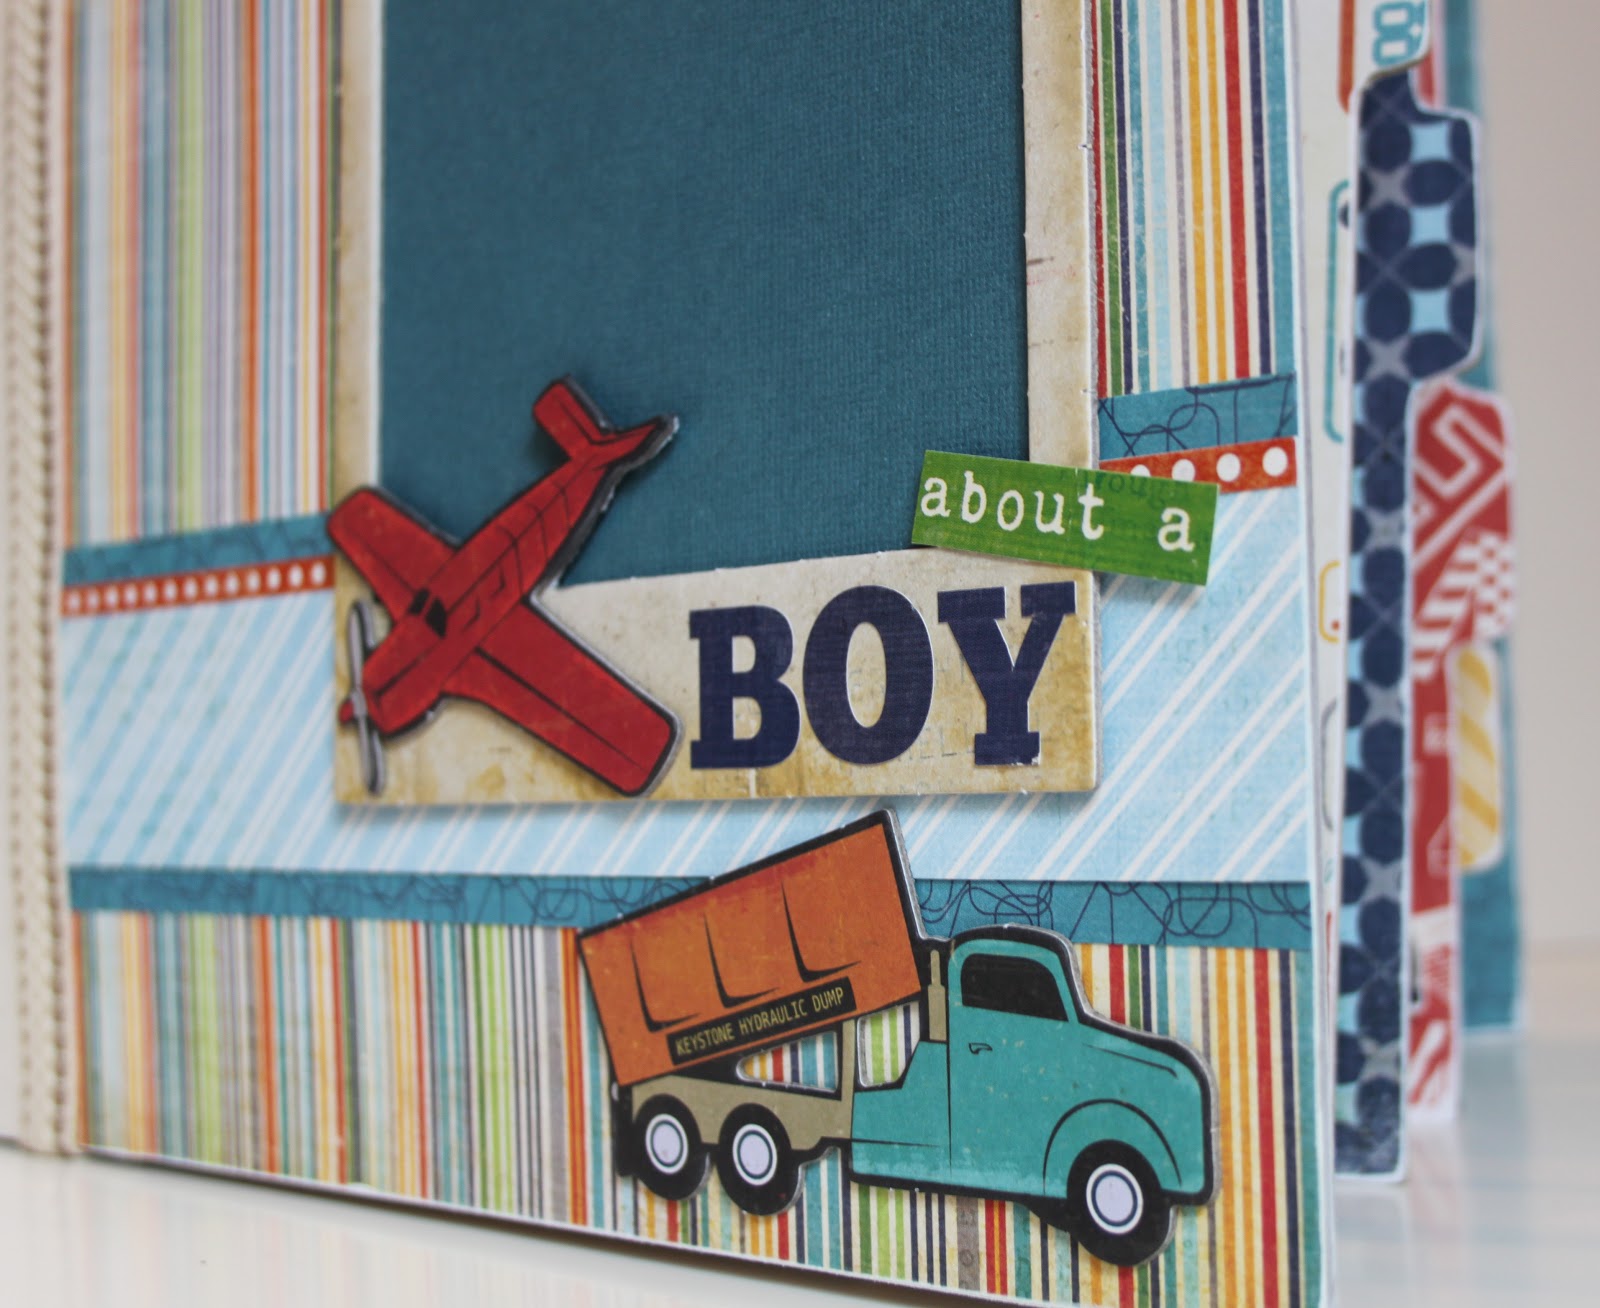
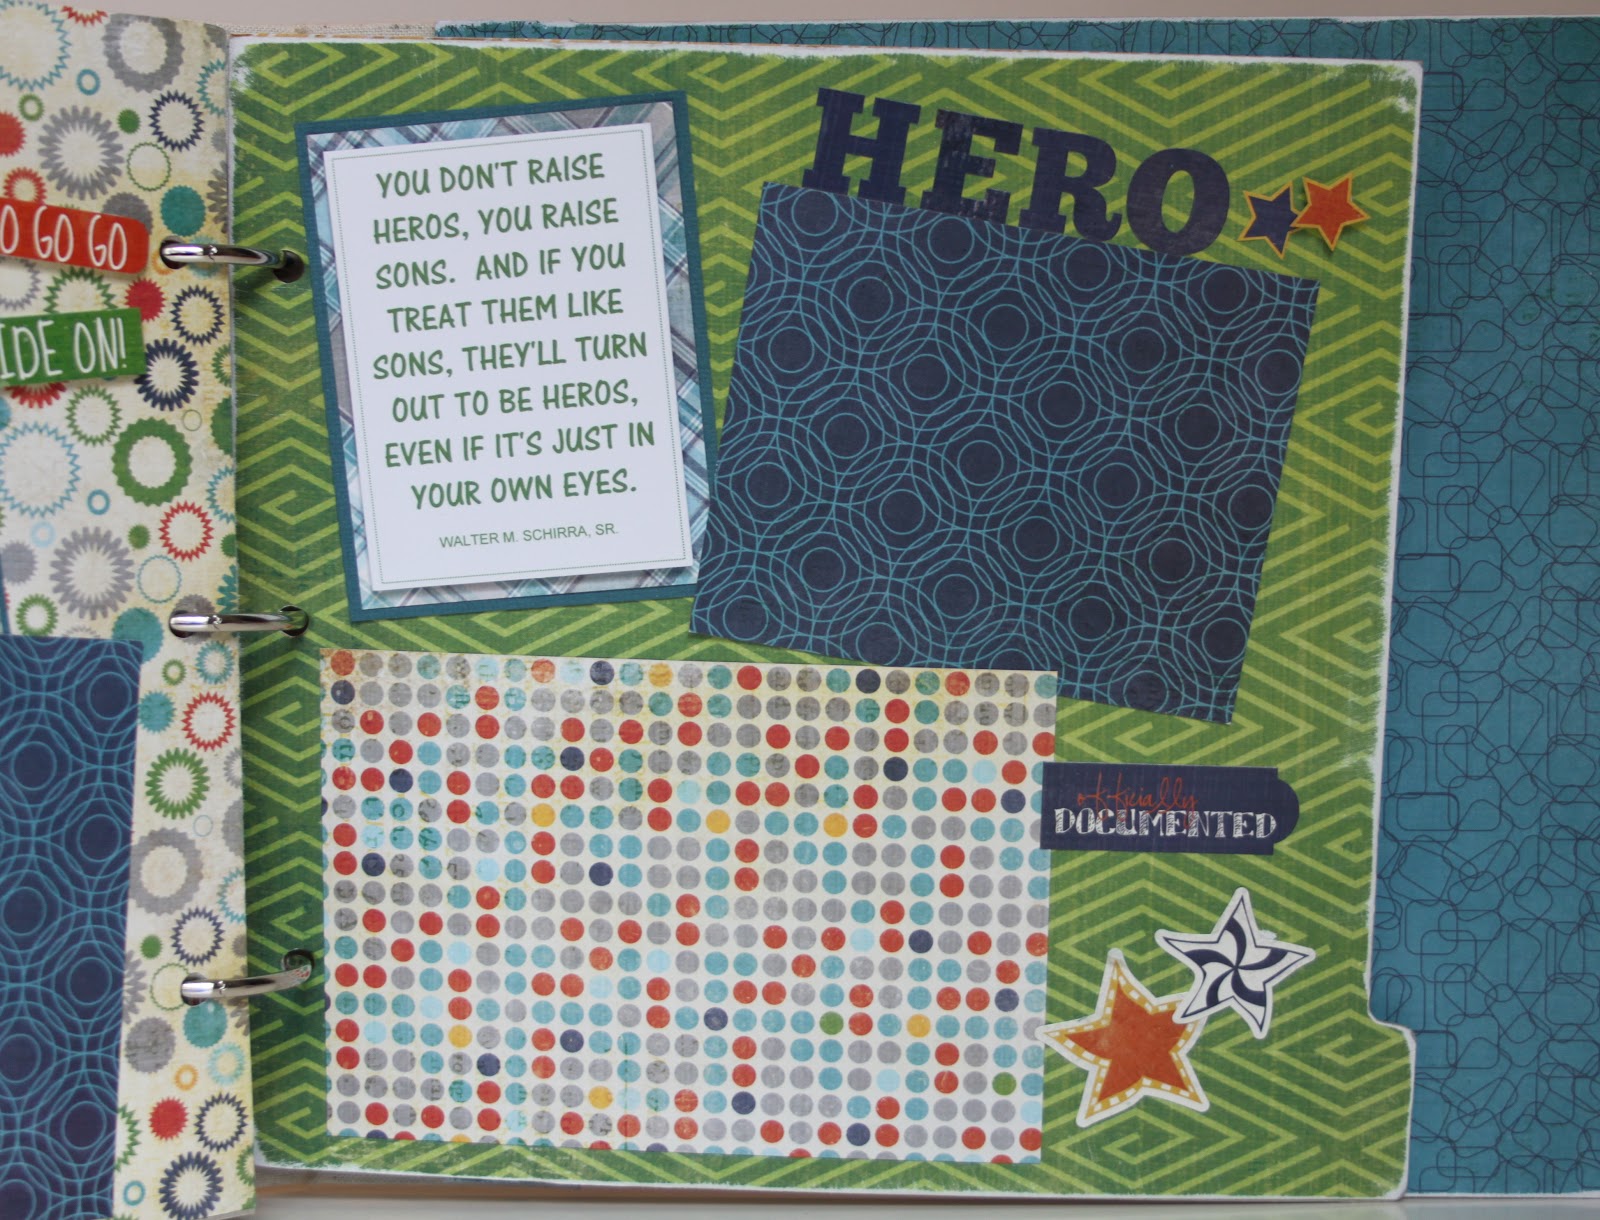
And last but not least, a larger scrapbook titled, About A Boy ... 

Boy Scrapbook Album with dump truck and airplane By Artsy Albums

Boy Scrapbook Album with dump truck and airplane

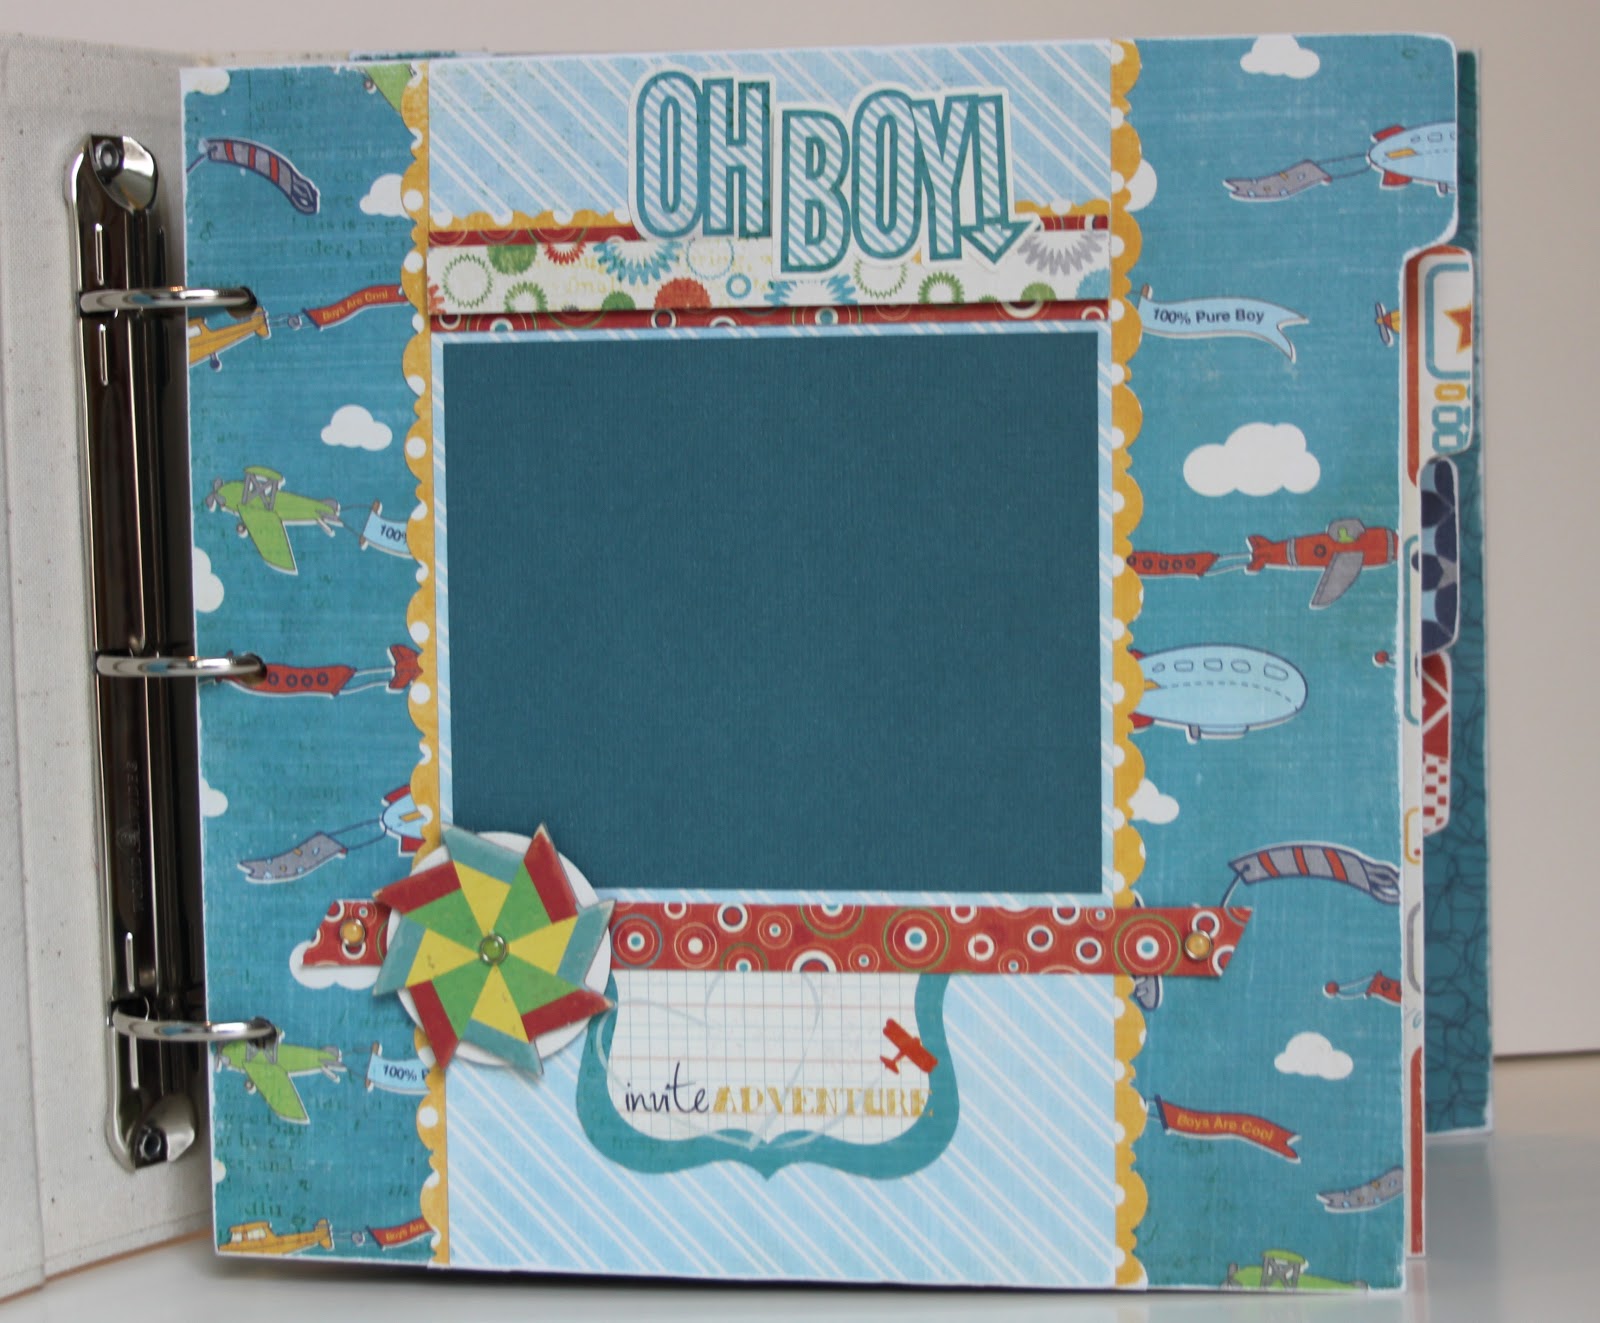
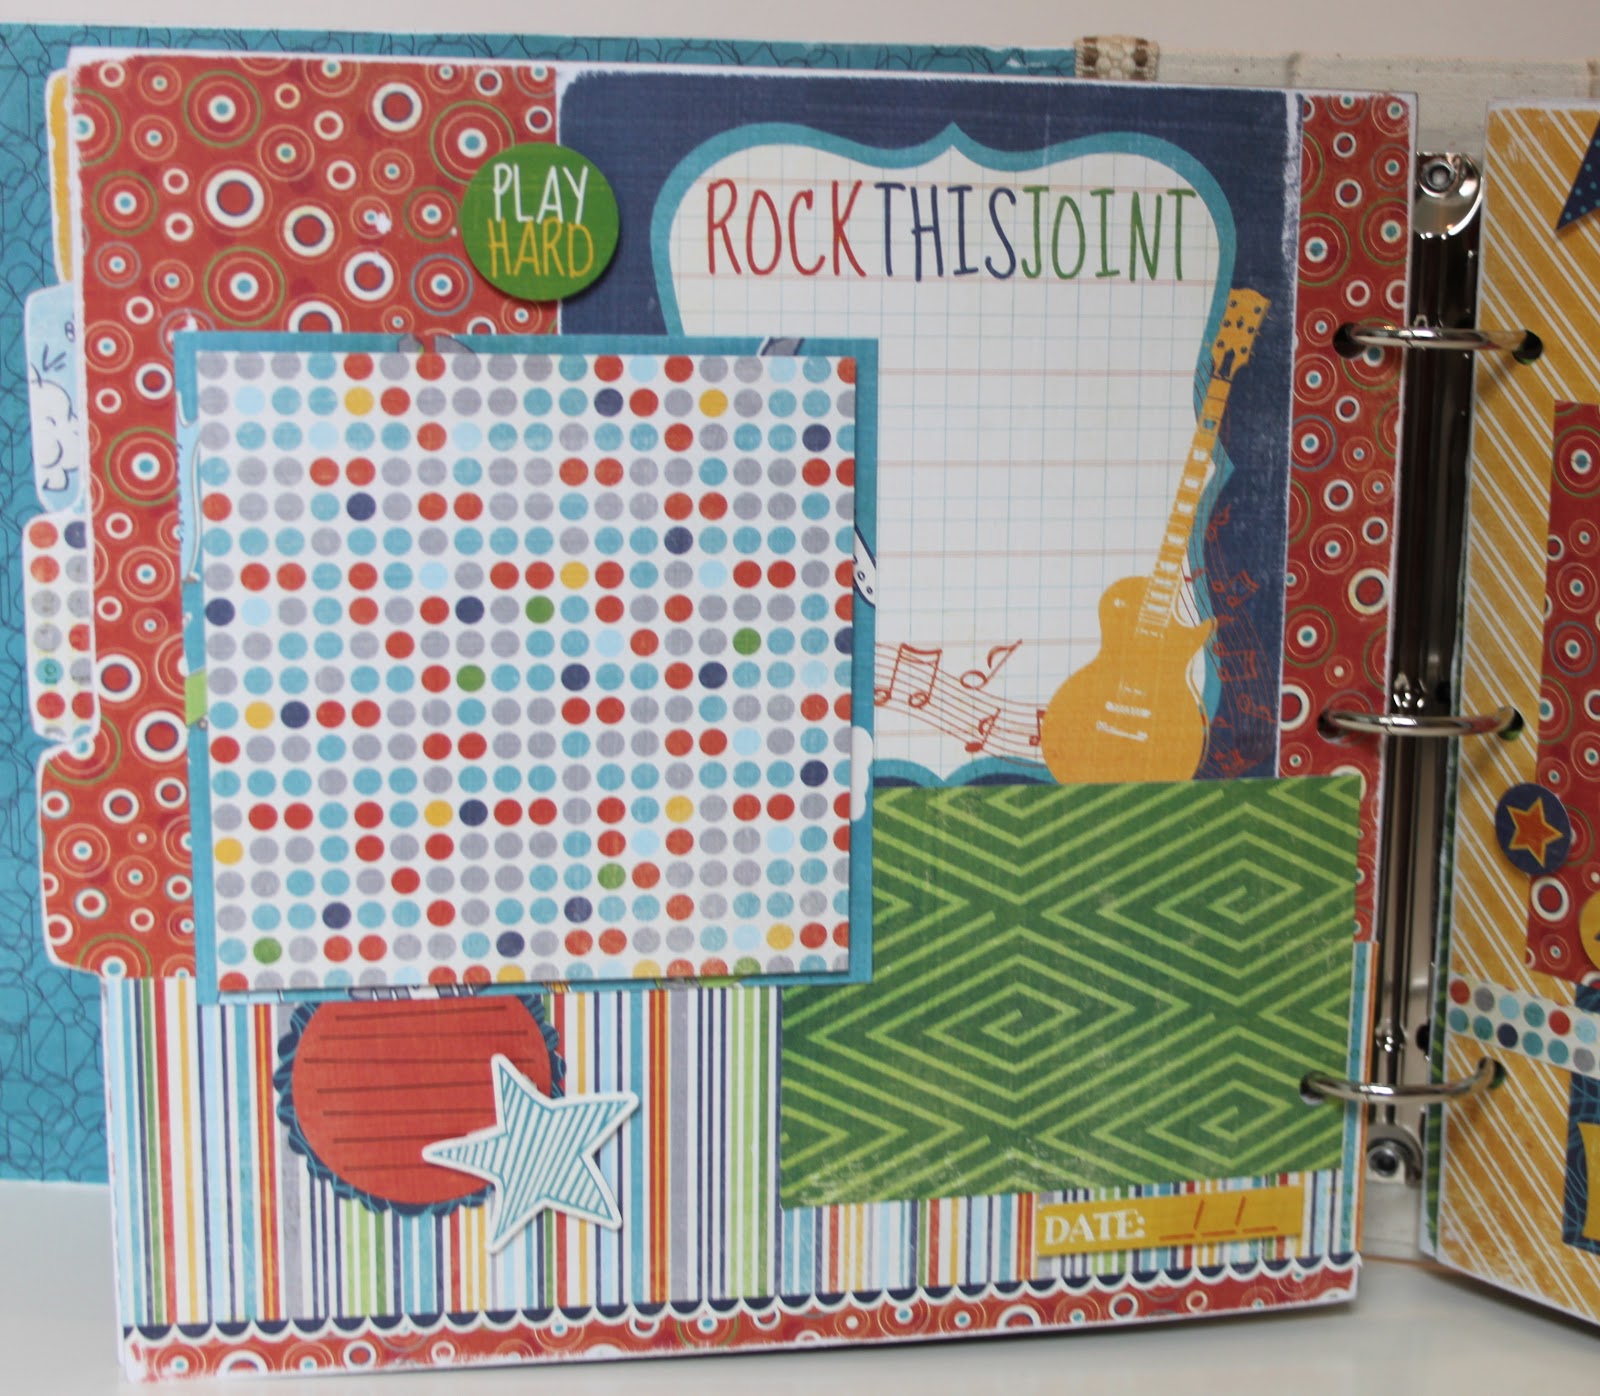
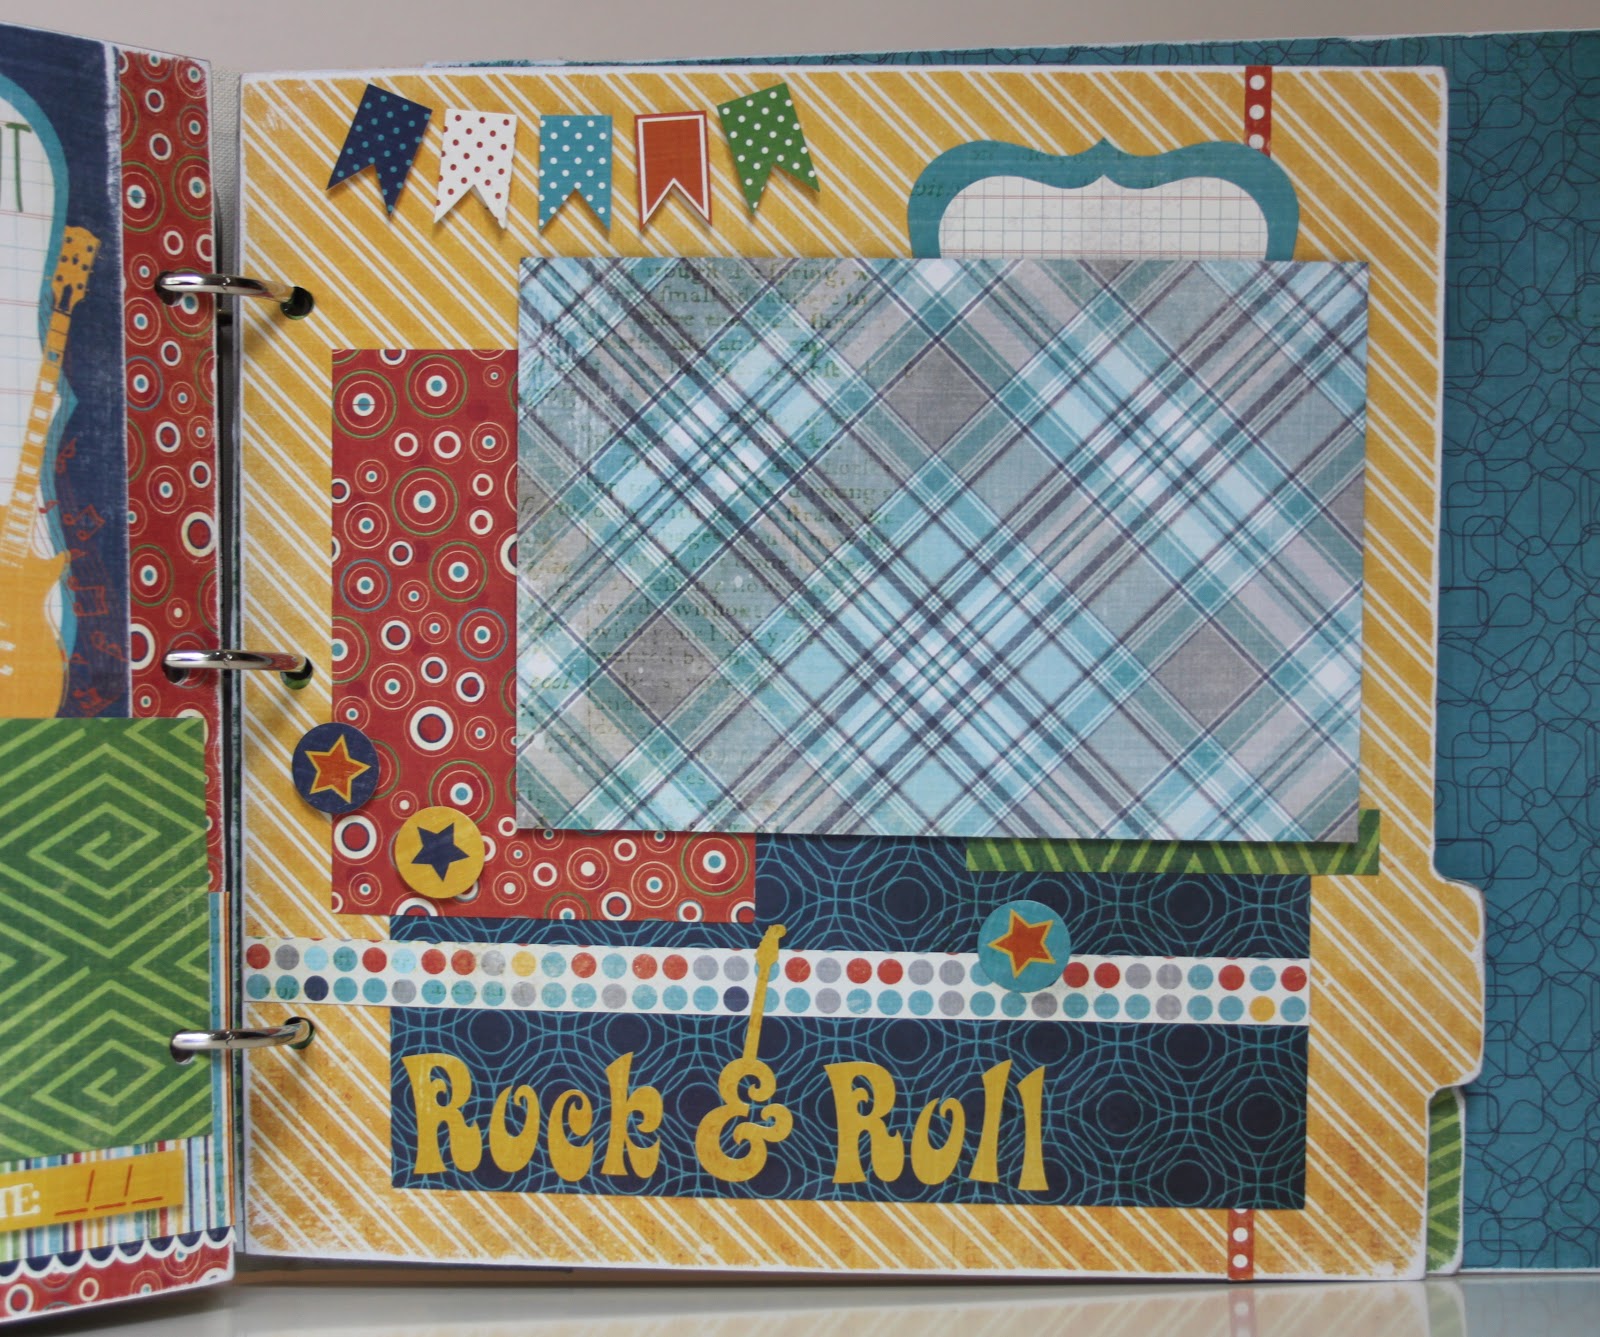
This is a 9x9 inch album that I designed with the Echo Park, A Boy's Life Collection.

Boy Scrapbook Album page with airplanes

Boy Scrapbook Album with stars, stripes, & polka dots

Boy Scrapbook Album Page By Artsy Albums

Boy Scrapbook Album Page By Artsy Albums

As always, thanks so much for stopping by. To get great scrapbooking ideas & to stay up-to-date on new products & sales please "like" Artsy Albums on Facebook, Instagram & Pinterest!


Blog * Shop * Facebook * Instagram * Pinterest

Friday, February 15, 2013

A New Mini Kit with Bella Blvd Sand & Surf

Do you love the beach as much as I do?

I grew up in South Florida, with sand between my toes and sunshine always on my face.  I used to take my college books down to the beach to study, and I spent most weekends slathered in iodine and baby oil (which is now helping to send my dermatologists kids to college).  My sister and I grew up hunting for shells, jumping in the waves, and breathing in the warm ocean air.  My first date with my husband was to the beach...of course, we try to forget the part where his truck broke down in the middle of A1A on the way home...

Those are wonderful memories, and I try to get back to the beach at least once a year.  So why all this beachy sand and surf talk in the middle of February?  Because I was reminded of my Florida days when I was creating a new mini album kit yesterday.  It may be winter in most states, but yesterday it was warm and sunny in my studio.

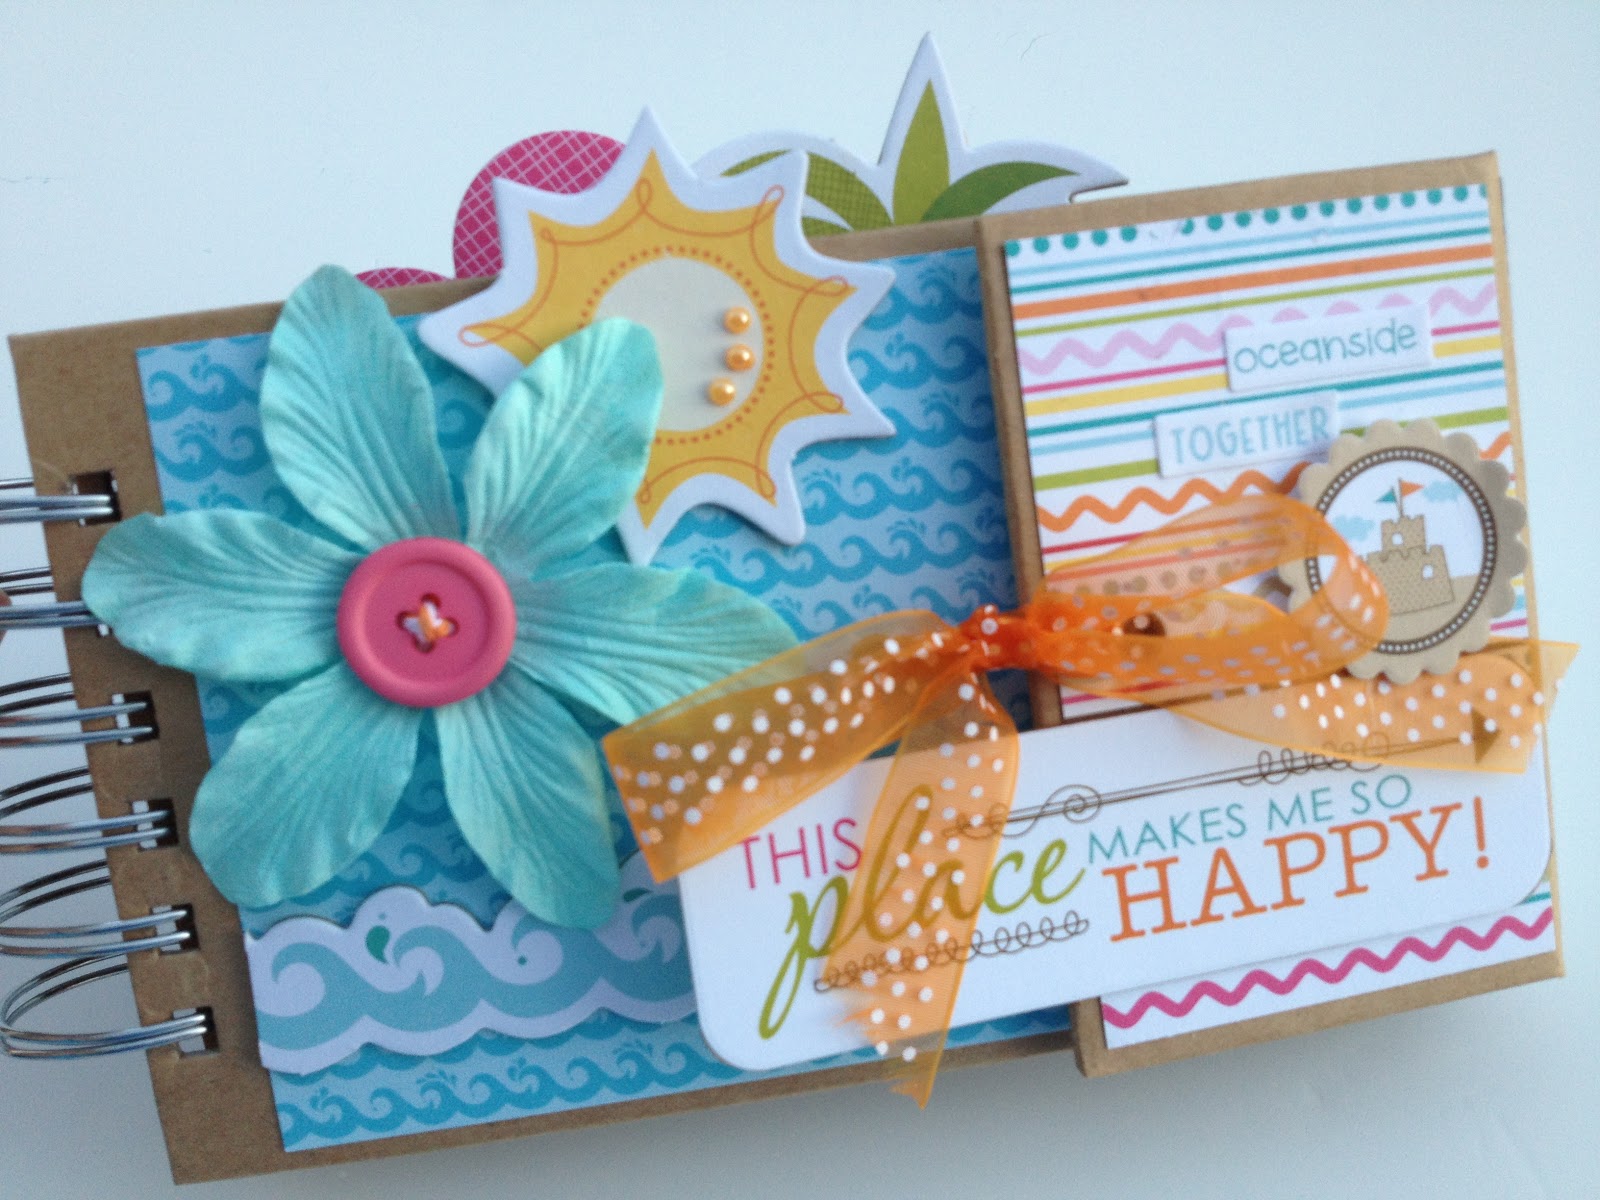
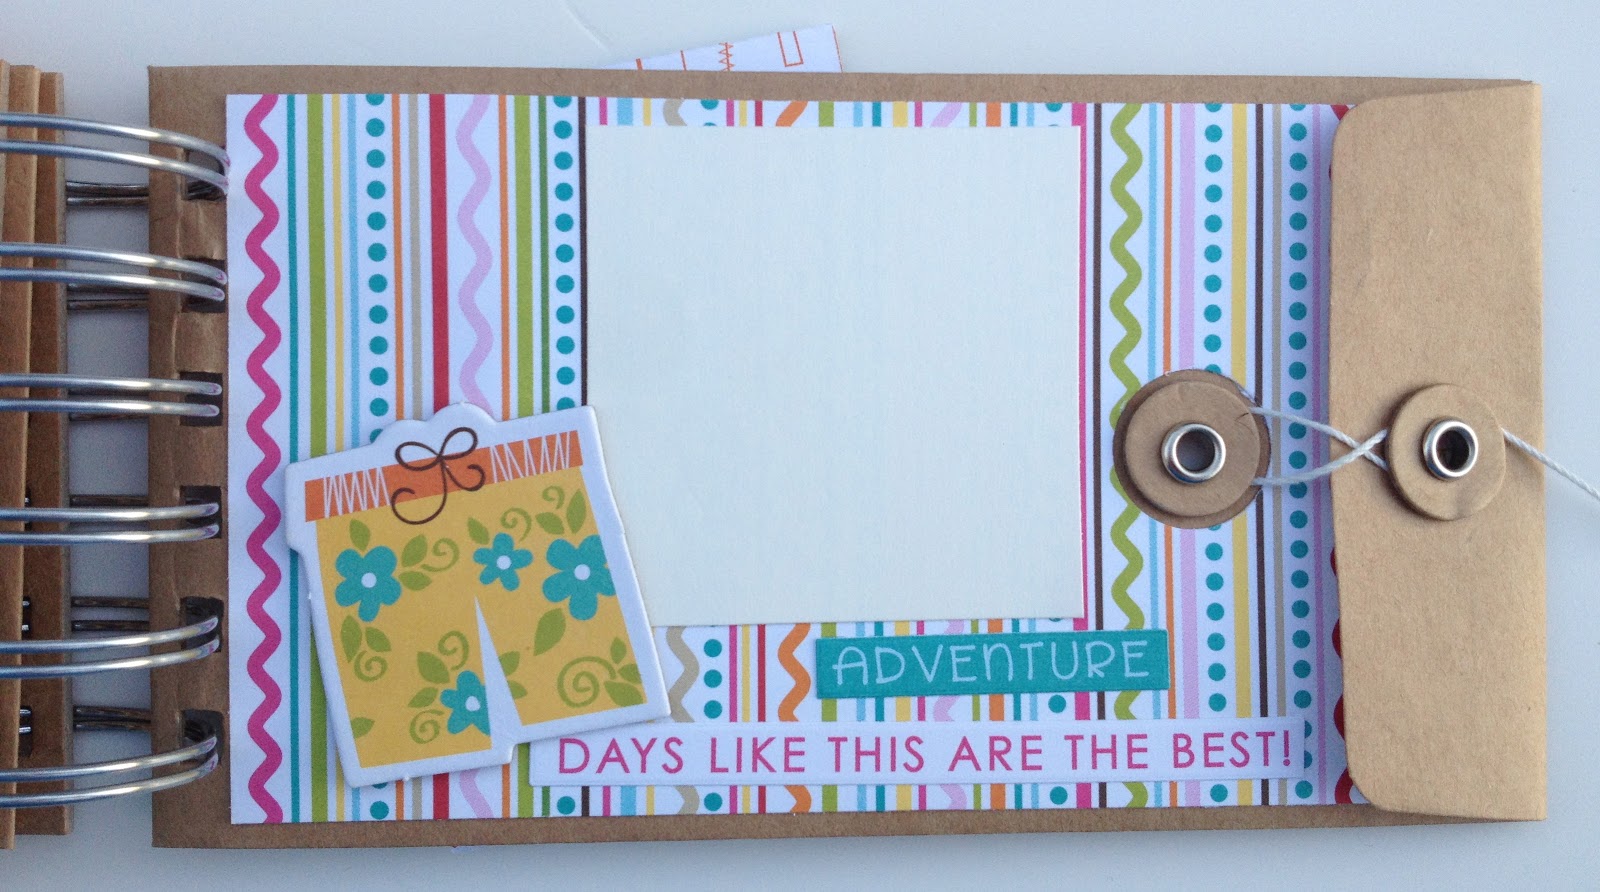
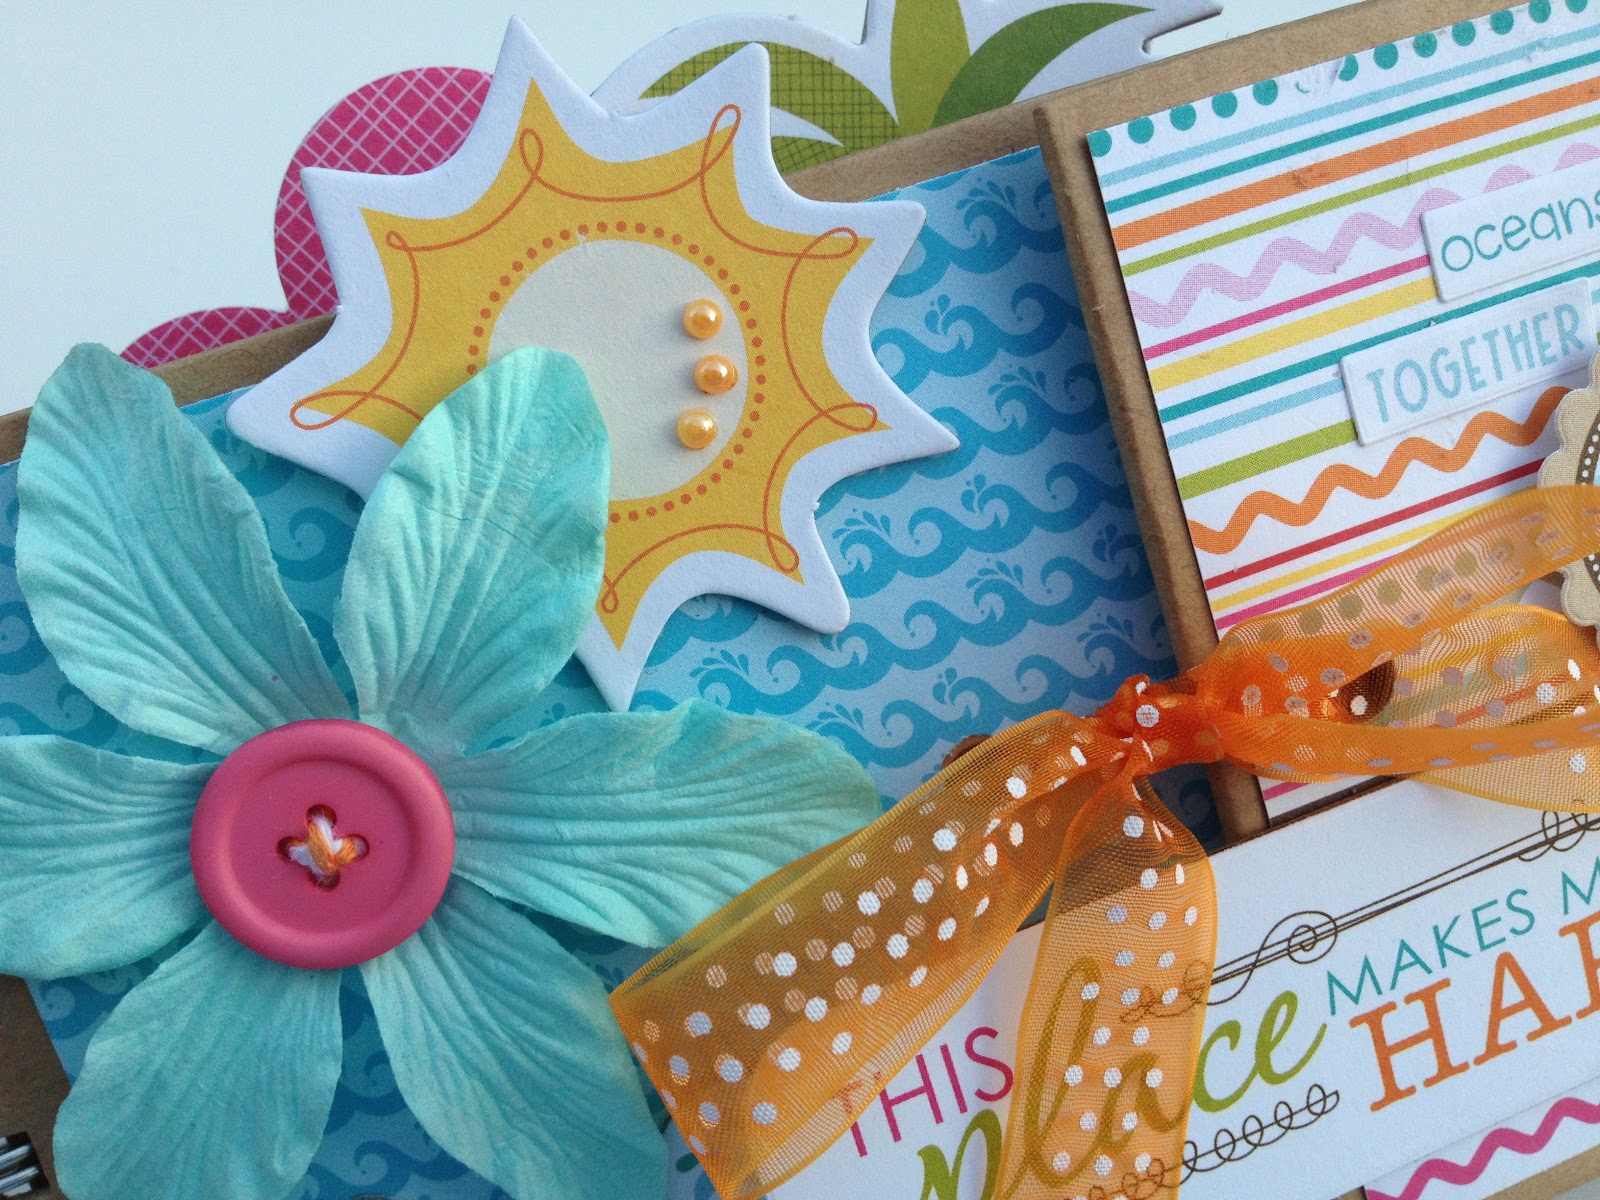
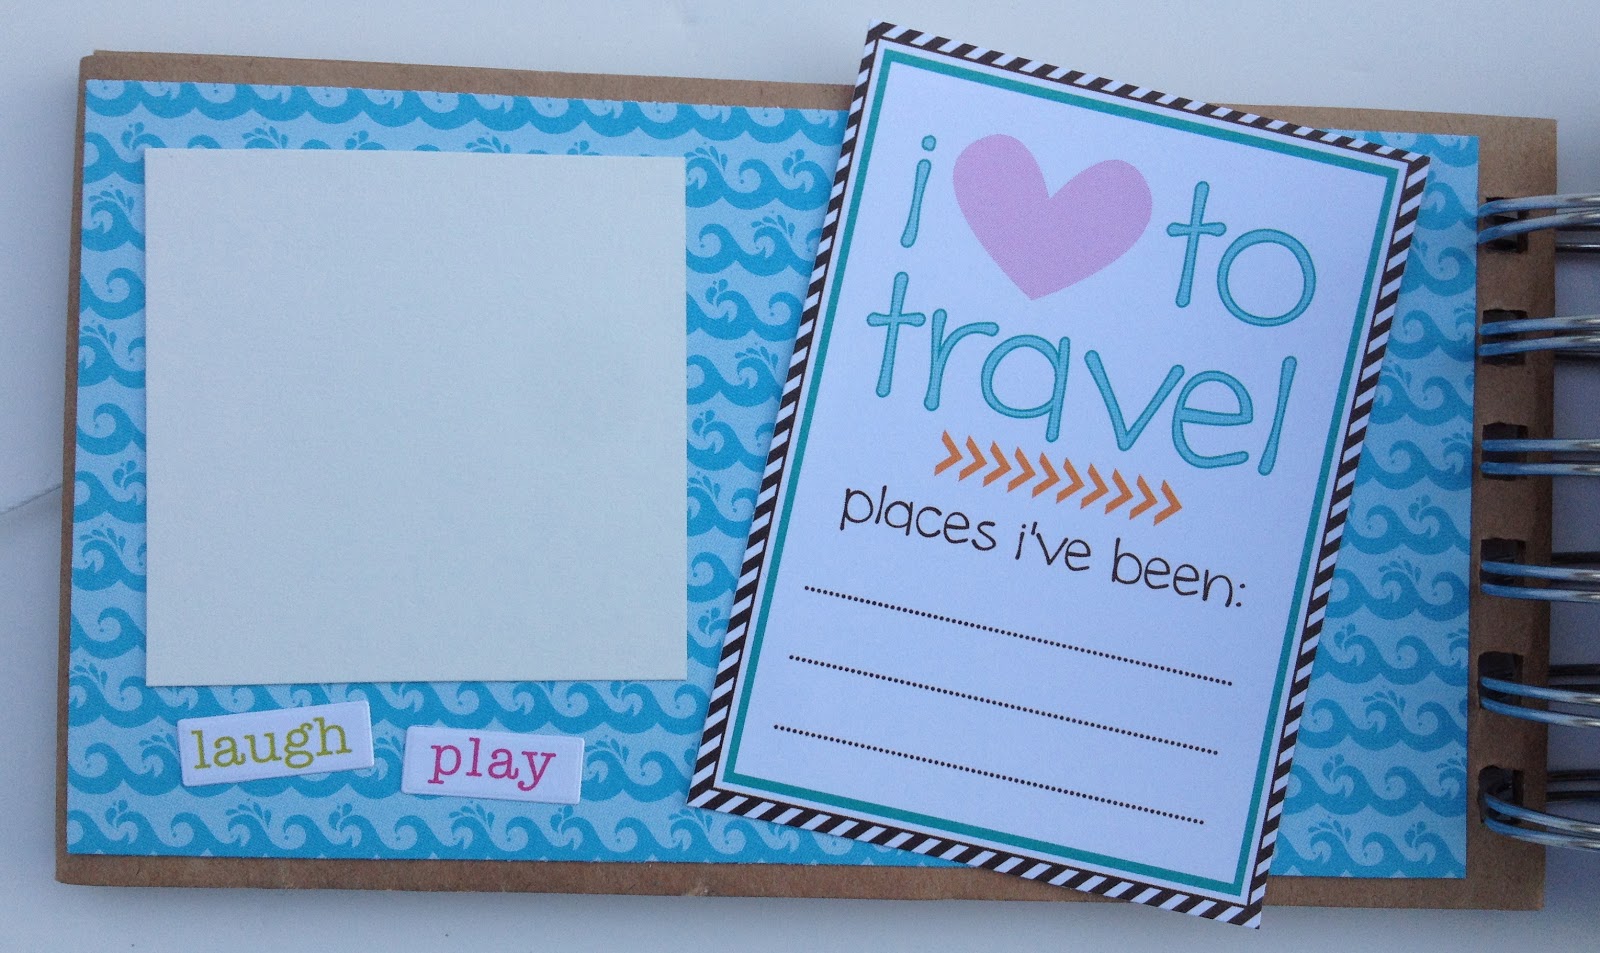
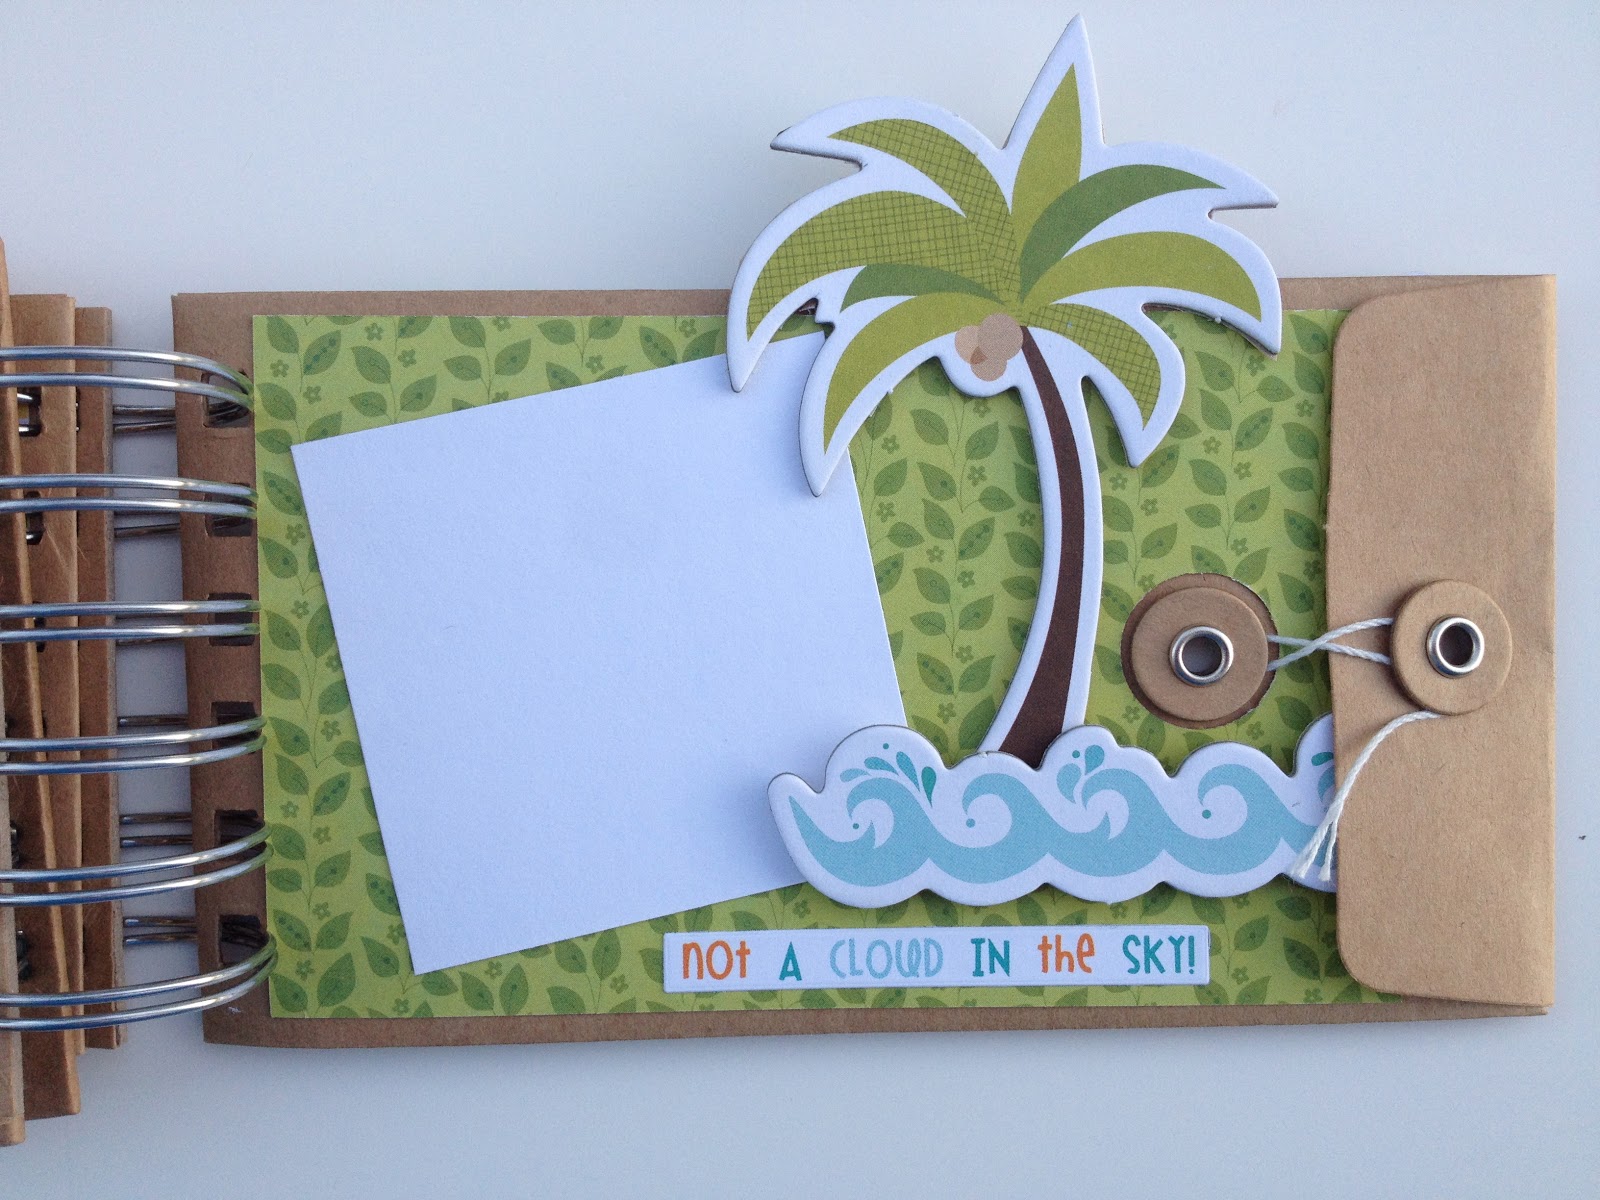
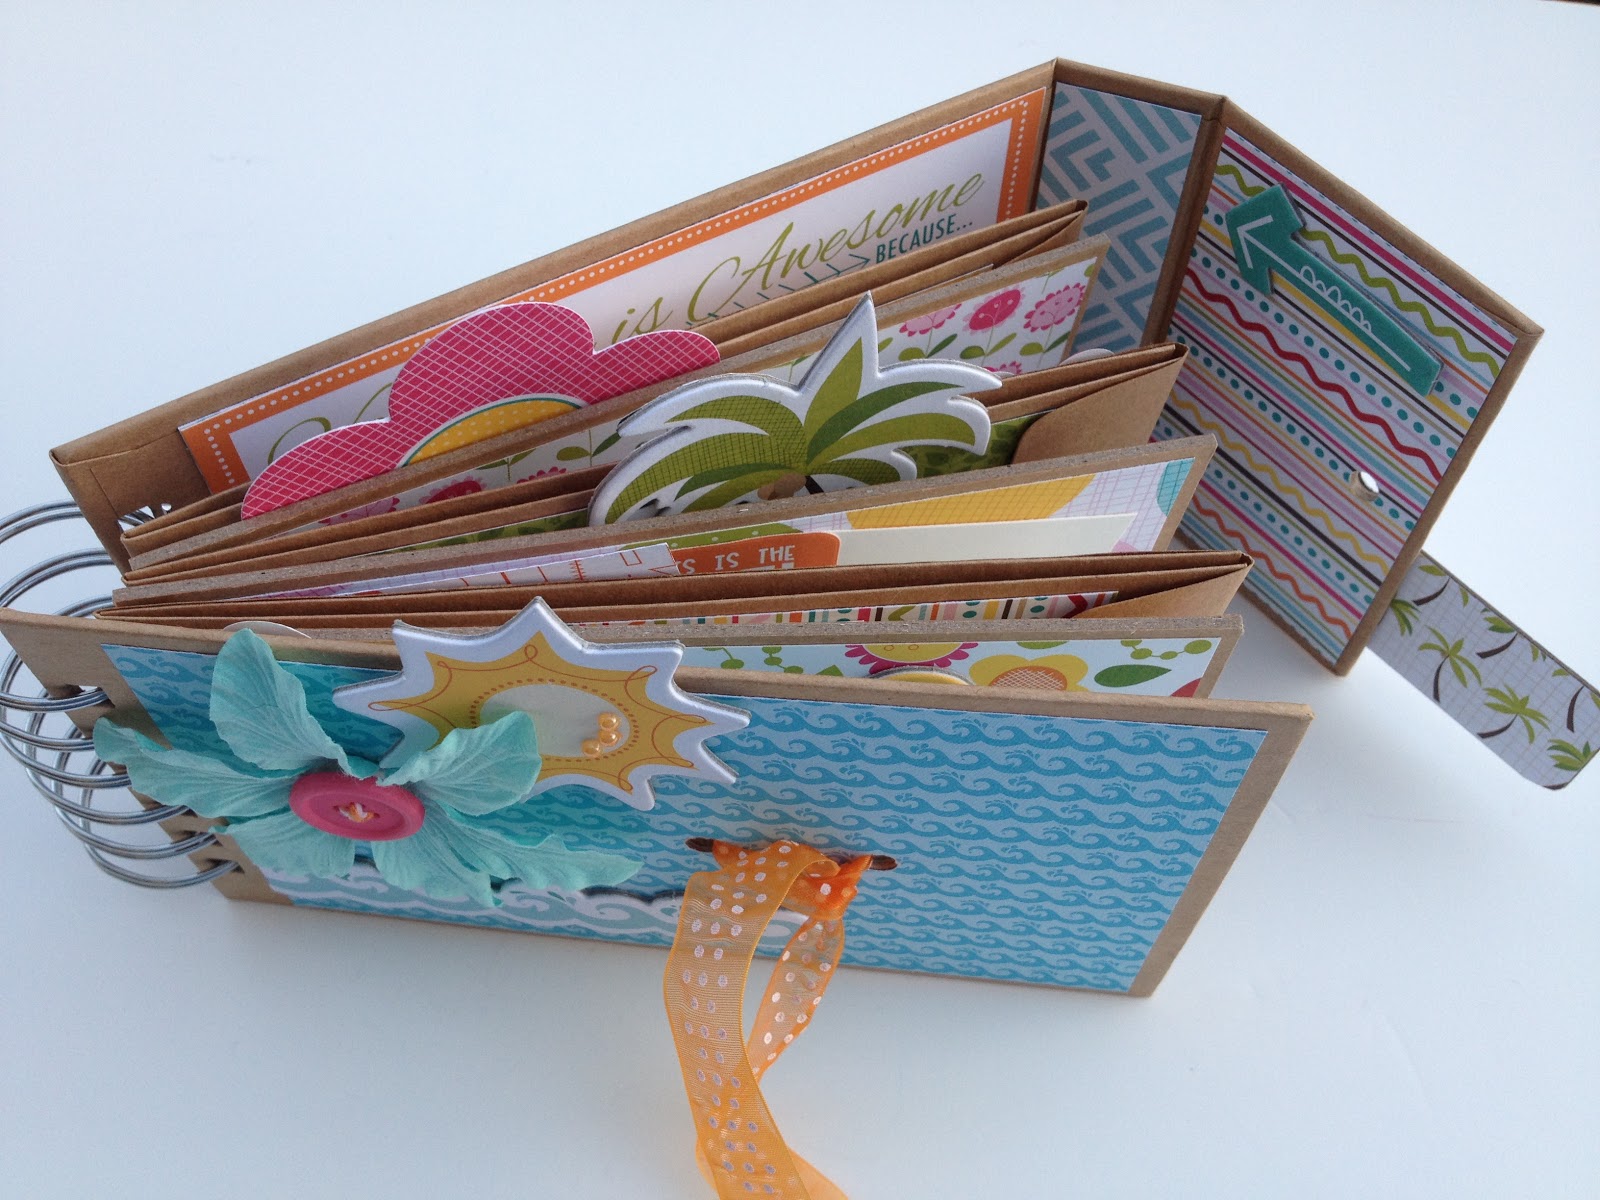
Bella Blvd's brand new collection called "Sand & Surf" inspired me to create an adorable new mini album kit entitled "This Place Makes Me So Happy".  It's a 12 page, chipboard and envelope album (by Farmhouse Paper Co.) with tons of cute beachy embellishments tucked inside.


Thanks for stopping by today friends!!  Lots more fun mini albums are in the works this month, so be sure to stay up to date by "liking" us on Facebook !


Thursday, February 14, 2013

Valentine's Day Special !

Happy Valentine's Day!

I am showing some love today friends!

Today only, purchase our 
Valentine's Mini Album Kit and receive:

Free Shipping with coupon code "SHIPFREE" (valid on Valentine kit/pre-made album only)
and
1 free pkg of red Jillibean Journaling Sprouts (24 pieces)


Tuesday, February 12, 2013

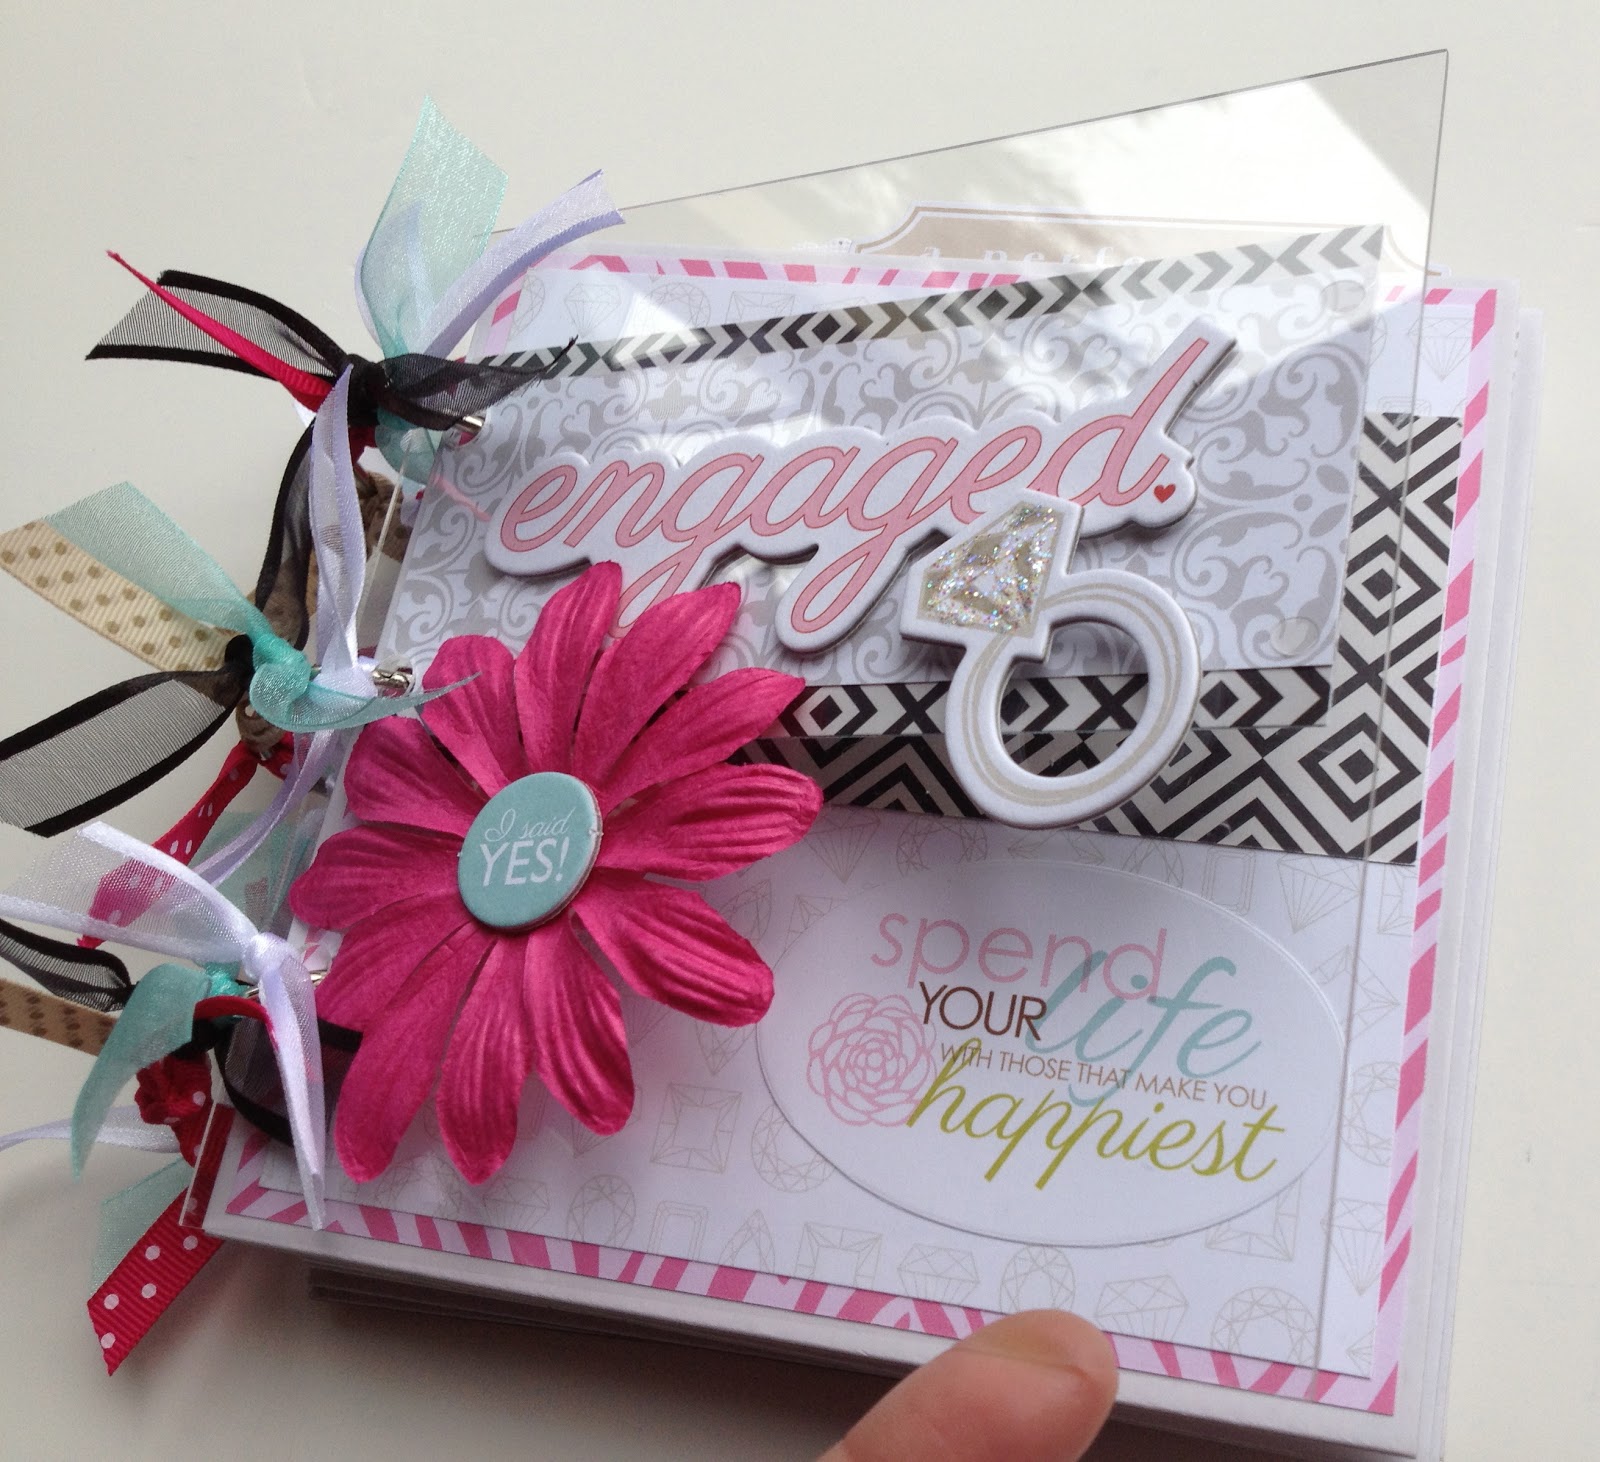
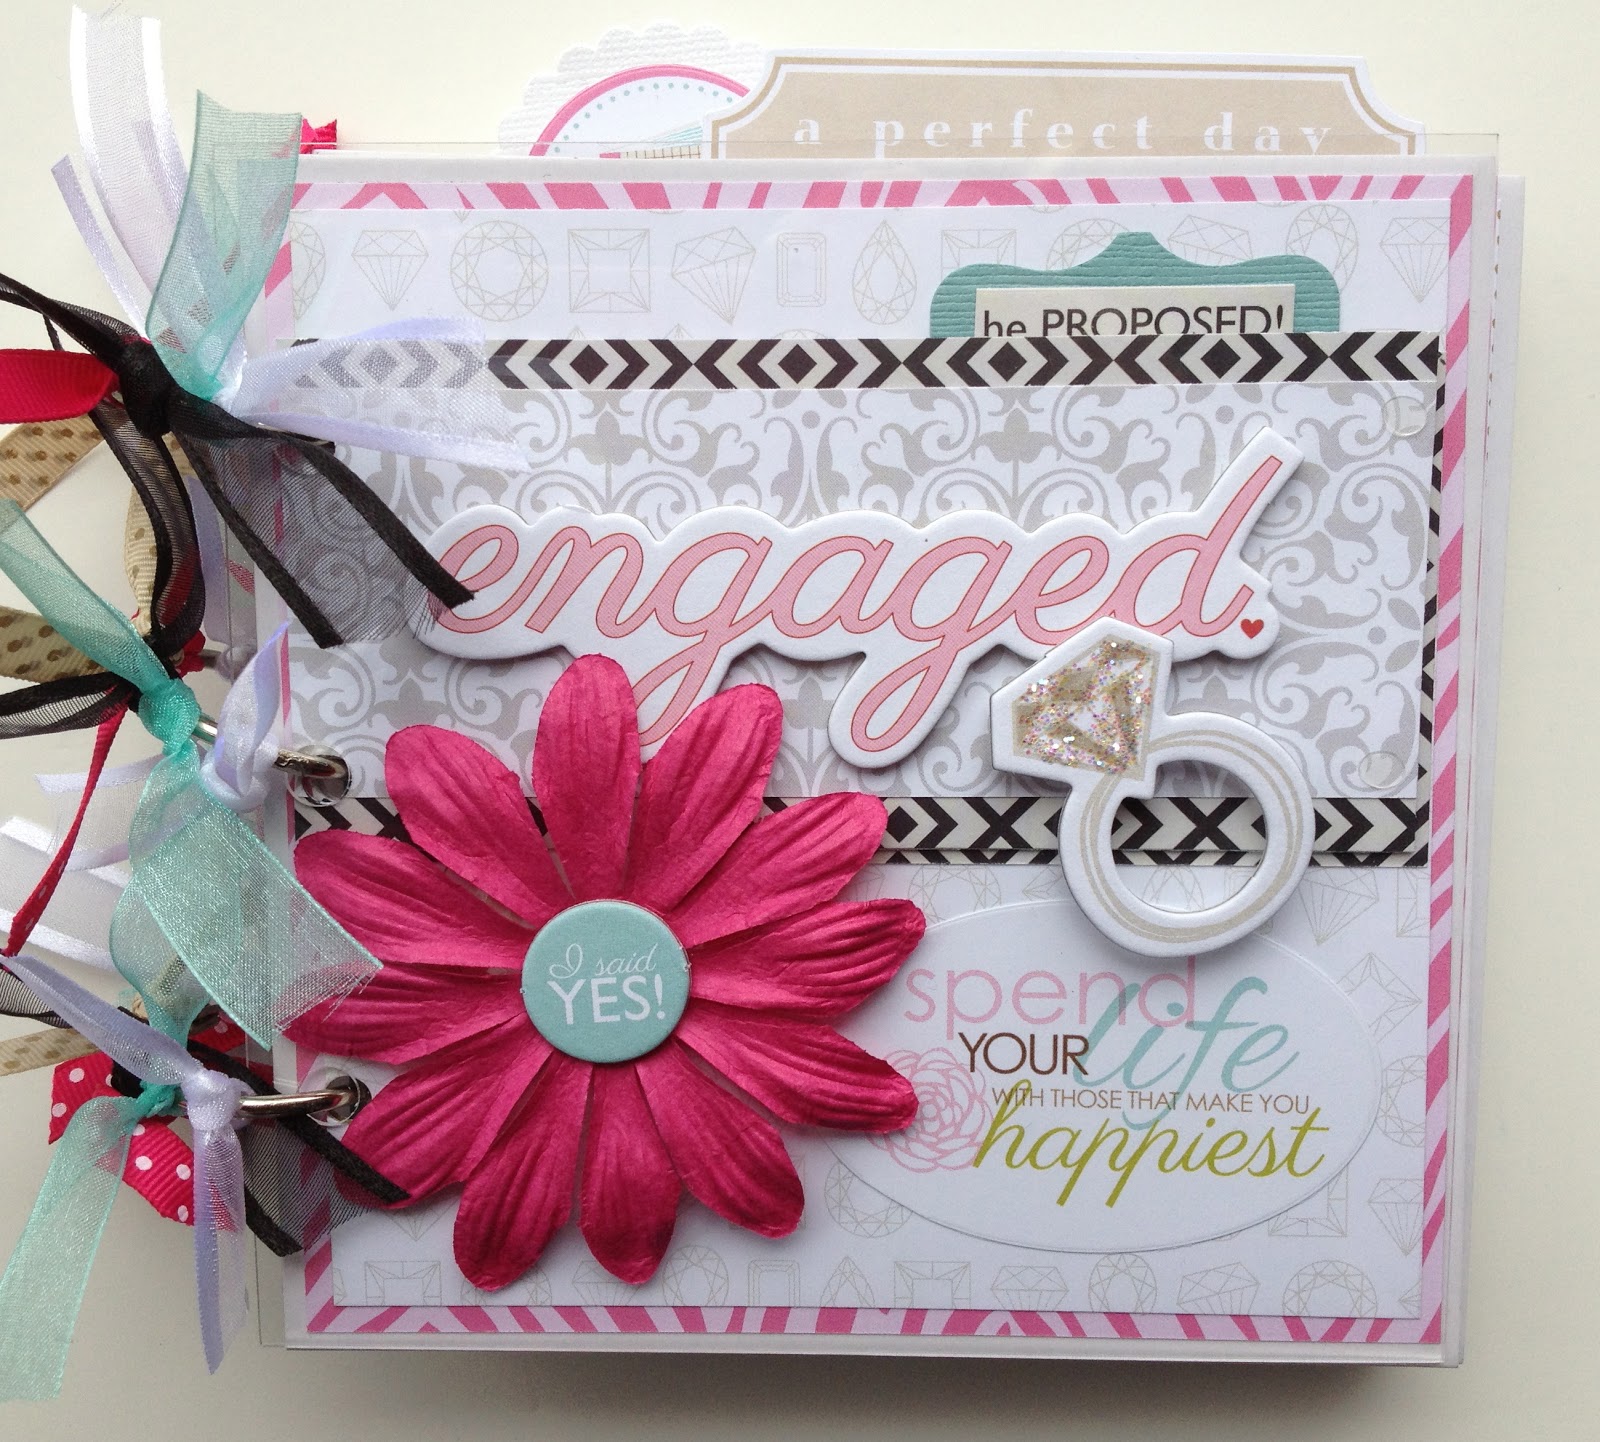
Engagement Scrapbook Album

Such exciting news here at the Penrod house recently -- my son asked his sweet girlfriend of 5 years to marry him!  We are thrilled and are looking forward to all of the fun preparations for a November wedding!

All of this excitement and talk of rings and weddings, inspired me to create a new mini album kit for the shop, and lucky for me, Bella Blvd just released the perfect paper line called "Engaged At Last".  I always love creating my minis, but this one made me smile every single time I placed an embellishment on a page -- kept thinking of Jordy and Chrissy...btw, here's a photo of the happy couple....they are probably going to kill me :)


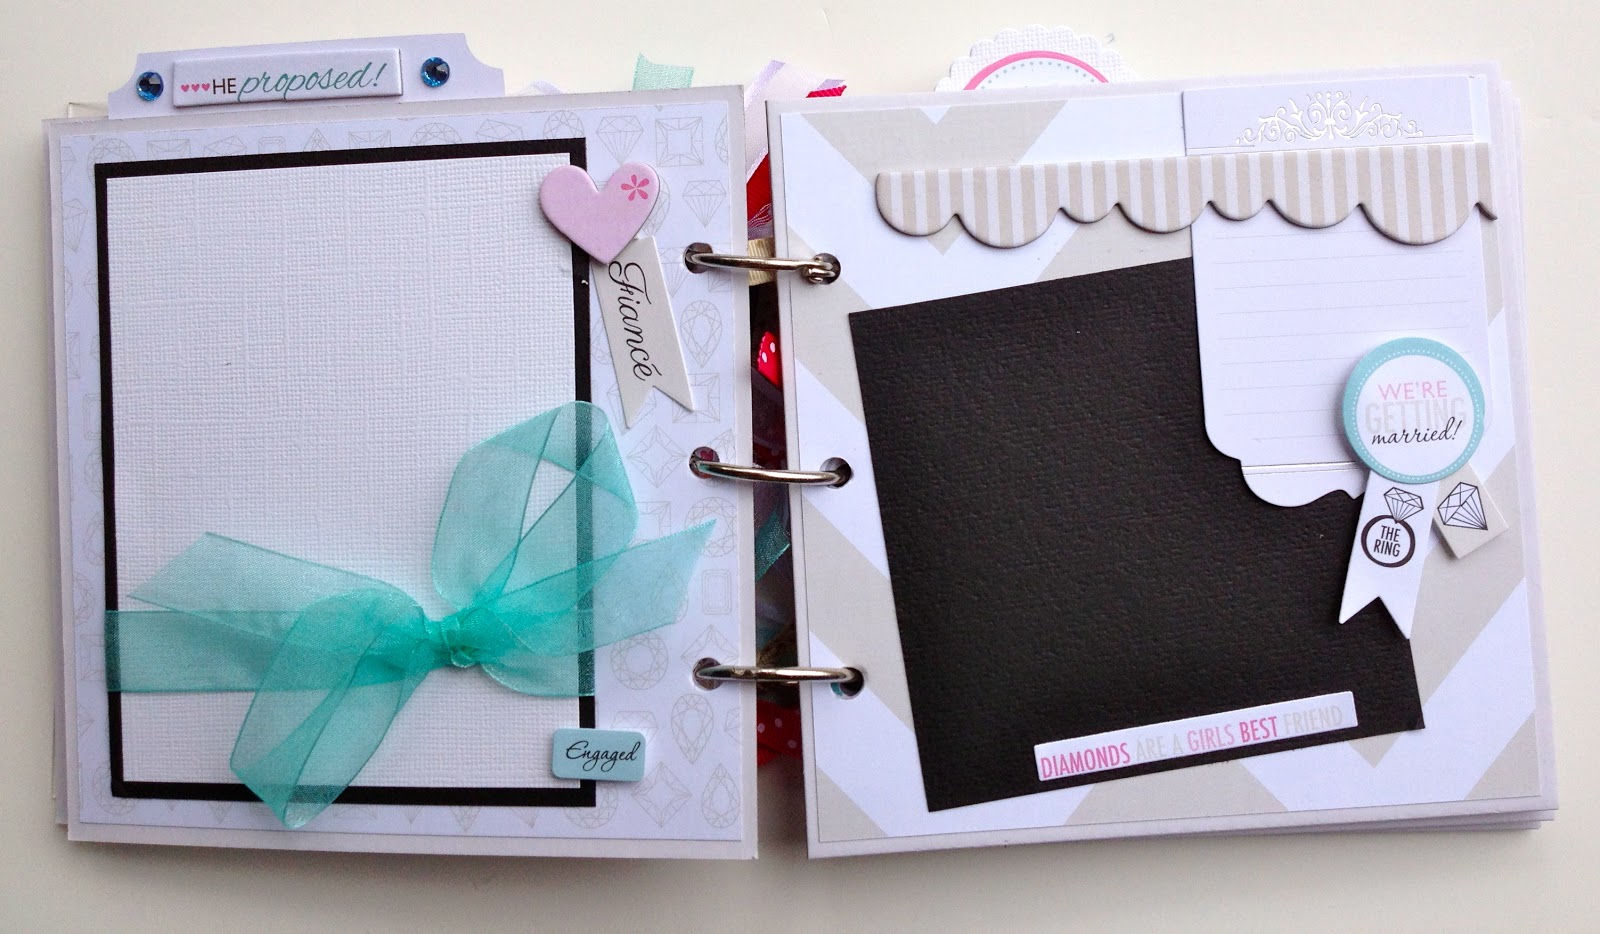
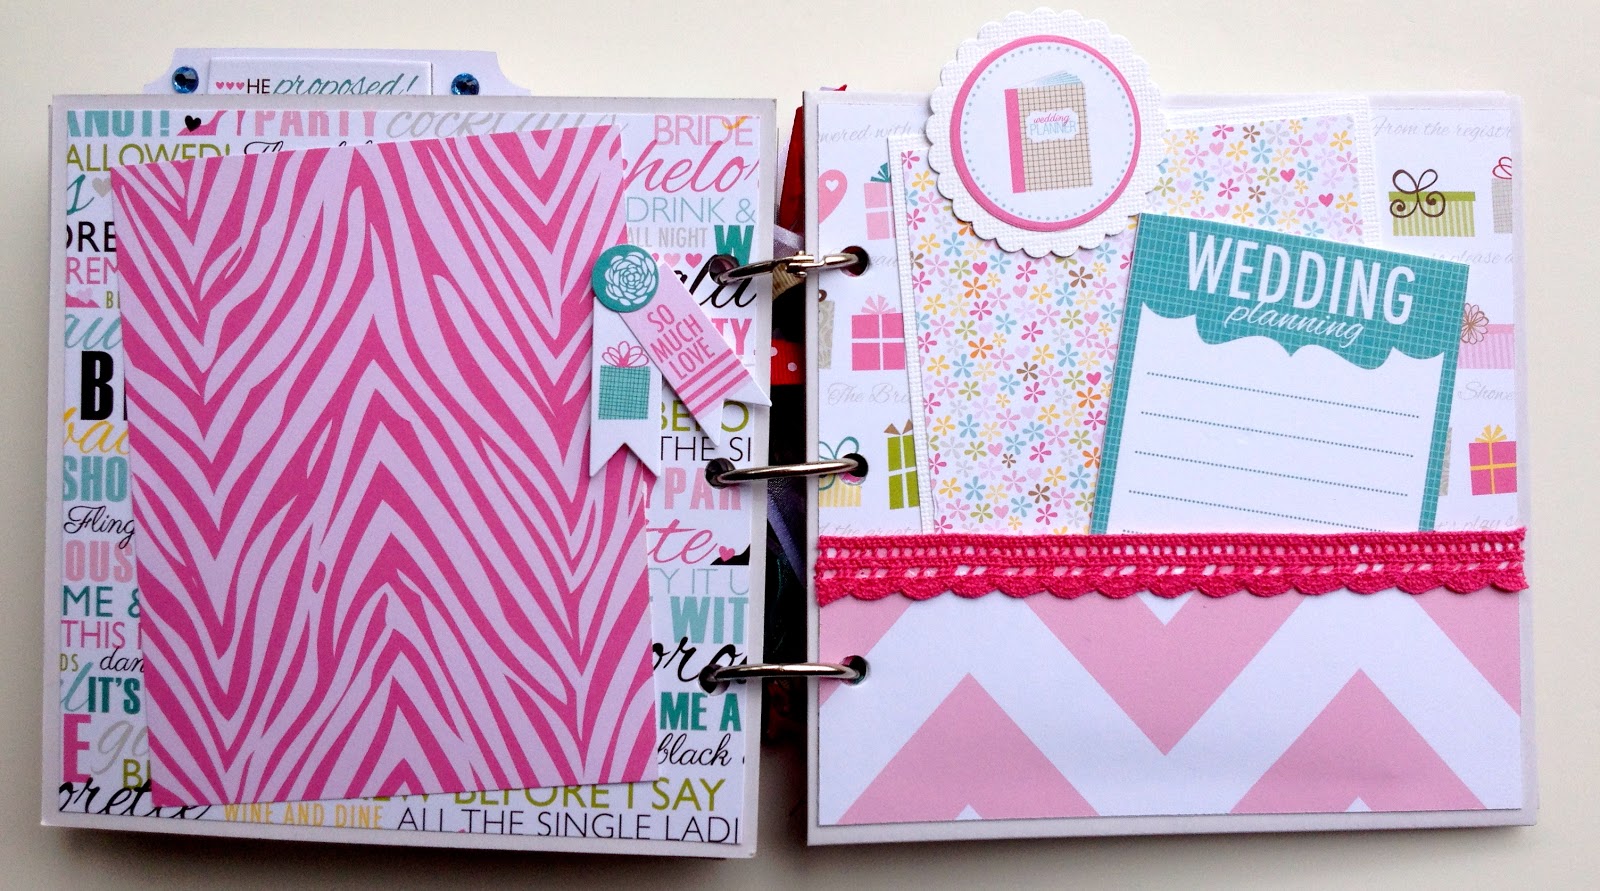
And here is the mini album they inspired...LOVE it!  So if you know someone who recently got engaged, and you need a great gift, pop over to Artsy Albums and check out this wonderful way to save those memories (available as a do-it-yourself kit, or pre-made).


Engaged Mini Album Kit

To buy one pre-made, send me an email at [email protected]


Monday, February 11, 2013

Frosted Designs Challenge Blog

Good morning Artsy friends!

It is a very rainy day here in North Georgia, but despite the grey skies I am one very happy girl :)  I'm excited to announce that I've been invited to join the Frosted Designs Design Team!  If you aren't familiar with Frosted Designs, here is what this fun site is all about:

"Every other Friday we will challenge you to make a card, layout or project that uses the supplies you already have! You can win a fabulous prize just for playing along with our challenges! We also provide a tutorial every week to encourage you to try new things and take your crafting skills to the next level! Our hope is that this blog gives everyone inspiration and creativity for their paper crafts".  
Frosted Designs
Frosted Designs So if you are like me, and love a little inspiration to boost your scrappy creativity, then visit Frosted Designs and take part in their fun challenges!  The latest challenge is posted HERE, and you have until noon tomorrow (2/12) to link it to their blog for a chance to win!  

Thanks for stopping by...

Tuesday, February 5, 2013

Layered Washi Tape Flowers: A Tutorial

Good morning friends!

I'm excited to share a tutorial with you today!  If you saw yesterday's post, you know that I recently had fun coming up with some creative ideas for using washi tape.  Of all the ideas, the layered flowers were my favorite so I wanted to share the "how to" steps with you today.


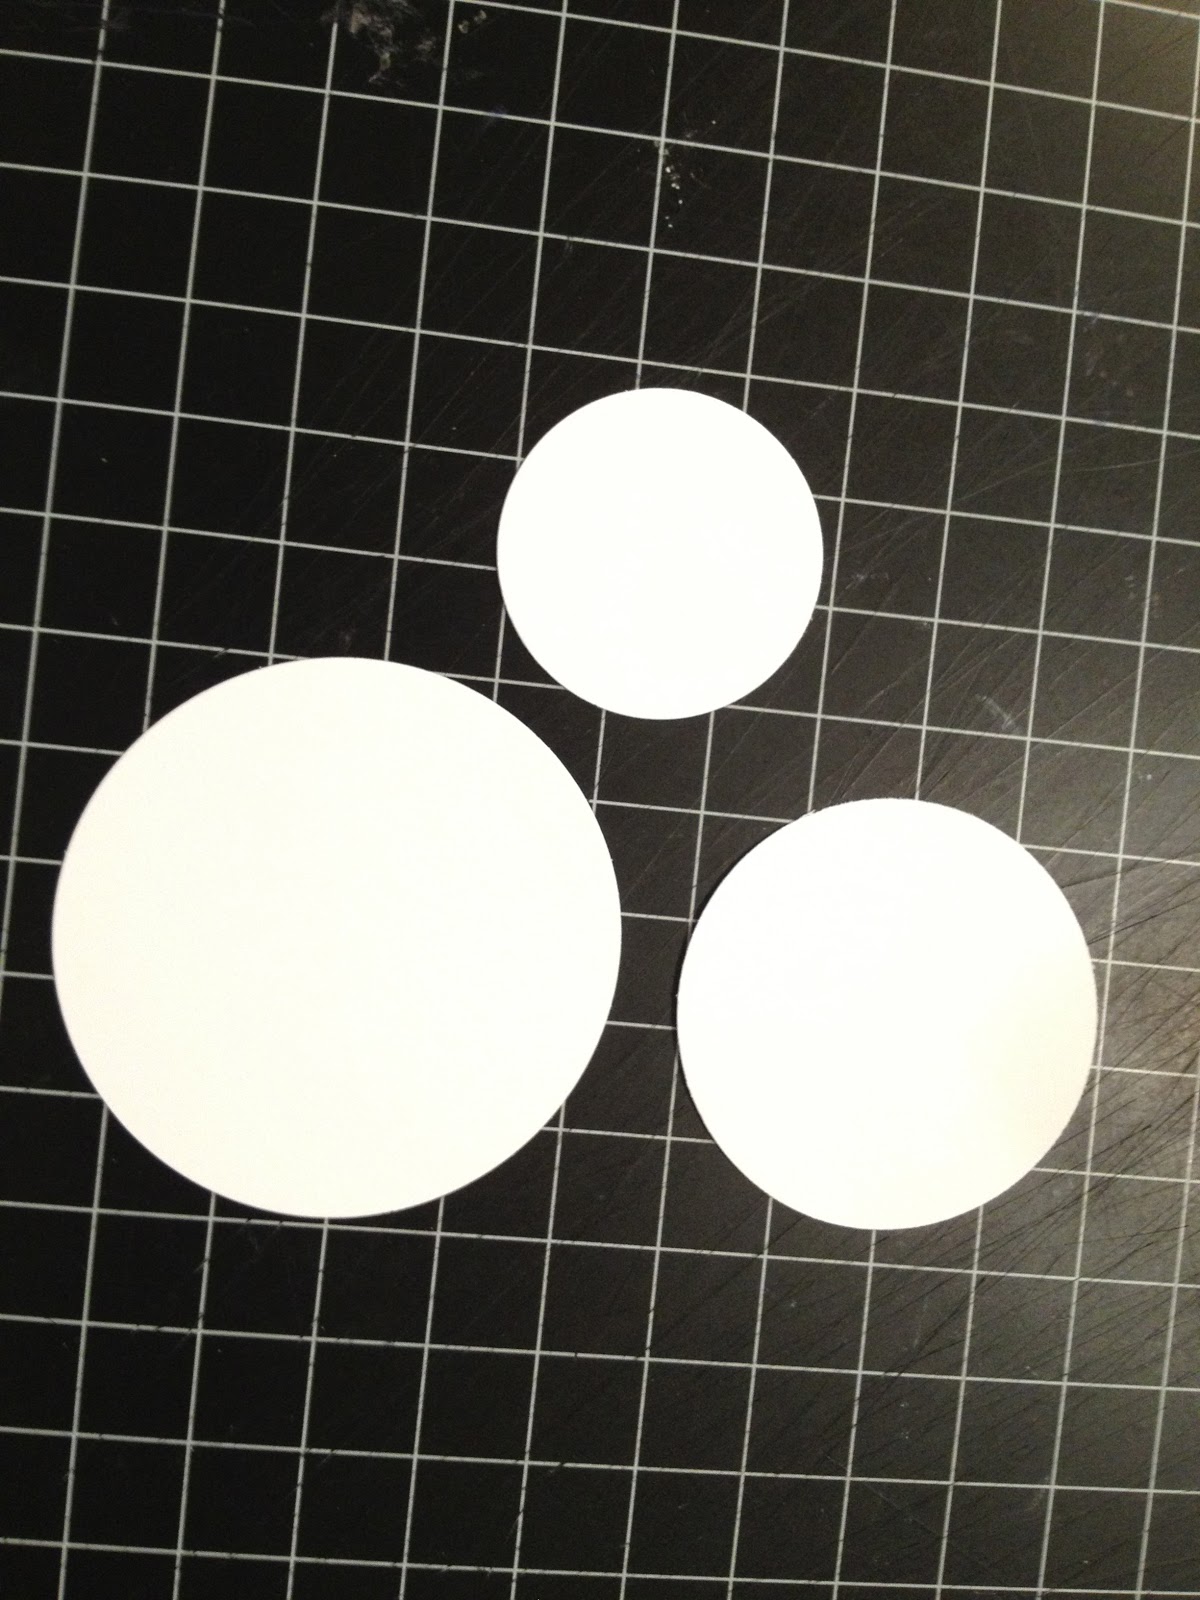
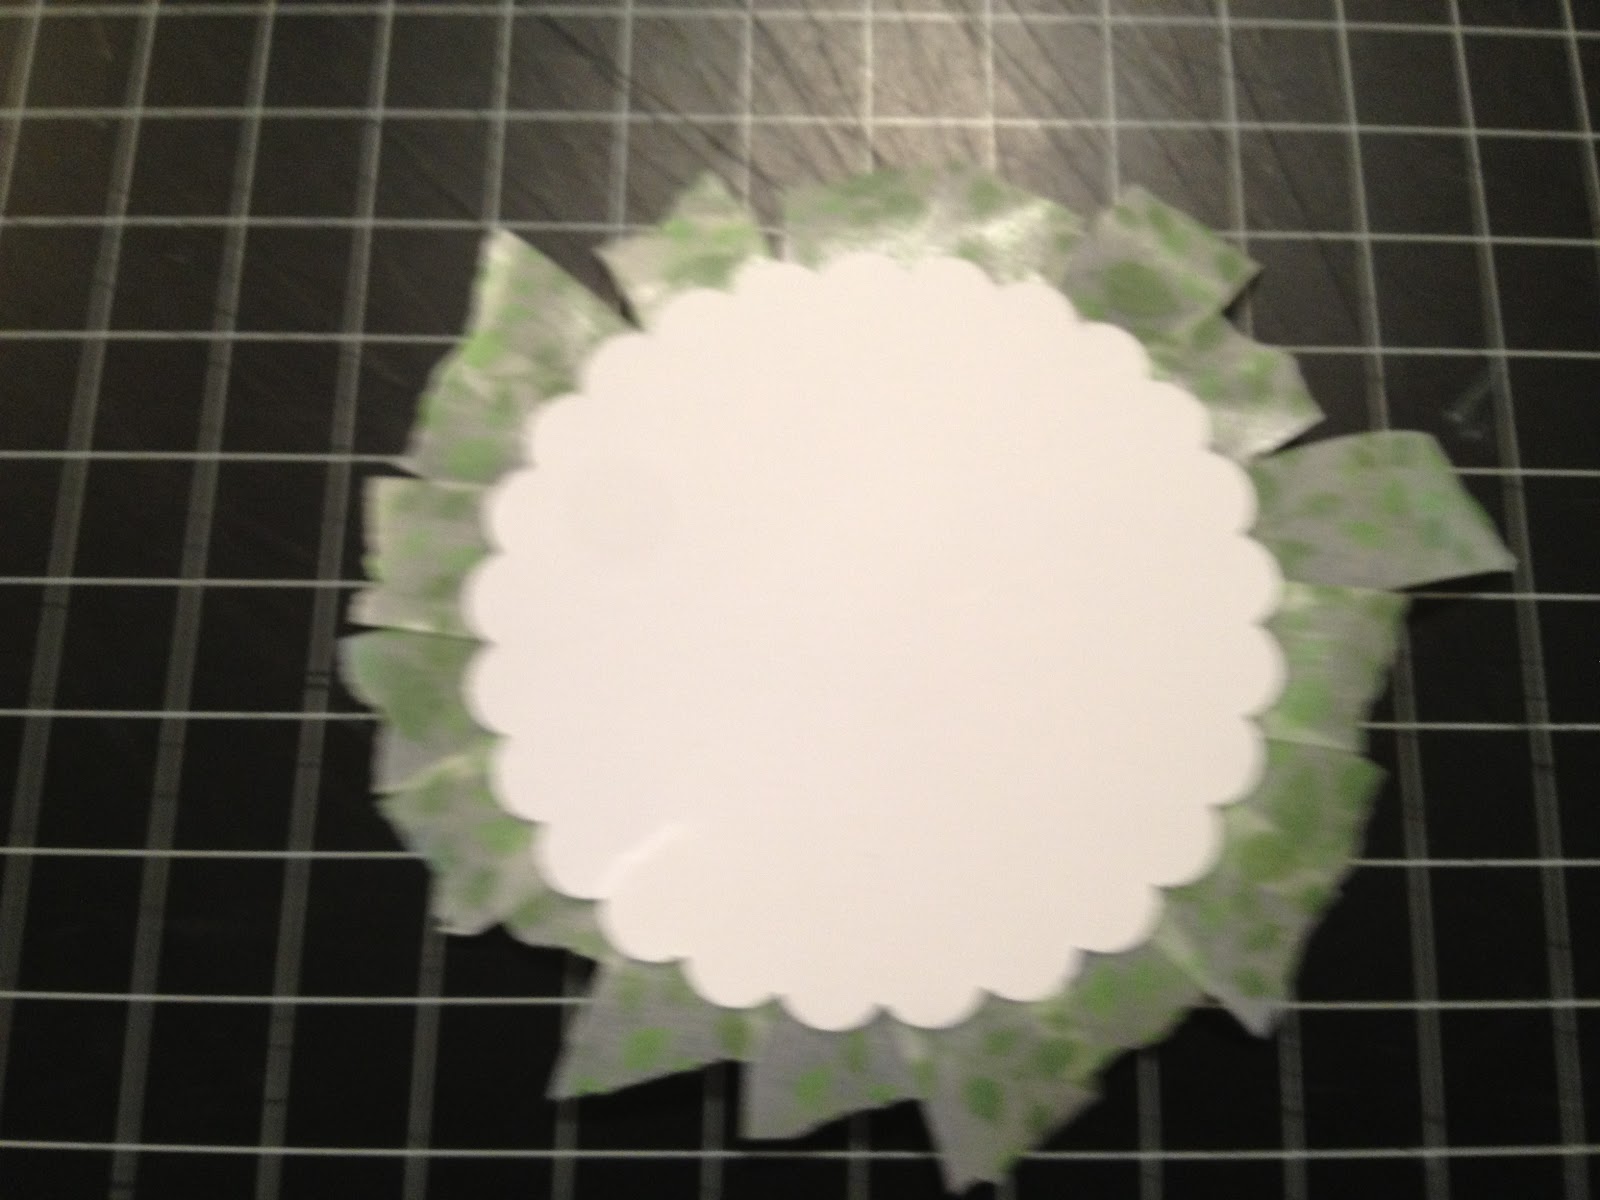
1.  You will want to start with 3 different sized white card stock circles.  I punched mine out, but you could also die-cut, or hand cut them.  The sizes of my circles were 2.5", 2", and 1.5".  The larger your circles, the larger your flower....the smaller your circles, the smaller your flower will be.  In subsequent photos, my circles are scalloped...don't worry about this -- scalloped or plain is fine.


2.  Your washi tape can be different colors and/or widths for each layer, or the tape can all be the same. I used at least 2 different colors of tape on my flowers because I wanted the layers to pop.  

You will want to work on a craft mat or table surface so that your flowers can peel away from the surface easily. I don't recommend working with a piece of paper under your flower, as this will make it difficult to peel the flower up from the paper.

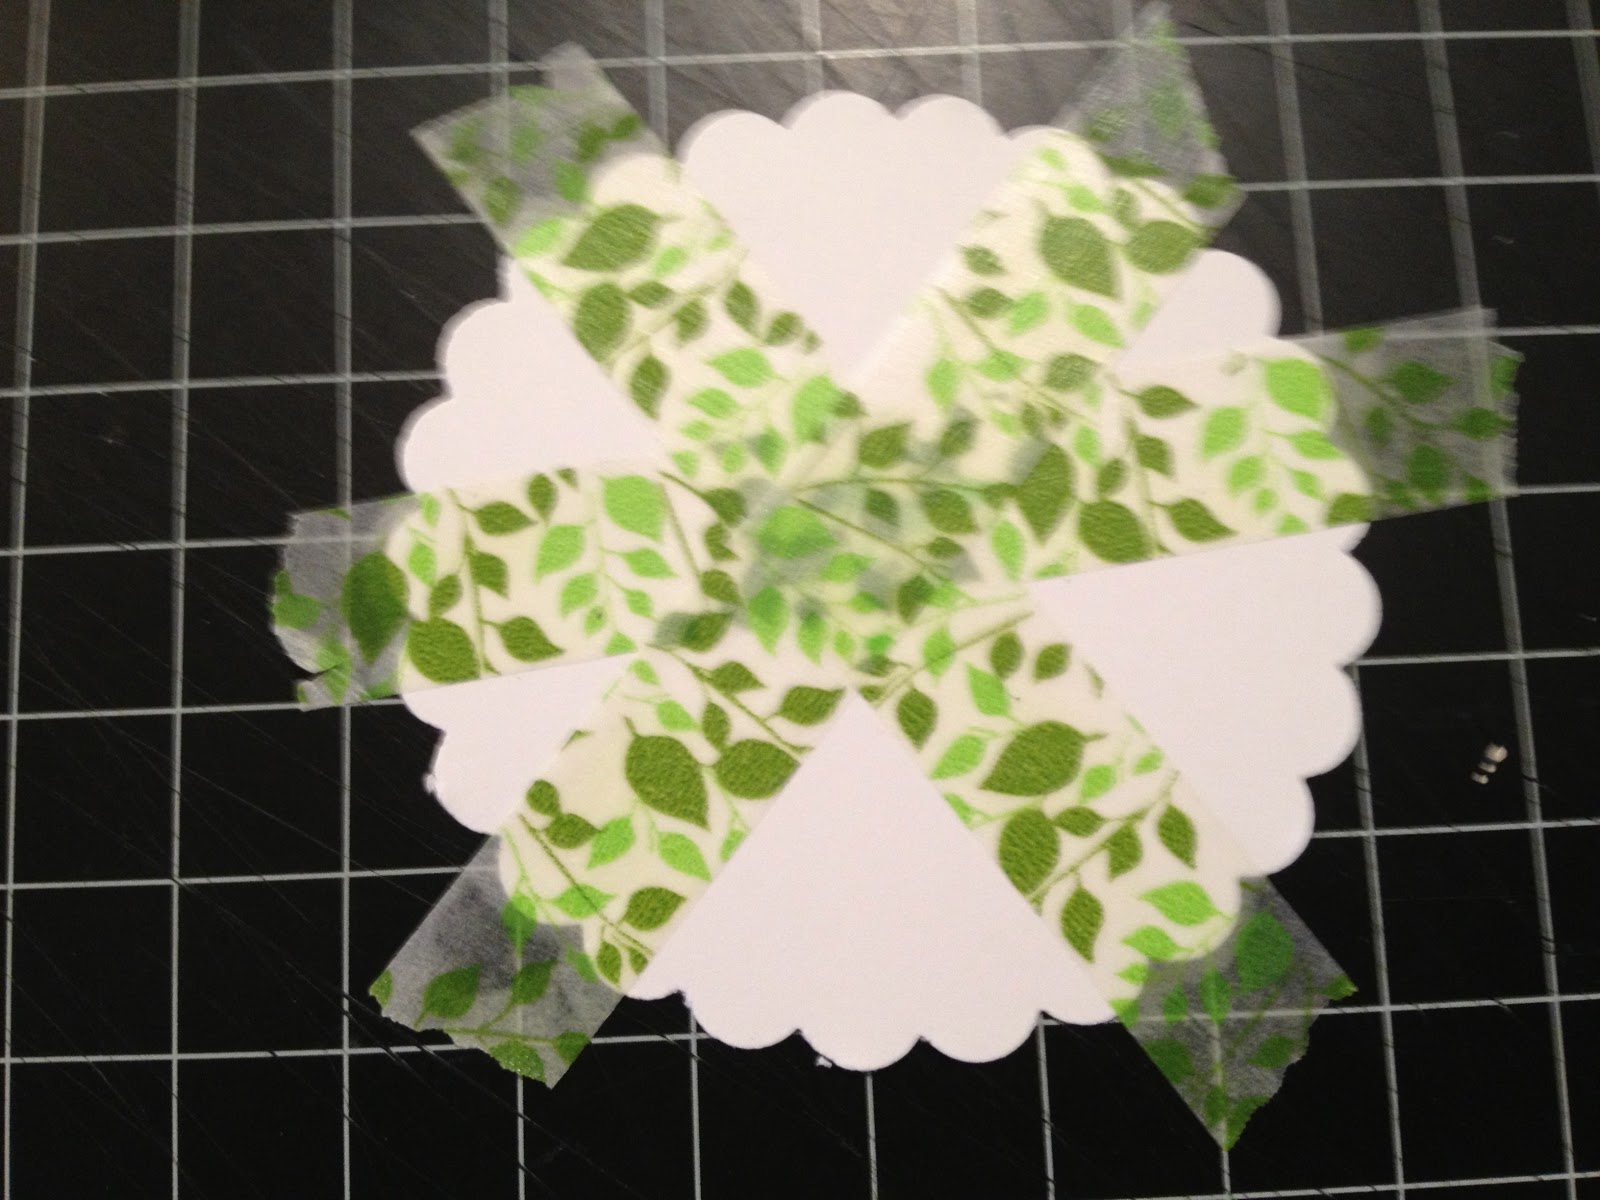
Start by adhering strips of washi tape on one side of a circle. You don't need to press the tape to the surface under your circle -- you will be lifting it off in a moment.  Be sure that the tape strips are longer than the diameter of your circle, so that each one sticks out over the edges. I chose to tear, rather than cut, my tape to give the flower a "ruffled" appearance.


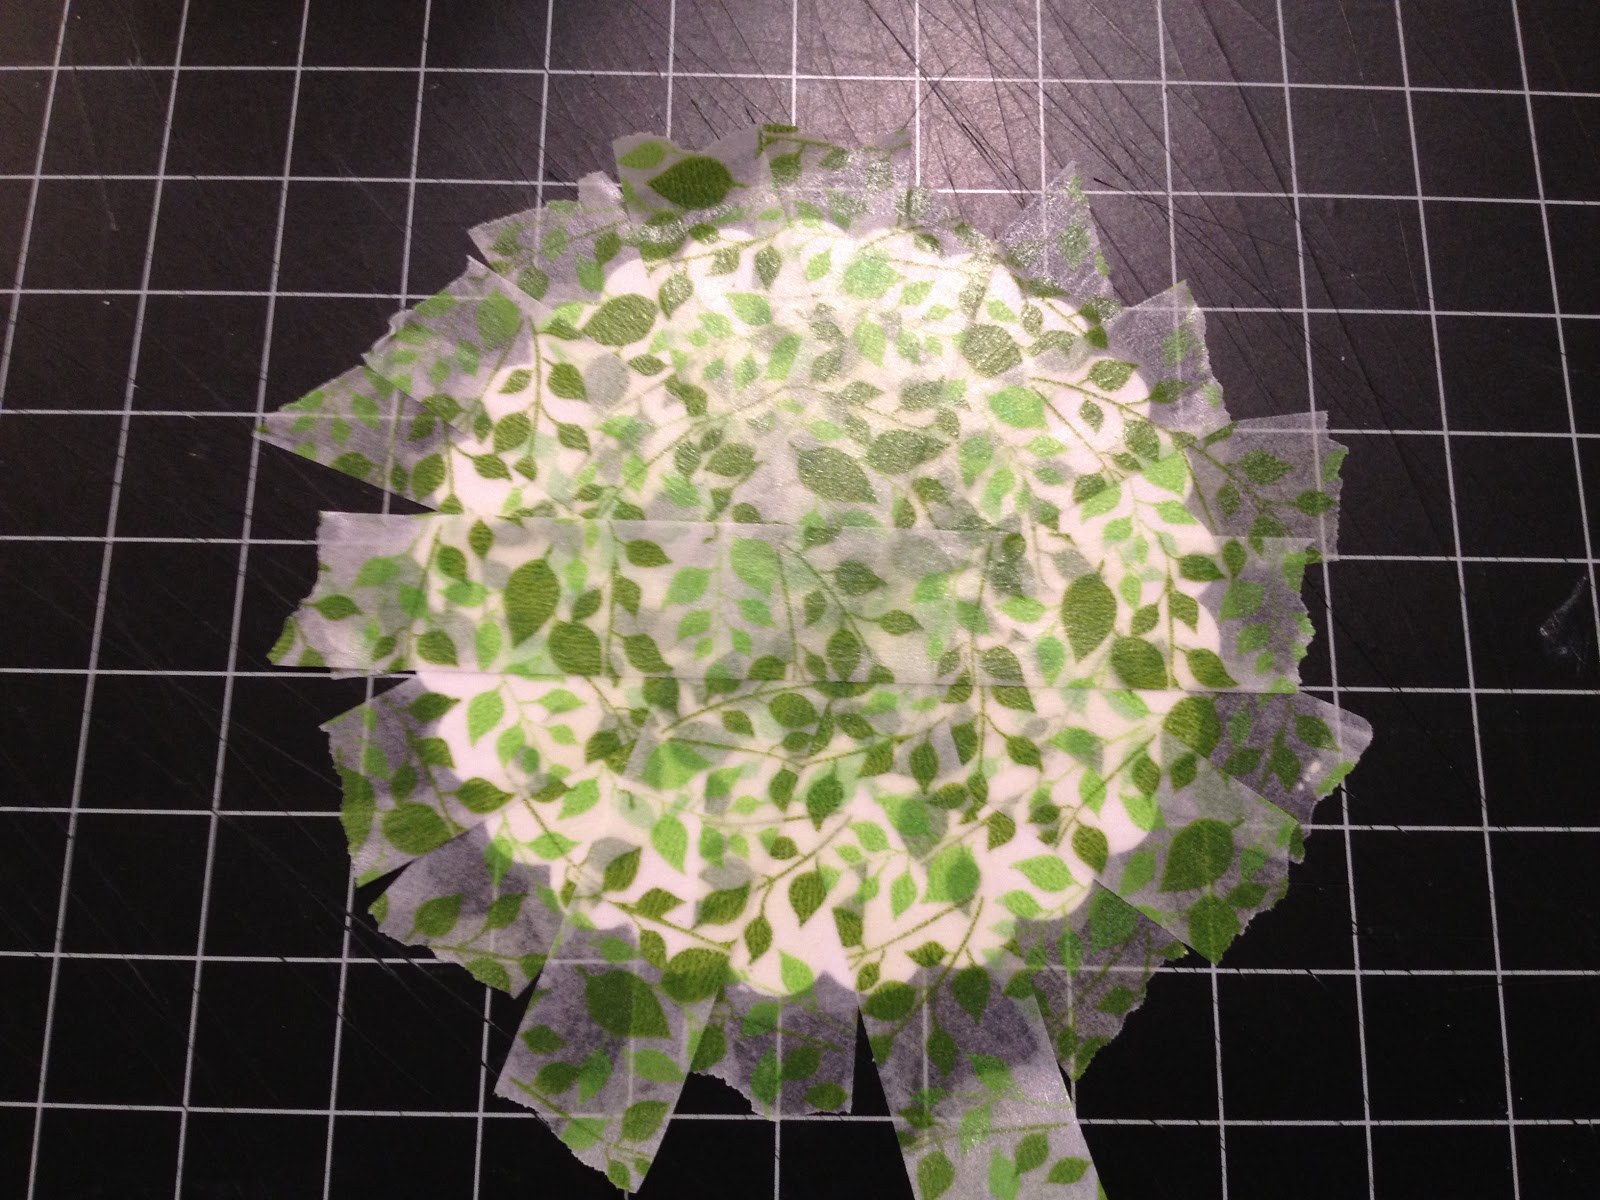
3.  Continue to add tape strips until the entire white circle is covered.  


4.  Carefully peel the circle up from your surface and flip it over to repeat the process on the other side.


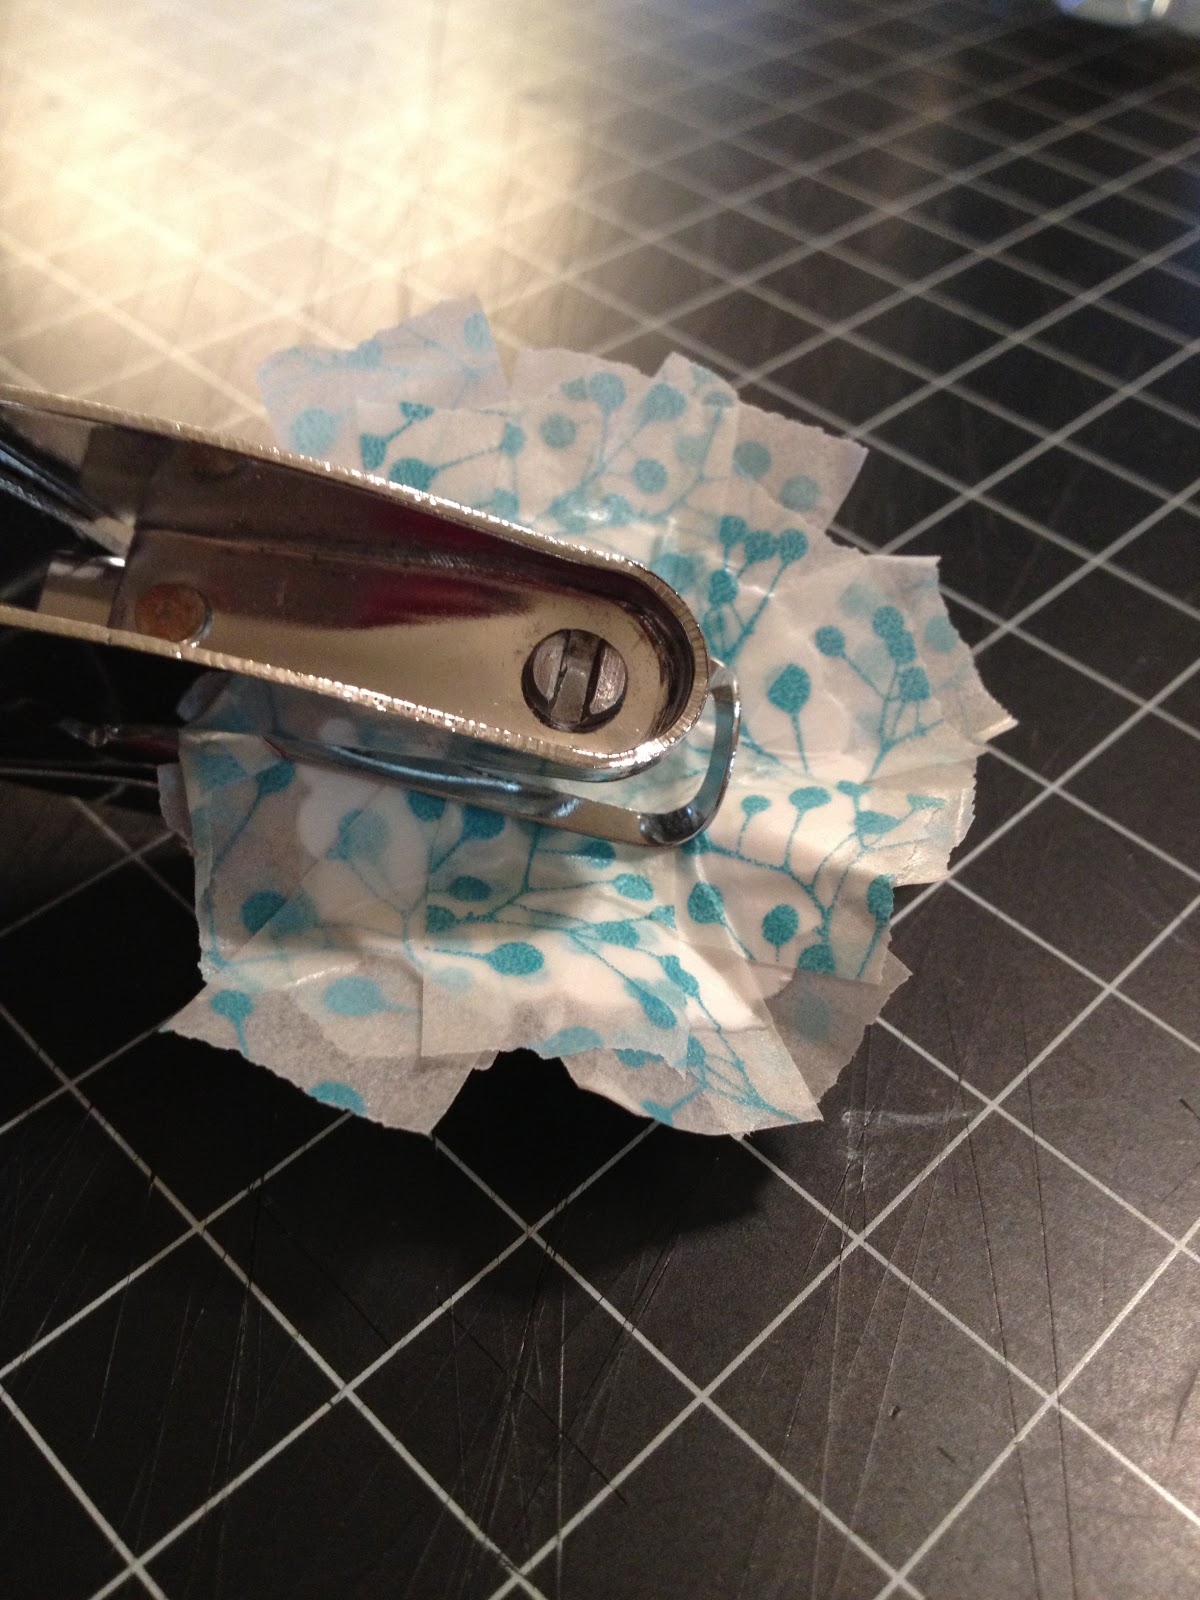
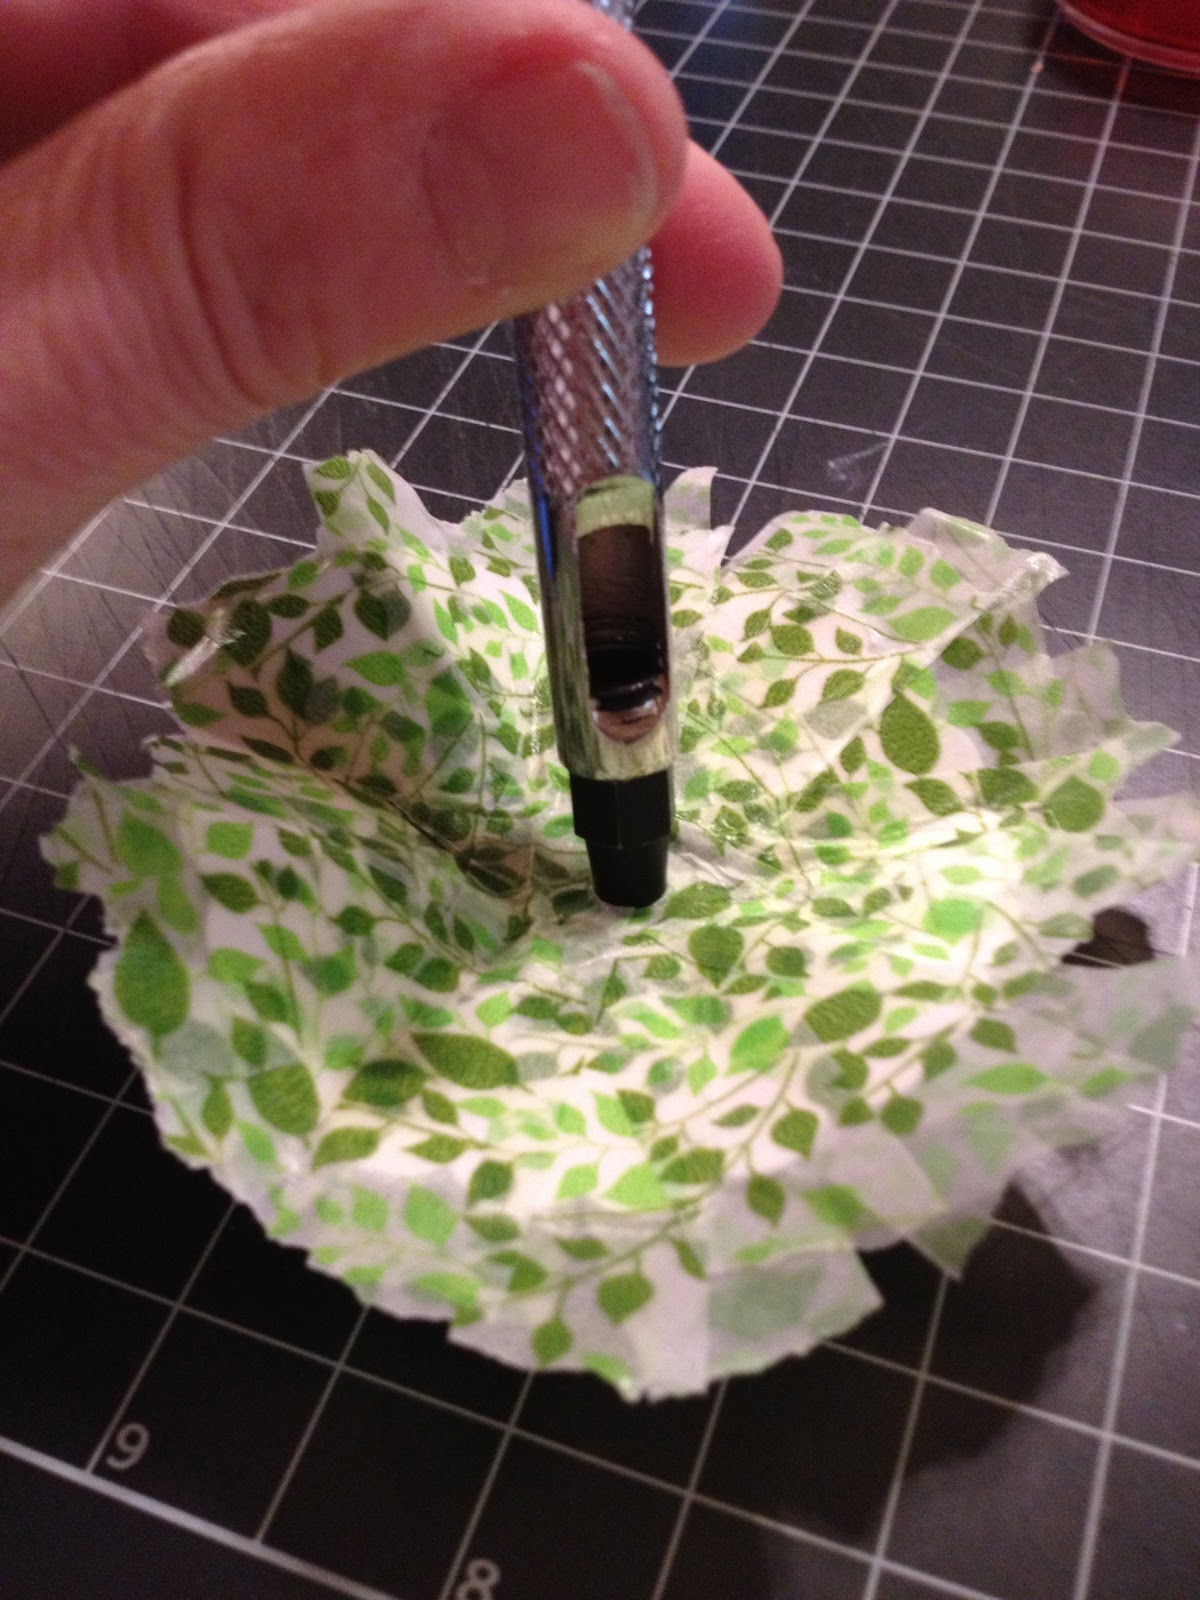
5.  Once both sides of your circle are covered with washi tape strips, punch a tiny hole in the center of the circle.  For smaller circles you can use a small 1/8" hole punch.  For larger circles you can use a paper piercer or an "anywhere" hole punch.
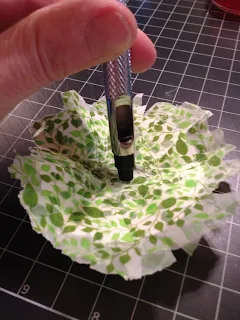
 

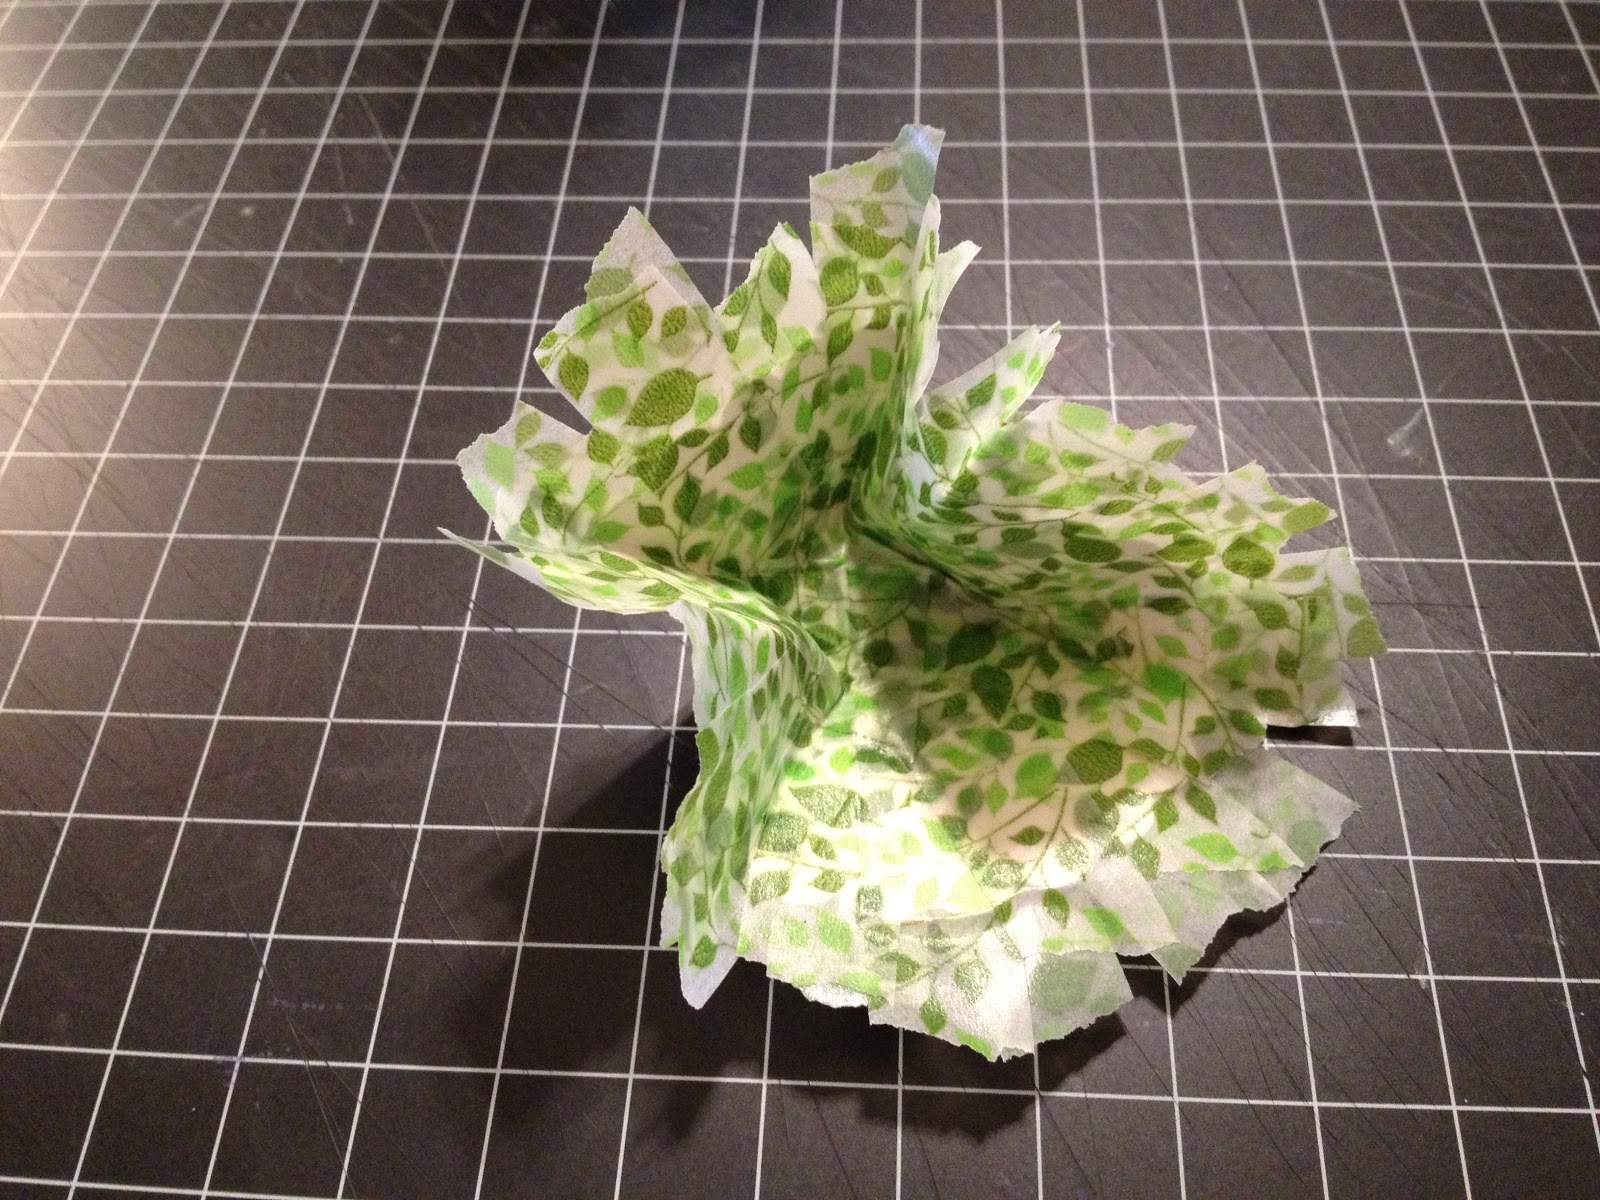
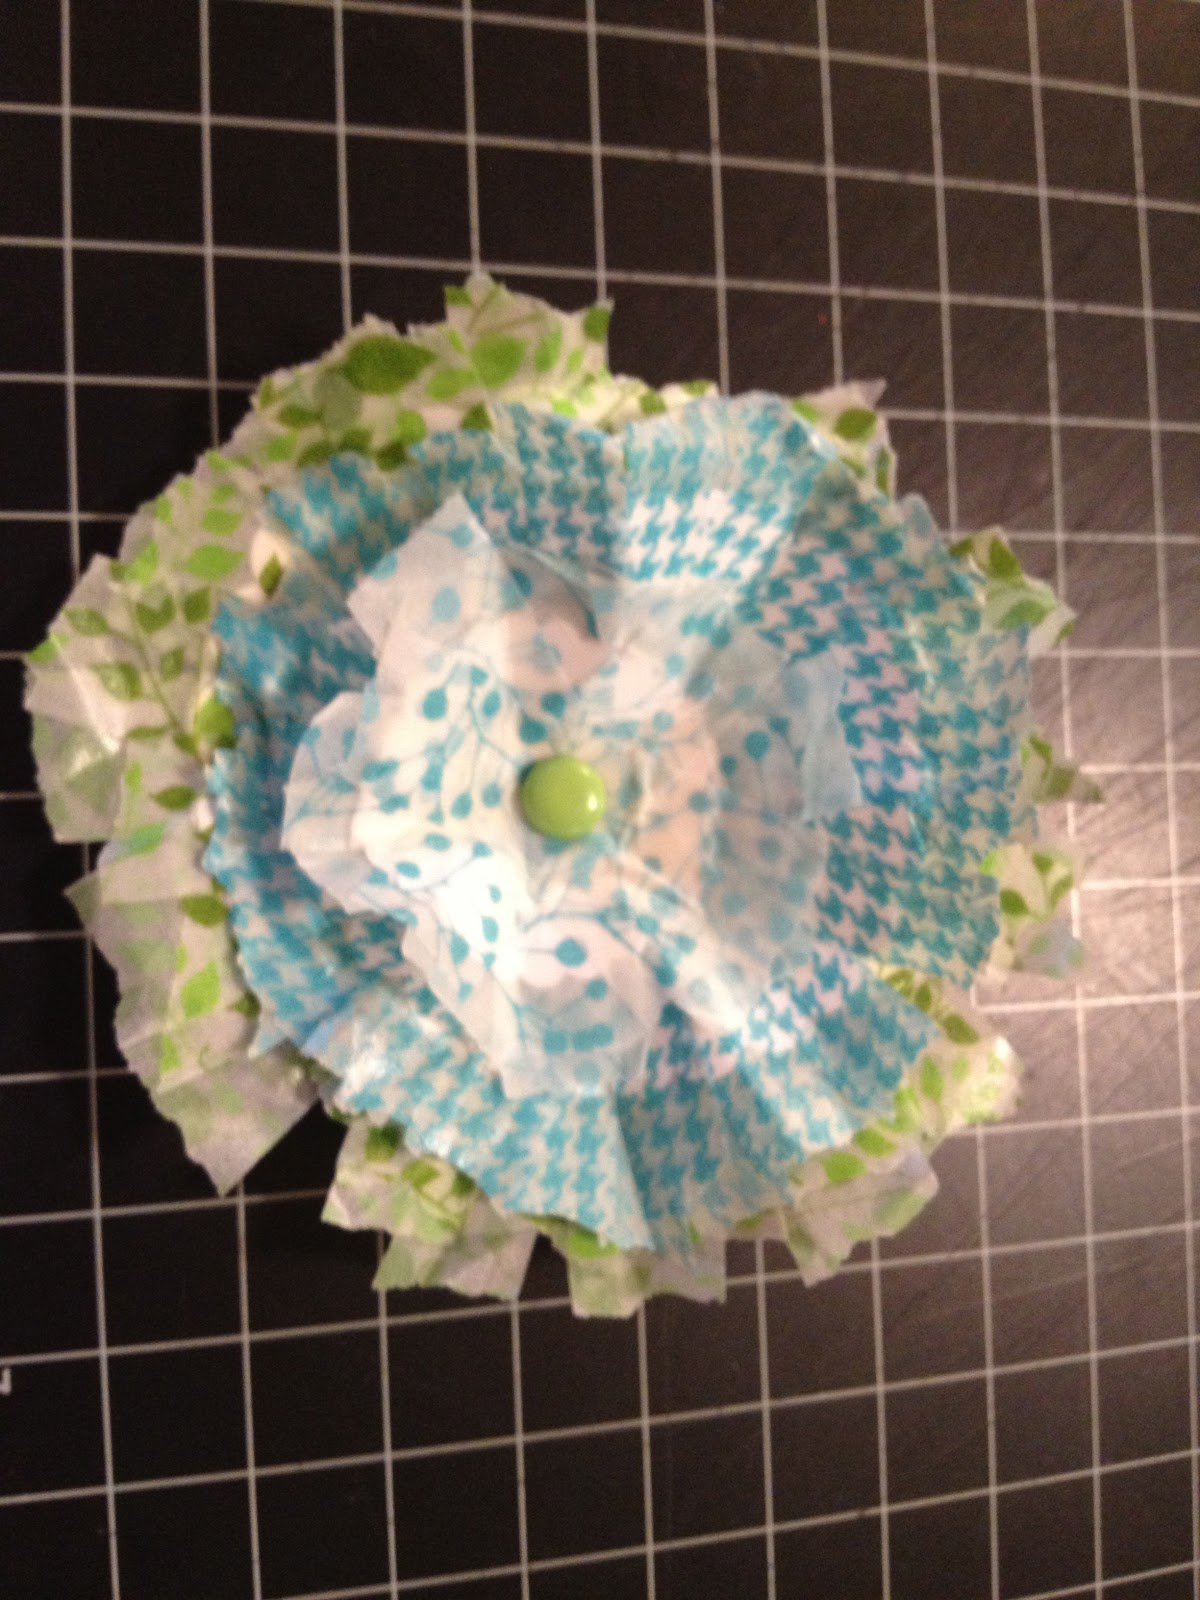
6.  Once your holes are punched, crumple the circle in your fingers, folding all of the sides up into a "cone" shape.   Without completely flattening your shape, pull the sides out slightly to create your first flower layer.


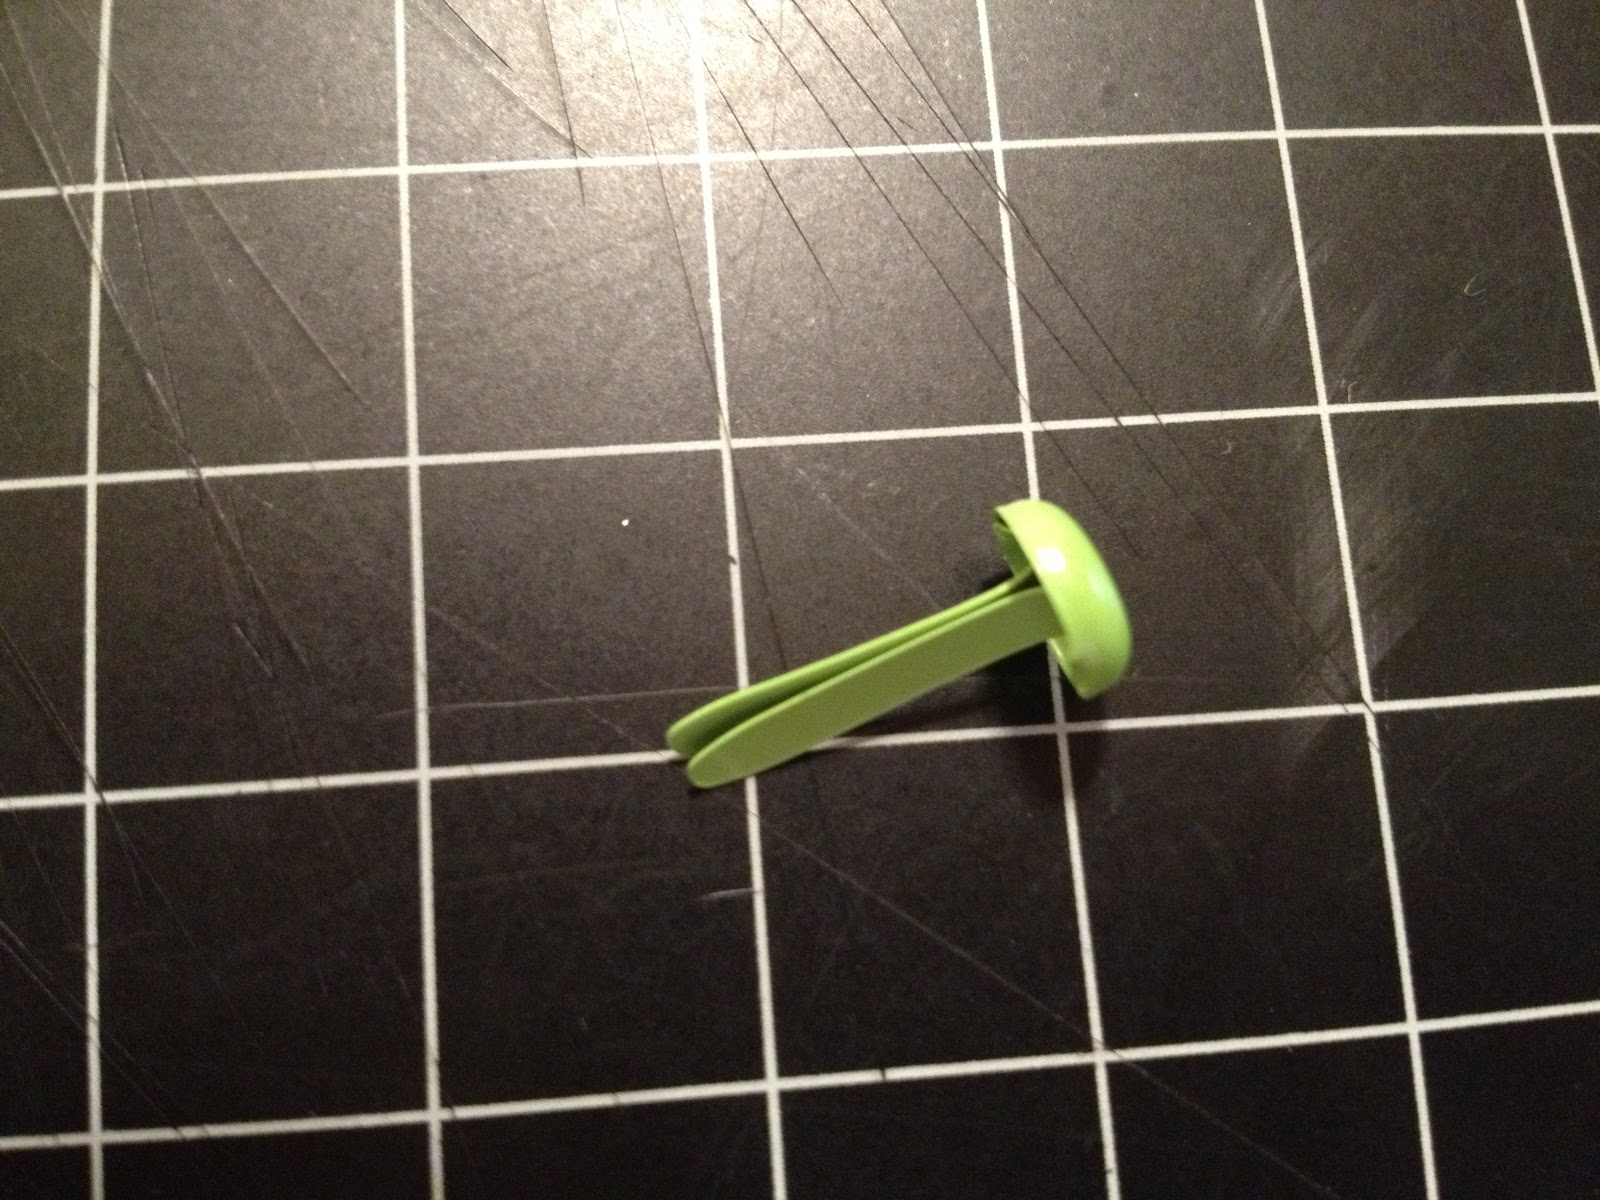
7.  Repeat the steps above to create two more taped circles.  Once complete, layer the three circles and attach a brad (find one with long "legs") through the holes in each layer.  


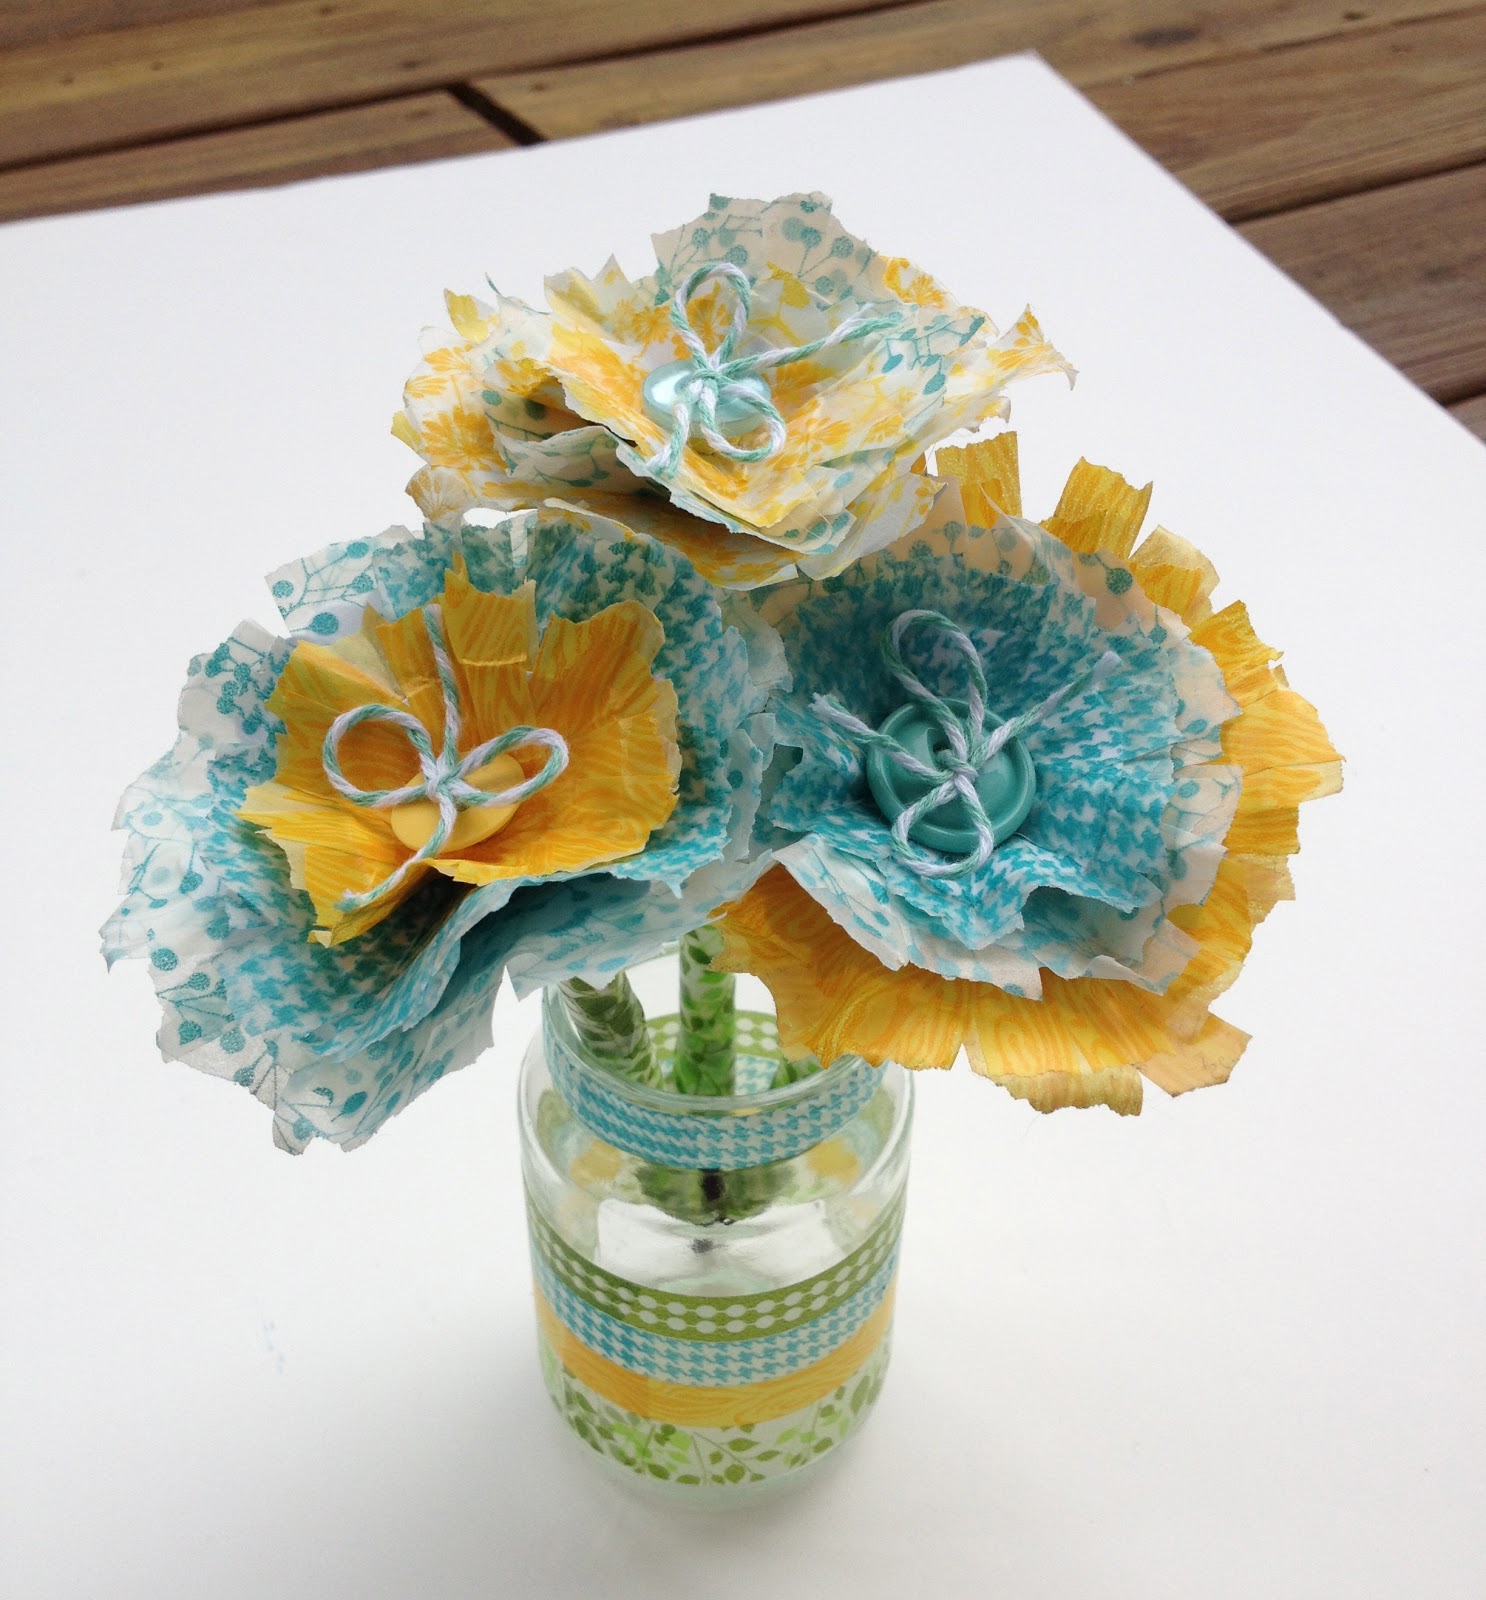
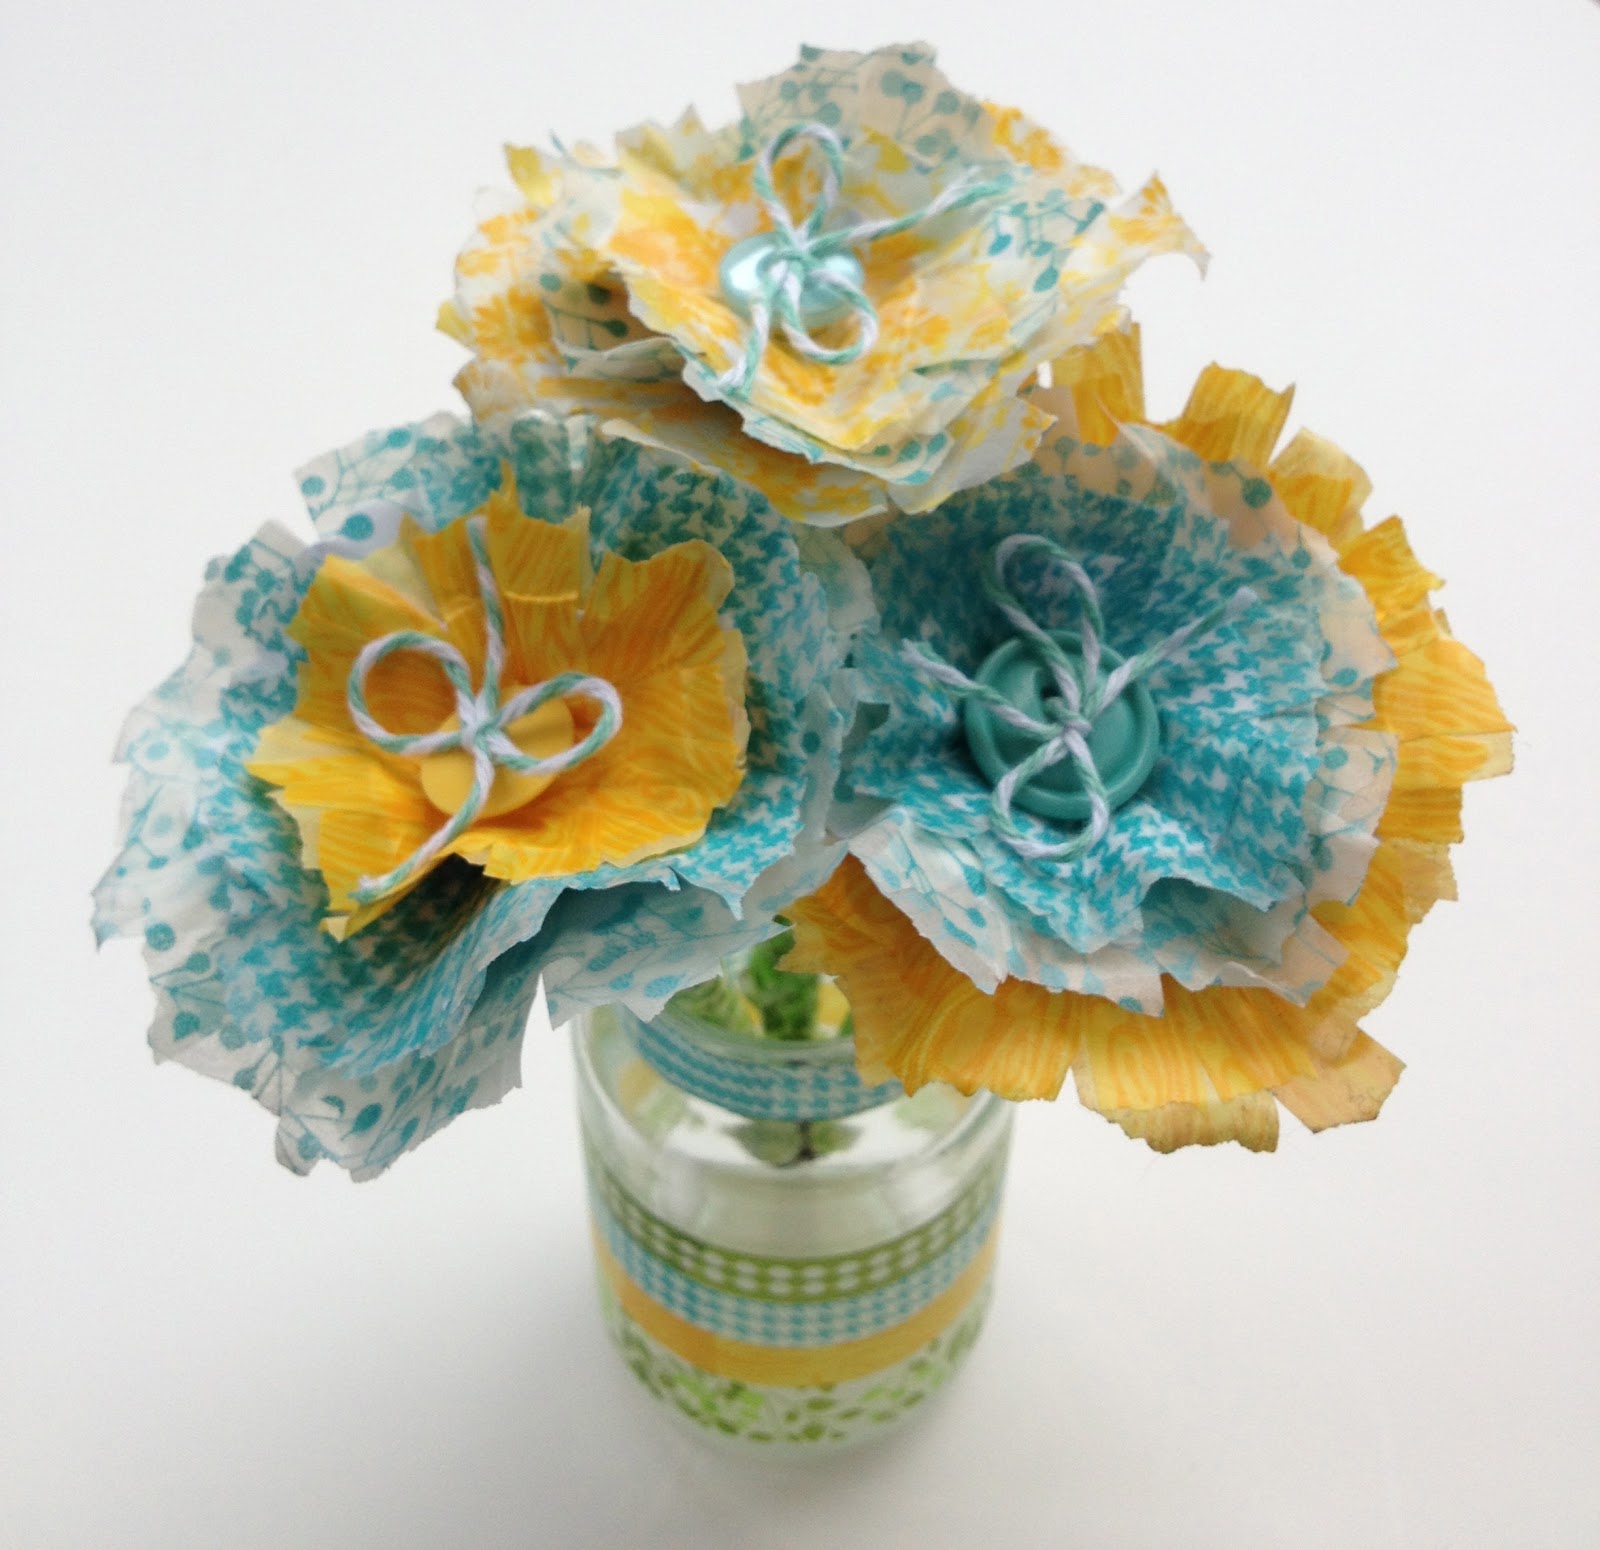
8.  Finally, you can leave the brad showing, or do what I did and add a colorful button and some twine over the brad.

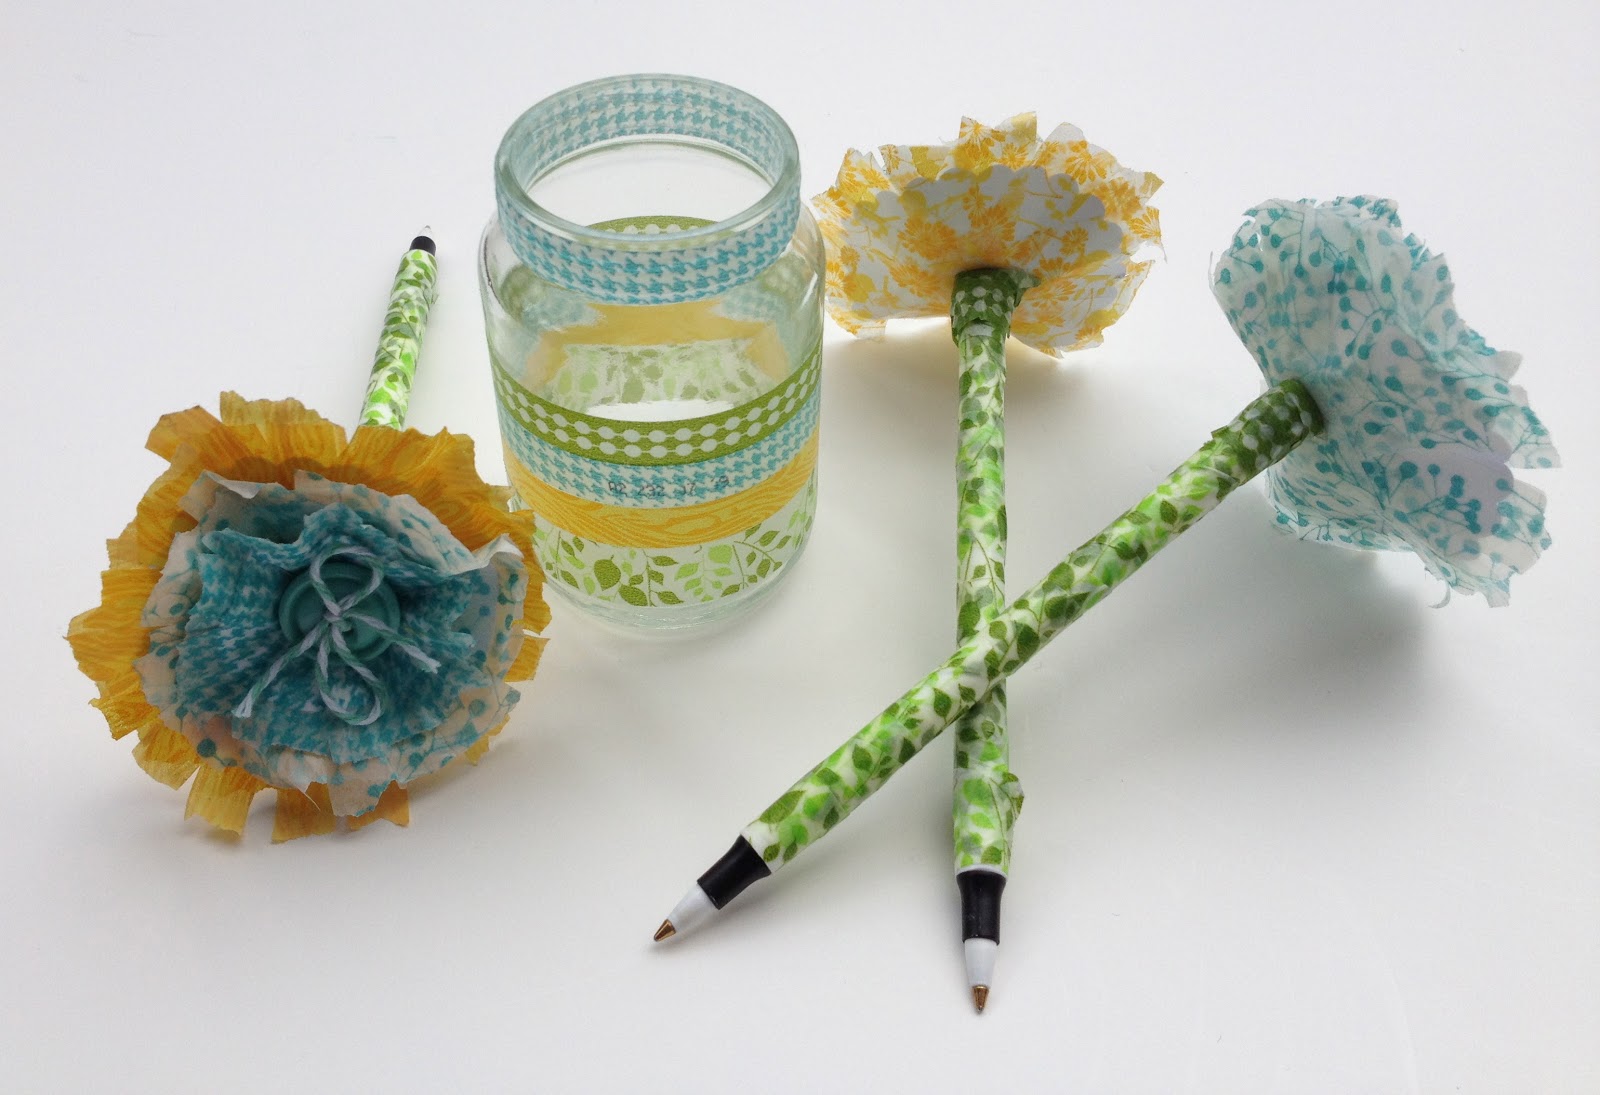
You can use these cute flowers on pages or cards, or hot glue them to the top of pens.  Wrap washi tape around the pen to create a flower stem.  Make several "flower pens" and add them to a cute recycled baby food jar (with washi tape stripes of course)!


Thanks for stopping by!  Leave me a comment and let me know how your flowers turn out!

Monday, February 4, 2013

Washi Tape Ideas & We R Memory Keepers

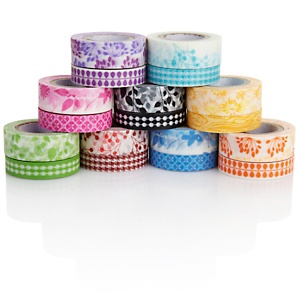
Washi tape is all the rage right now, so when We R Memory Keepers sent me some samples for an upcoming HSN project, I had fun coming up with creative uses for this popular new scrap supply.


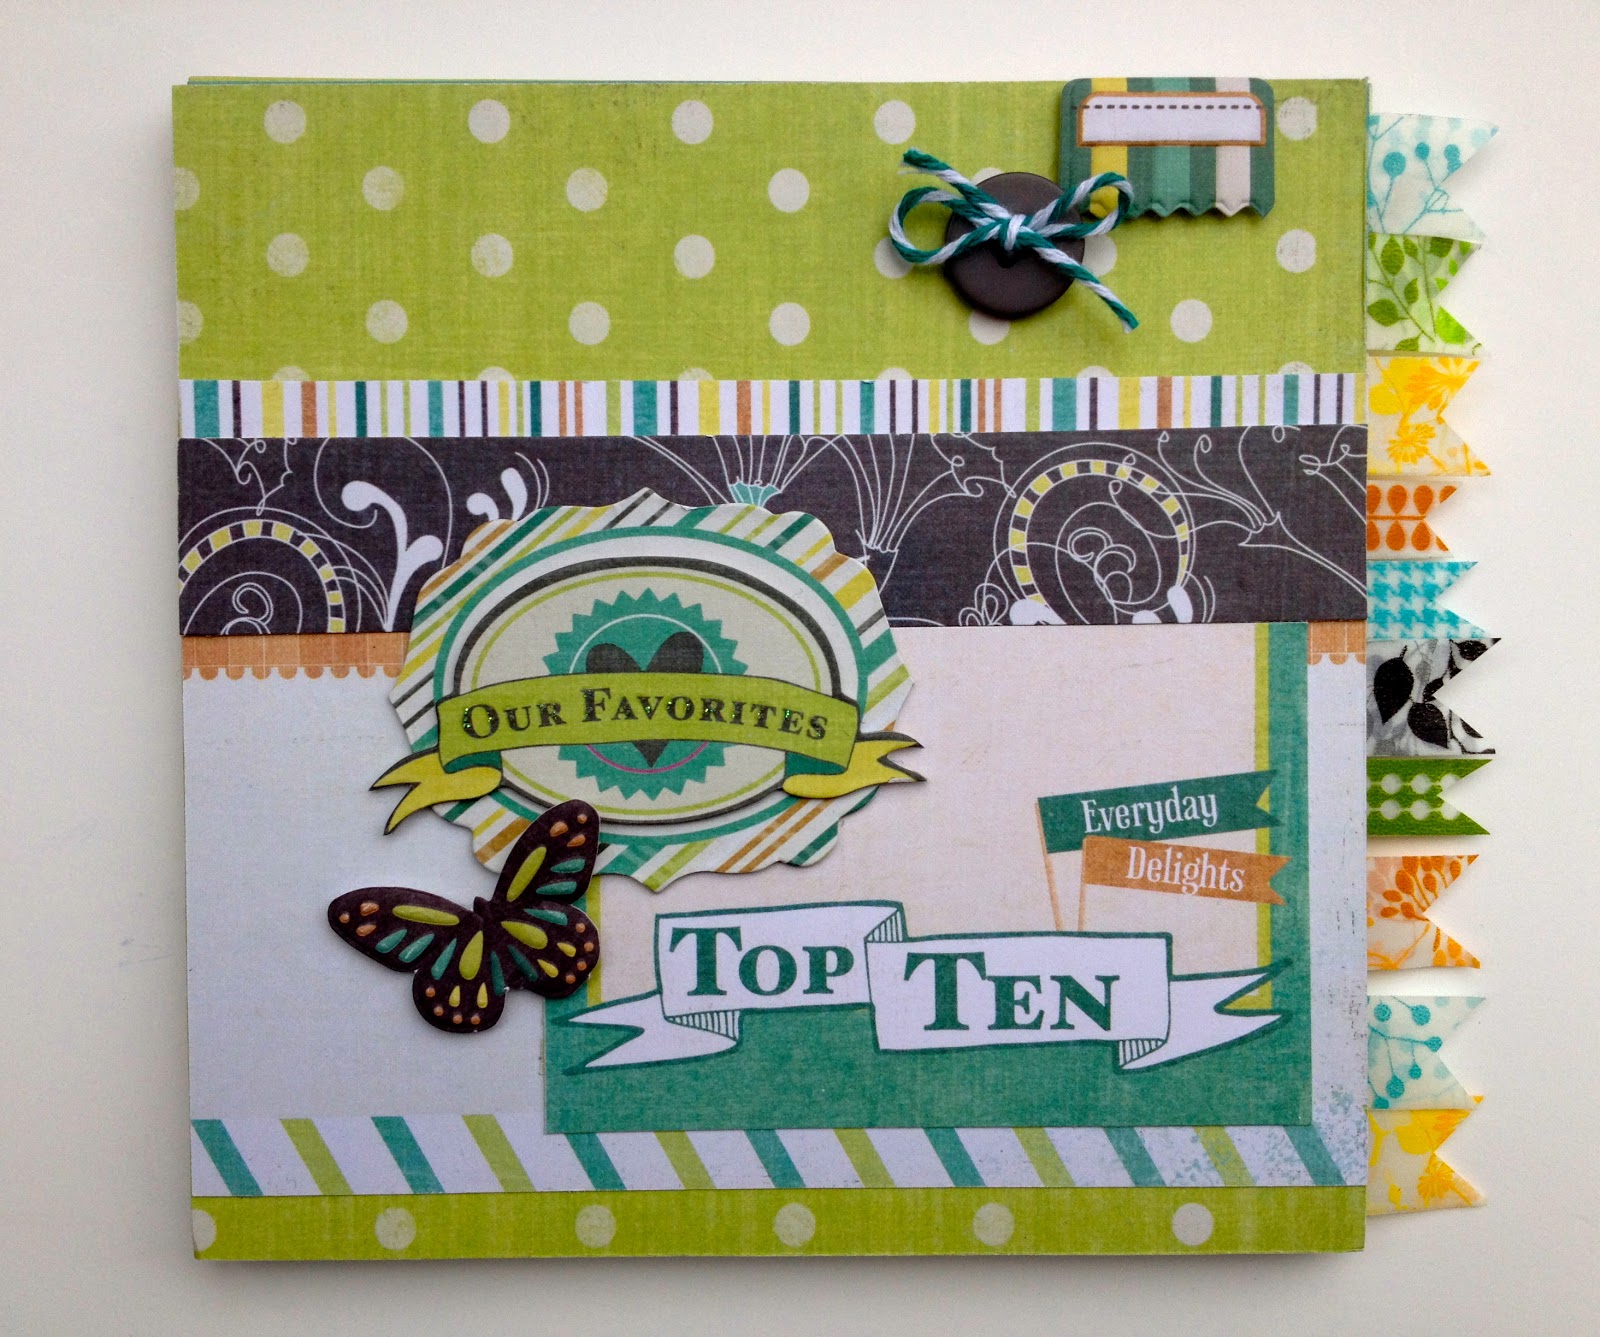
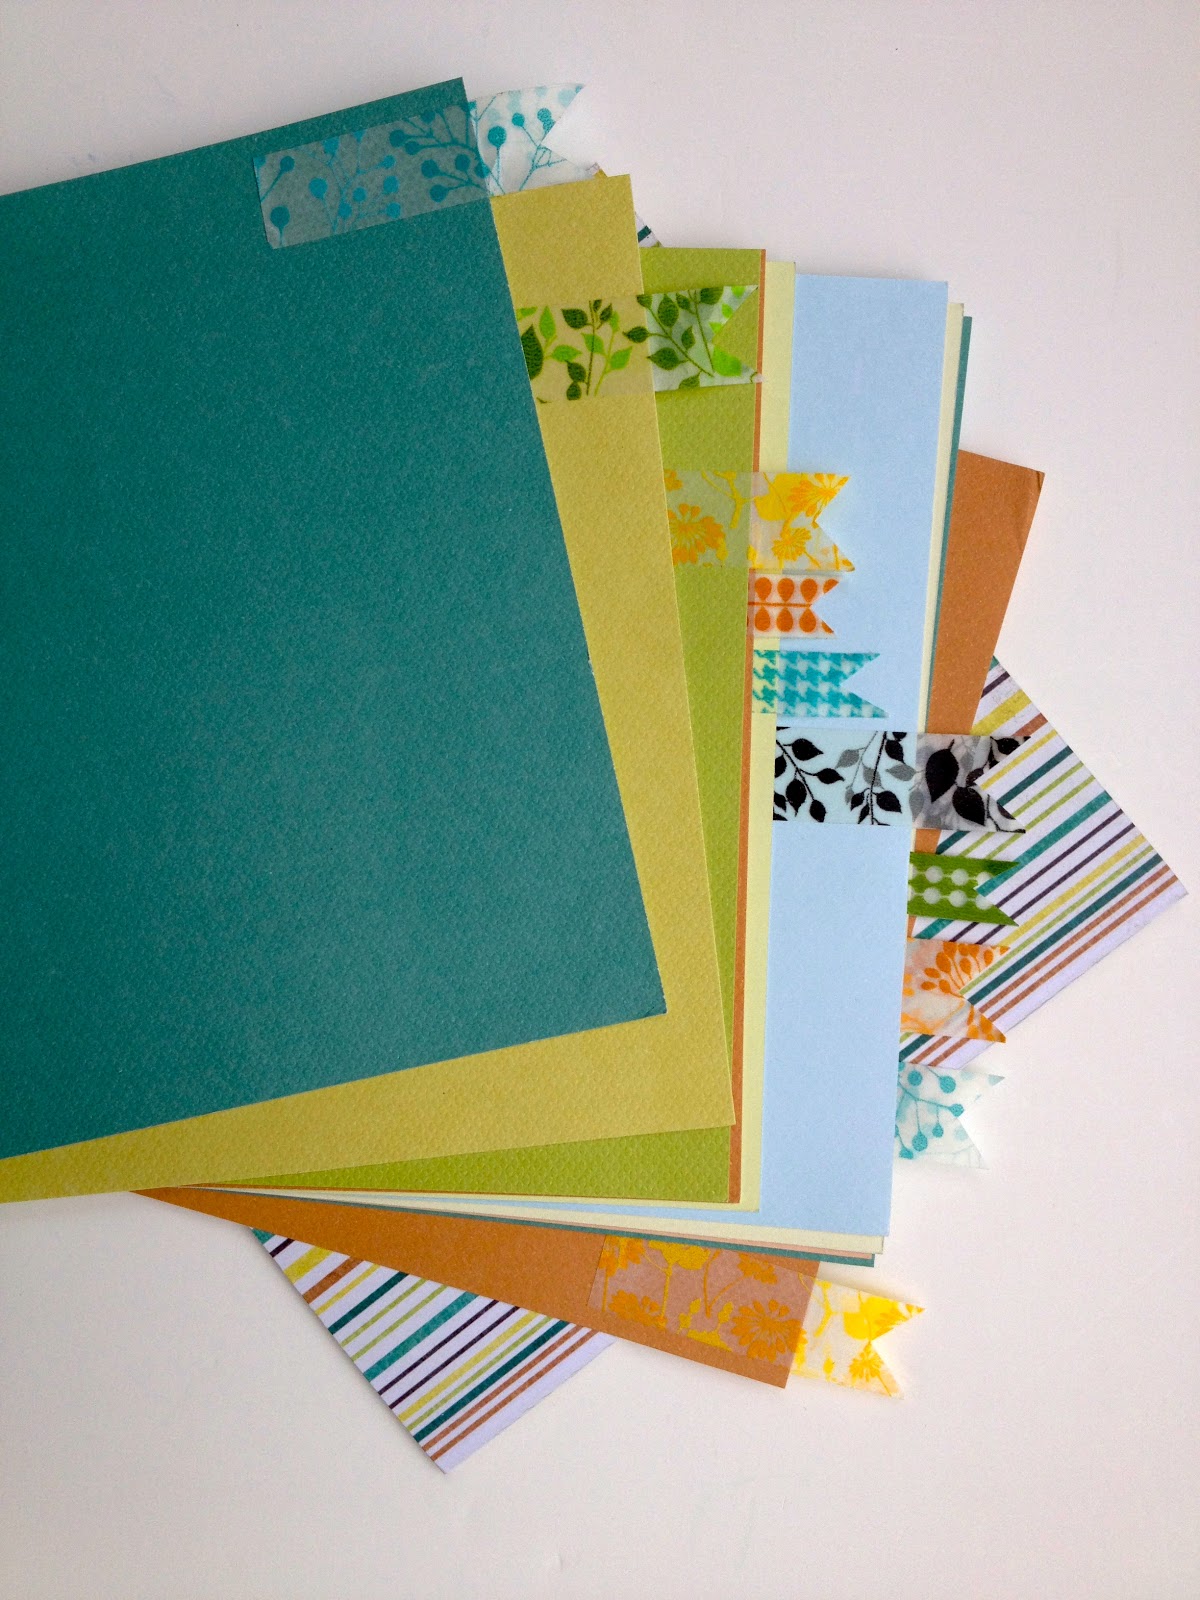
 I created little washi tape "tabs" on this mini album first.  I folded the tape around each page from front to back, leaving about a 1/2" hanging off the paper.  The tab portion becomes two layers of tape, back to back, so that none of the sticky sides are exposed.  Then I snipped a "v" into the end to create a banner or flag shape.  How cute is all of this colorful tape sticking out of the side of the album? 

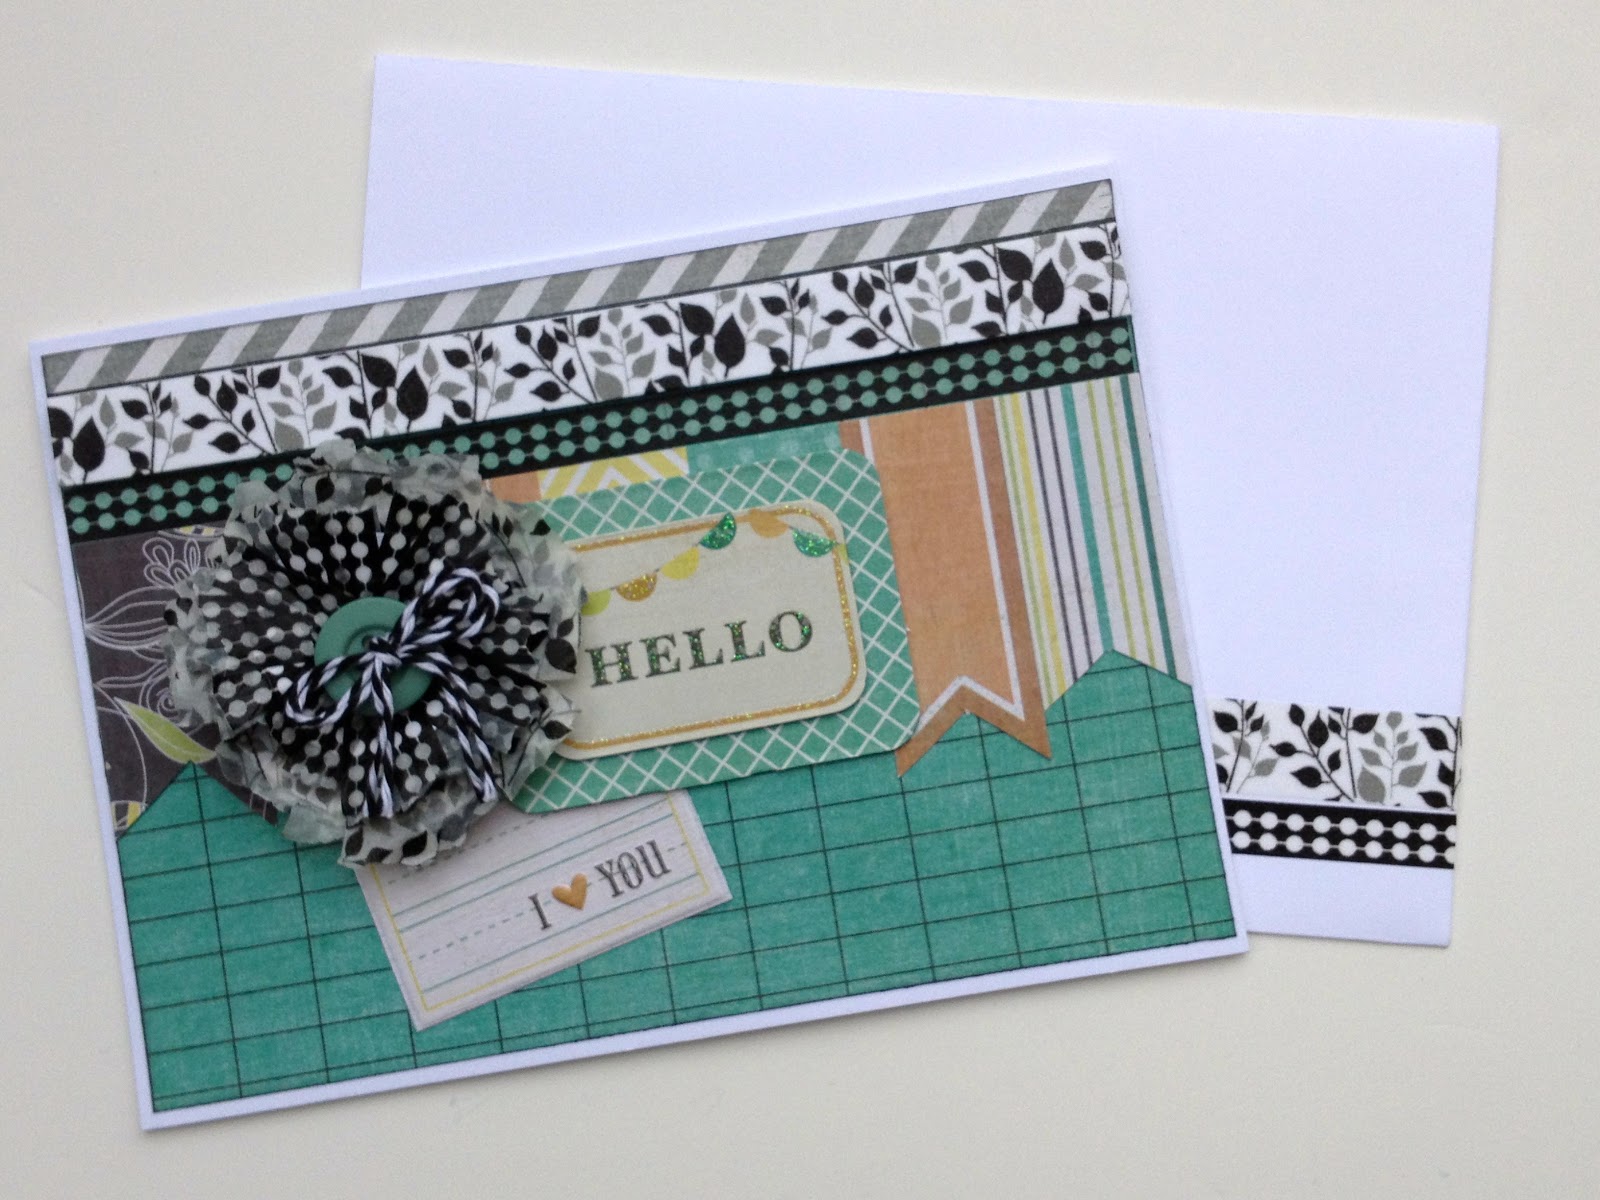
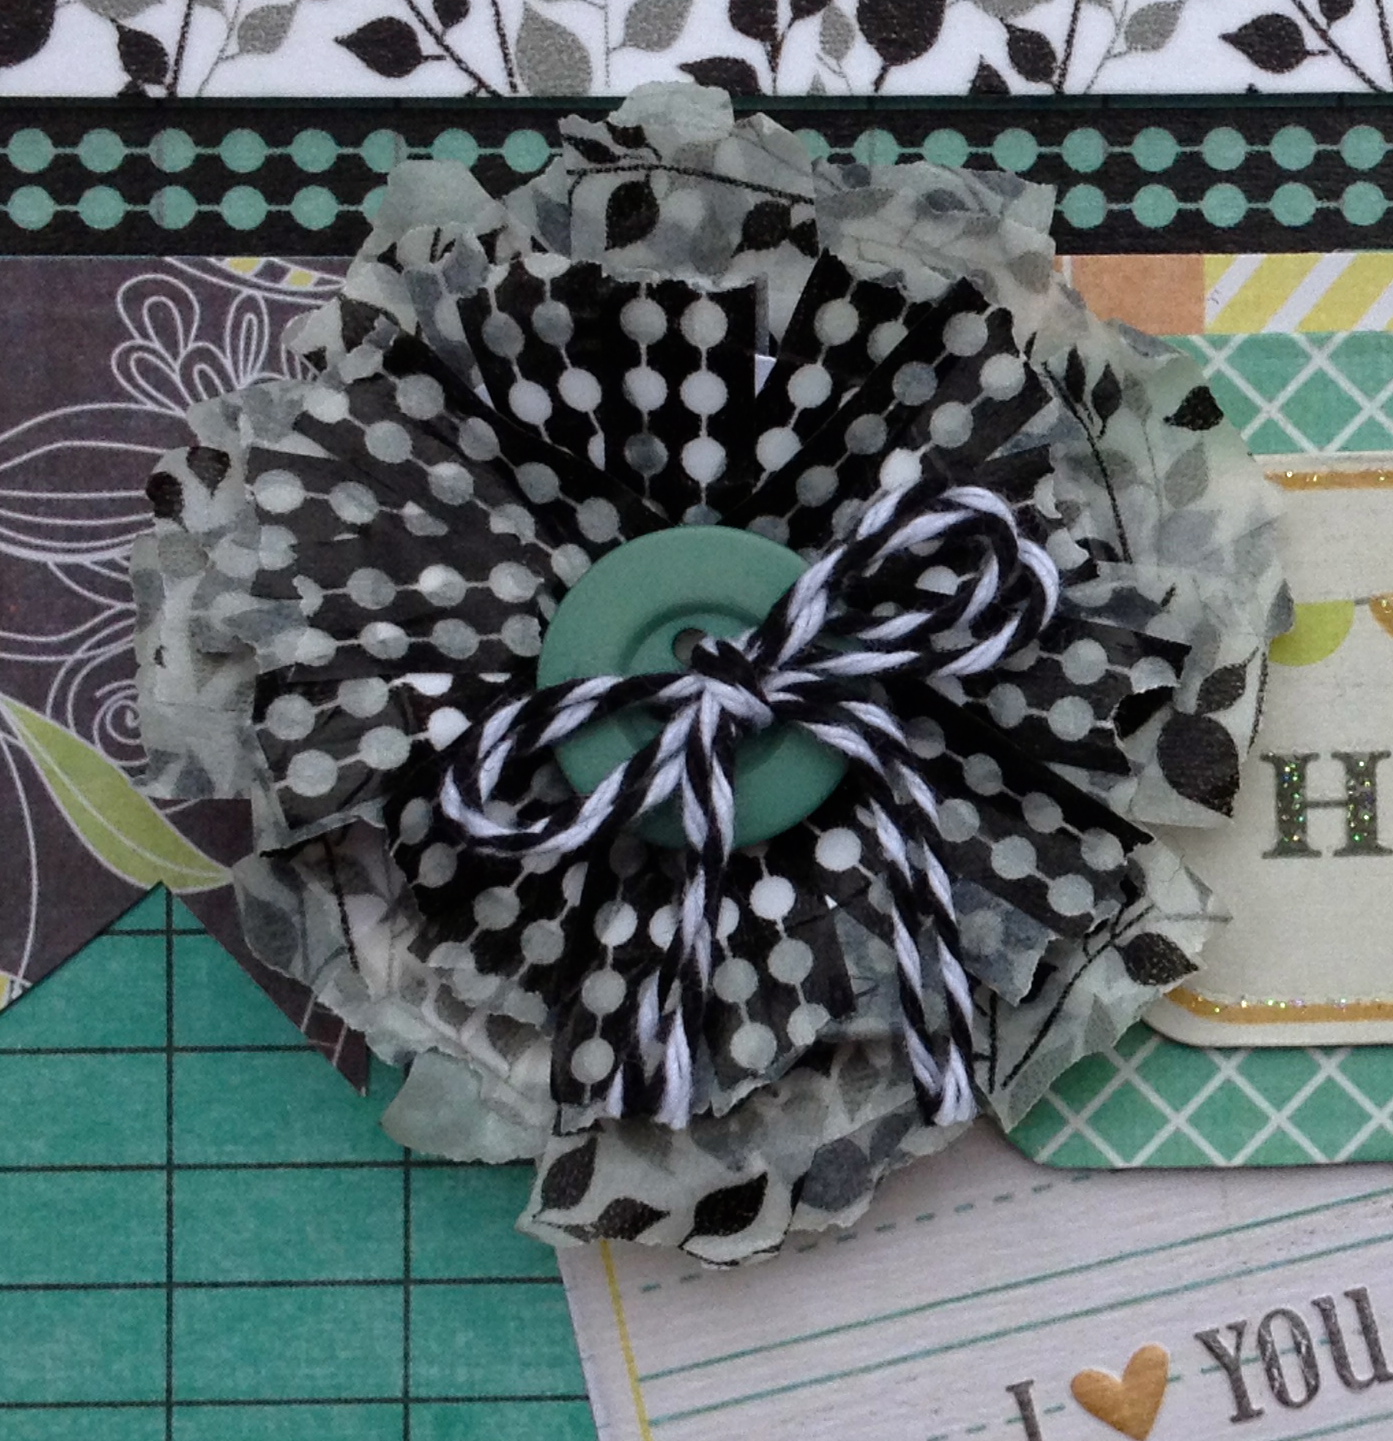
The next project took a little more thinking.  I wanted to create a flower for a card, but wanted it to have fun dimension and layers.  I checked online to see if I could find a washi tape flower tutorial, and although there were some out there, the shapes of the flowers were not what I was envisioning.  So I started playing with paper and tape and eventually came up with the look I was going for.  


I had so much fun creating this flower, that I decided to make some more.  


Check in with Artsy Albums tomorrow -- I will be posting a tutorial on how to make these fun washi tape flowers!  But beware, once you see how easy and fun they are to make, you might be running out to your local scrappy supply store to stock up on a few rolls for yourself!

Note:  Projects shown on the blog today all use supplies from We R Memory Keepers and will be featured on an upcoming episode of the Home Shopping Network.  Stay tuned!

Friday, February 1, 2013

For the Record...the Cinch is pretty cool!

Good morning Artsy friends!

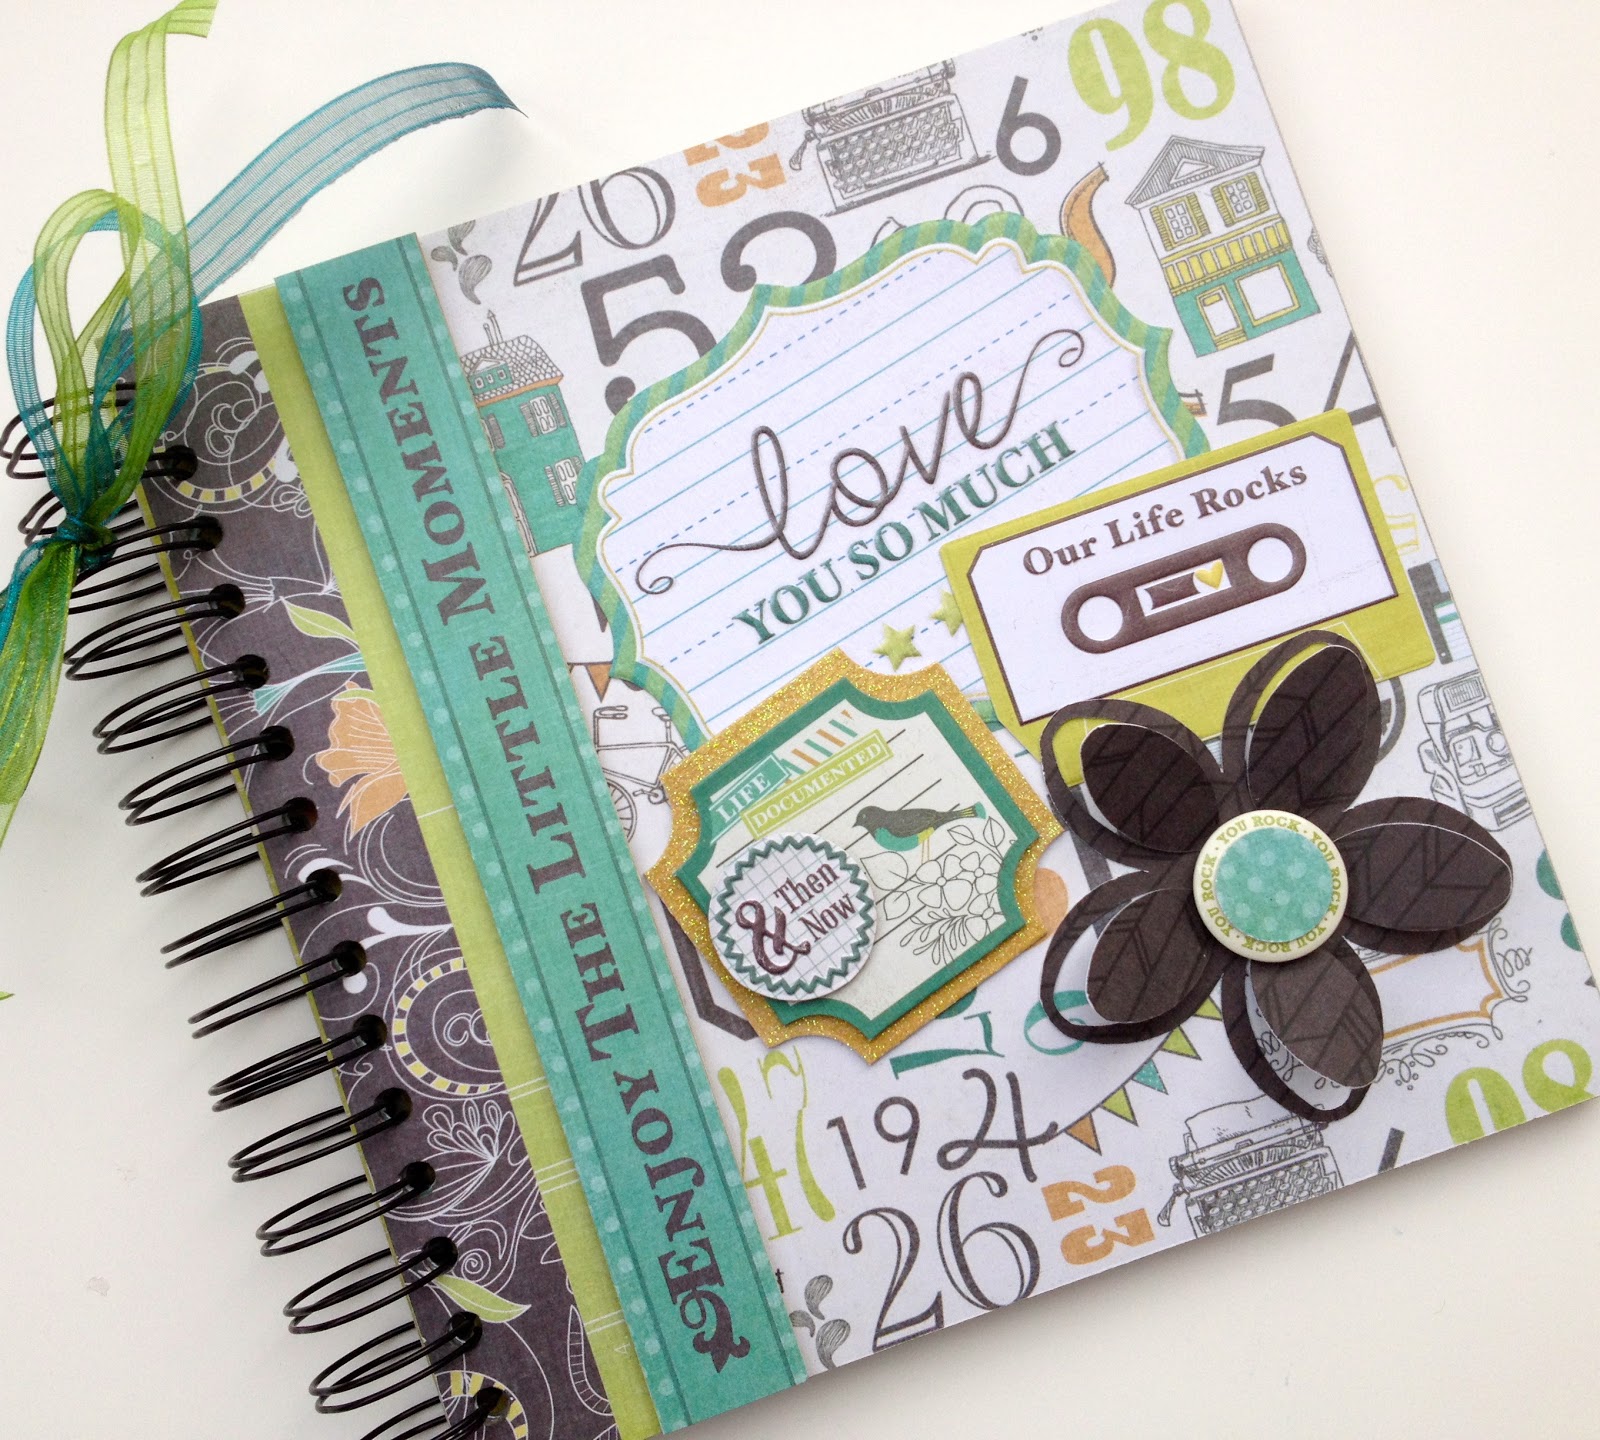
Today I want to share a fun little project that I created with the Cinch tool from We R Memory Keepers.   We R Memory recently asked me to create a few projects for an upcoming Home Shopping Network show that is featuring the Cinch tool  (once I have the details I will post about the show because if you don't have a Cinch, you might want to get one)!  Love!

The Cinch helps you create a binding on fun projects like mini albums, presentation books, scrapbooks, and more.  It punches the holes and "cinches" up the wire to create fun books for crafting, school, or office.

The paper used on this 8x8 mini is called "For The Record" and is one of We R's newest CHA winter releases -- super cute!