Thursday, April 2, 2015

Summer Sunkissed Mini Album Box with Doodlebug

Hey everyone! It's time for my latest Doodlebug Design Team Project and today, I'm sharing a re-purposed recipe card box that I turned into a mini album! I love creating different ways to save photos and when I found this box, I thought it would be fun sitting on my shelf this summer filled with some pictures.

I designed it with the Doodlebug, Sunkissed Collection (links below). It's so cute and I love the colors, sweet images, and carefree summer memories it reminds of. The recipe box is one that I found in my stash. I think it was made by Creative Imaginations or Darice?

On the outside of the box, I added lots of cute papers, made straps on the front, and added some Doodle twine and glitter dots. I also used a Lori Whitlock cutting file for the key and lock on the front (link below). On the top of the lid, I used the "Fun in the Sun" card, more twine, glitter dots, and a few super cute icon stickers.

Inside the lid, I created a fun little hanging banner with some blue jean twine and the flag stickers from the This & That sheet. Then, I made six file folder insert pages using another one of Lori Whitlock's cutting files called 4x6 Clipped Edge File Folders (link below). 
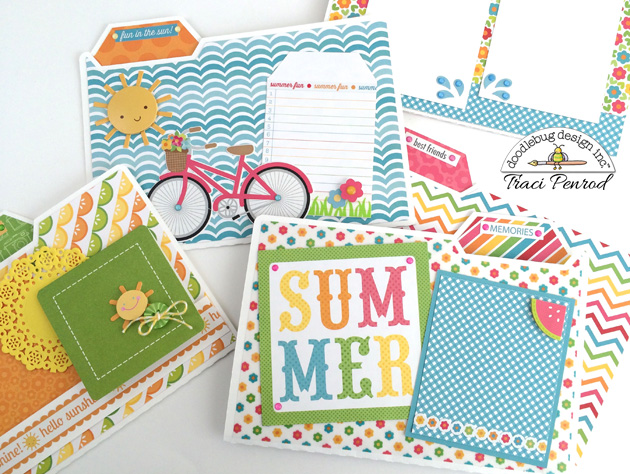
 
Once I had the folders cut out, I layered them with lots of Sunkissed papers, stickers, and glitter sprinkles!

On this file folder, I added the blue Surf's Up paper, the Mr. Sunshine Doodle-pops, and the bicycle icon sticker. The journaling card is from the Summer Celebration paper and I notched the corners so it would look like a tag. I added the "summer fun" fancy frills sticker and a small strip of Green Grass washi tape. A few flowers and some glitter dots and it was done! 

Here are a few more of the pages ... 

How cute are the new mini doilies?! I just love them! I also added a 2x2 inch card for a few small photos, a Boutique Button, twine, and the sun from the Summer Fun Mini Doodle-pops.

On this page, I added the Pretty Petunias paper, some stickers from the This & That sheet, and more glitter sprinkles! I can't help myself. ;)

Here, I used one of the cut-apart cards from the 6x6 paper pad. I love the mini version of these!

In the next 2 photos, you can see what the folders or "pages" look like opened up ...

I created a fun folding element (aka the flippie) with the ice cream truck card. It has space inside for 2 pictures, and ... that truck is just adorable. 


I had so much fun making this project. I love the Sunkissed Collection and finding new and creative ways to save photos. I think this recipe box is way cuter now that I got my hands on it, lol! 
 
To see another version of this project, visit my Summer Scrapbook Box that uses an Echo Park collection.
 
Below are the links for the products used in this mini album photo box. Thanks for stopping by the blog and have a wonderful day! 😊

 
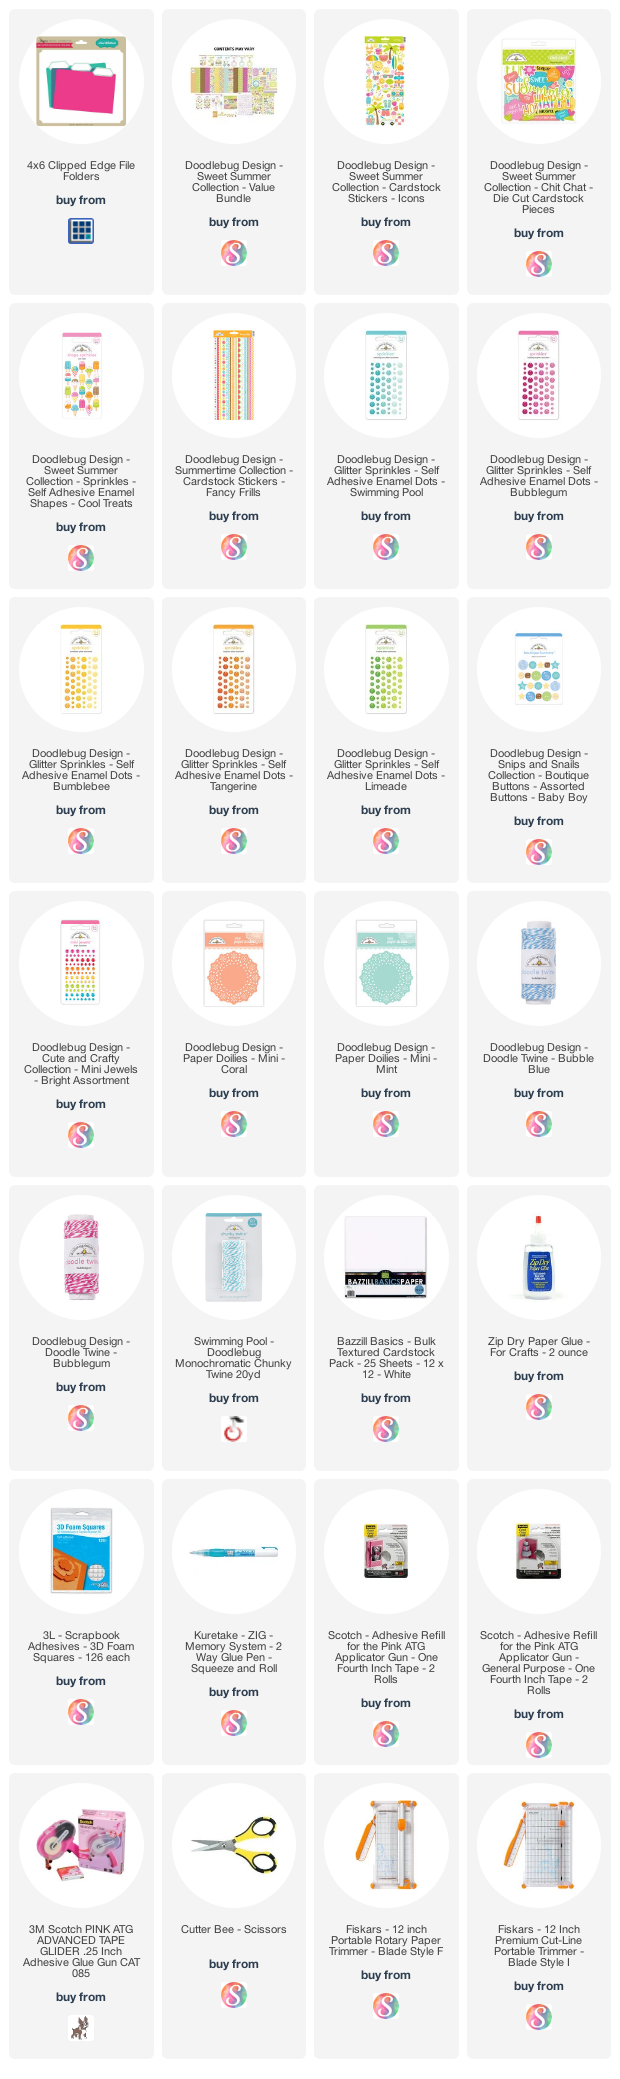
Supplies: As an Amazon Associate, I earn from qualifying purchases.  Affiliate links are used in this post at no additional cost to you. I receive a small amount of compensation when you click through and shop using the provided links. This helps me to continue building my small business. Thank you! 

Wednesday, April 1, 2015

Easter Basket Tutorial

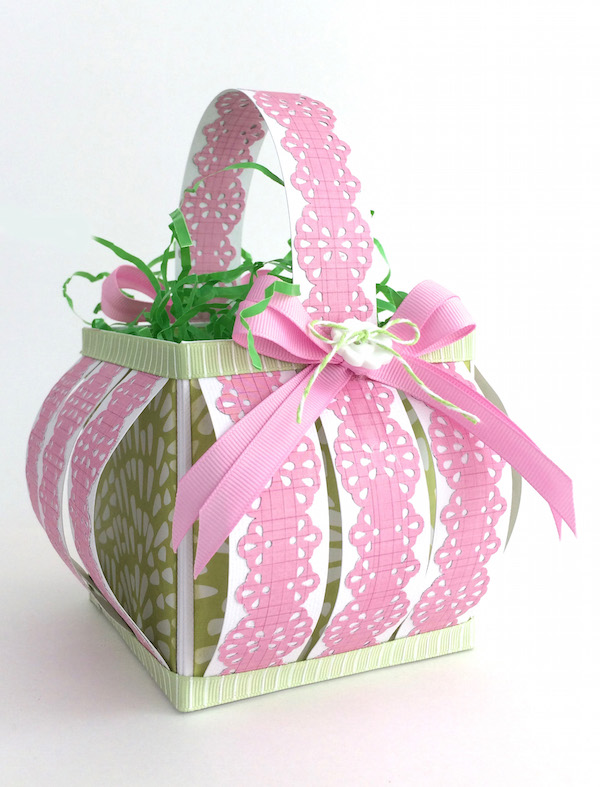
Hi everyone! I’m so happy to be sharing a fun Easter project over on We R Memory Keepers blog today. I was inspired by a similar design I saw on Pinterest and I knew I had the perfect tools to make one. I’ve included some instructions for making this basket, so let’s get started!

 
To create the basket, I used We R Memory's Gift Box Punch Board, the 2-edge doily punch and paper from their Hello Darling collection. I also used some white card stock and ribbon from American Crafts.

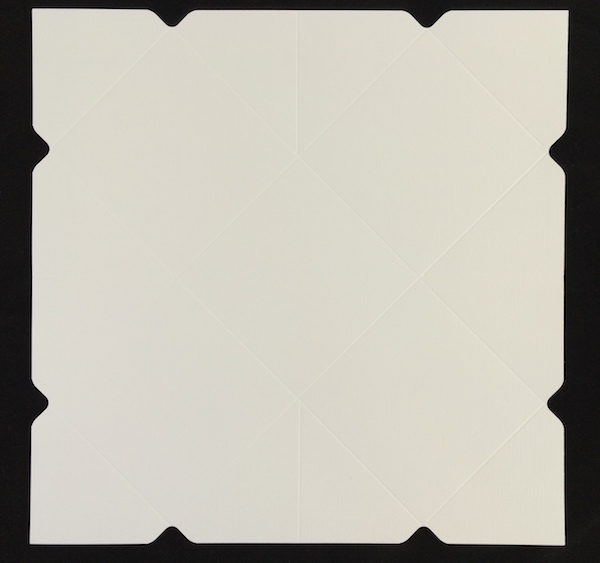
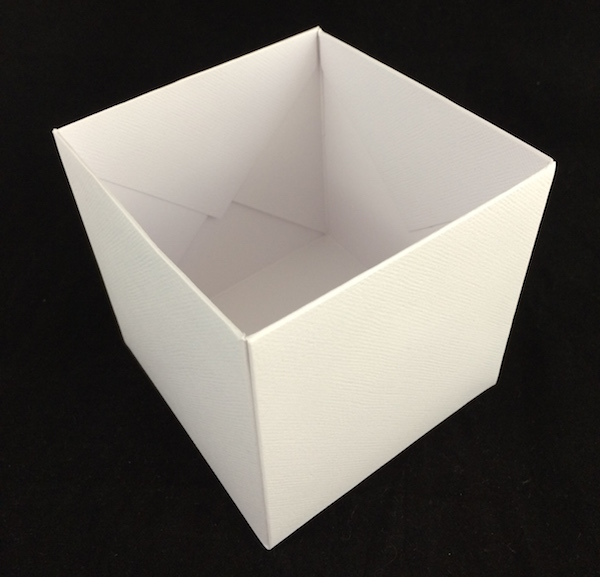
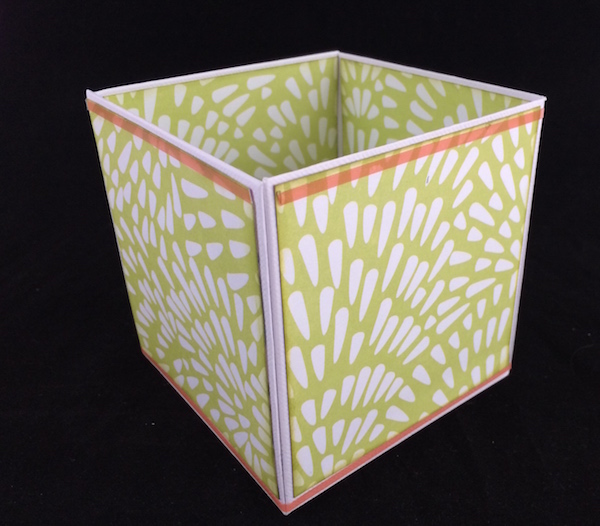
To start, I used the gift box punch board and a piece of 12x12 white card stock to create a 4x4x4 box. I followed the easy XL directions on the board. 


Once my paper was scored and punched, I adhered it together to form my box, making sure to fold my top flaps in and adhere them to the inside.


Next, I cut a piece of green Hello Darling paper into nine 3 3/4” x 3 3/4” squares, inked the edges, and adhered all of the pieces around the inside and outside of my box. Then I added double-sided adhesive (link below) around the top and bottom edges as shown in the photo below.


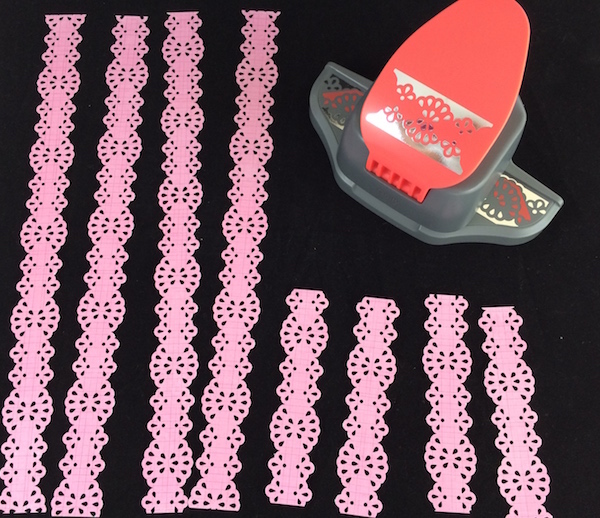
To create the basket-like strips, I used the 2-edge doily punch (set to punch 2 edges) to cut a piece of 12x12 pink Hello Darling paper into six 12” strips. I then cut each strip into 4 1/2” pieces. I ended up with 12 pieces and some left over scraps. I then punched 2 more 12” pink strips to use on both sides of the basket’s handle.


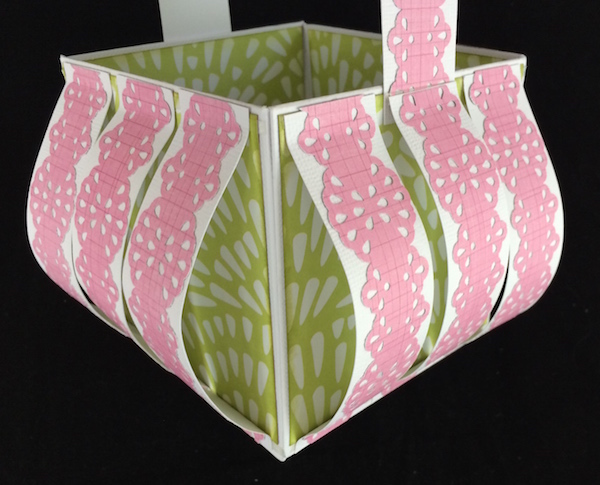
I adhered the 12 punched sections to 12 white card stock strips measuring 1 1/8” x 4 1/2”. I also adhered the 12” pink strips to both sides of a white card stock strip measuring 1 1/8” x 12”. I trimmed the 12” handle down to 9” and adhered it to the outside of my box. I then adhered the top and bottom edges of the 4 1/2” strips along the double-sided adhesive on each side of my box, creating a bend with my fingers as I positioned each piece.


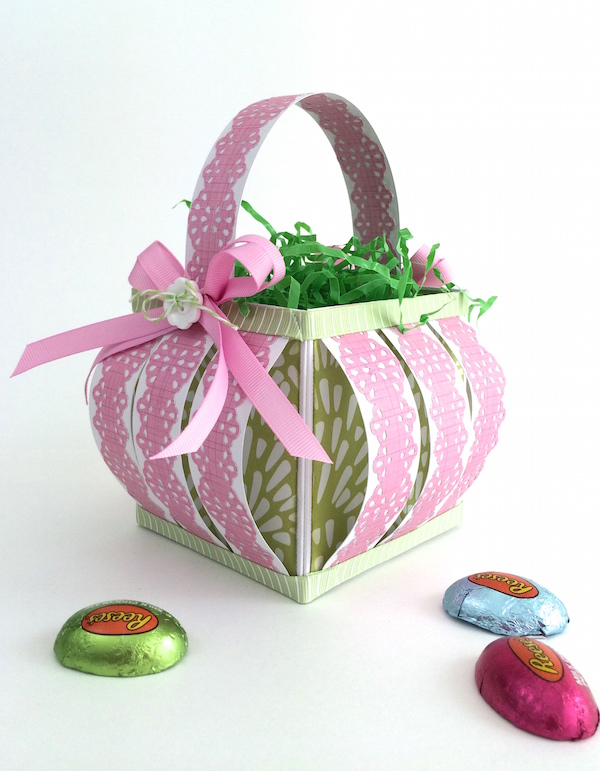
To finish my basket, I added ribbon around the top and bottom edges of my box and a pink bow to each side. This little basket will be perfect for a gift or home decor.  Mine is now filled with candy to welcome guests by my front door.  


Supplies: Gift Box Punch Board, 2-edge doily punch, Hello Darling Greetings paper, Hello Darling Gracious paper, pink American Crafts grosgrain ribbon and white cardstock, white flower-shaped button.

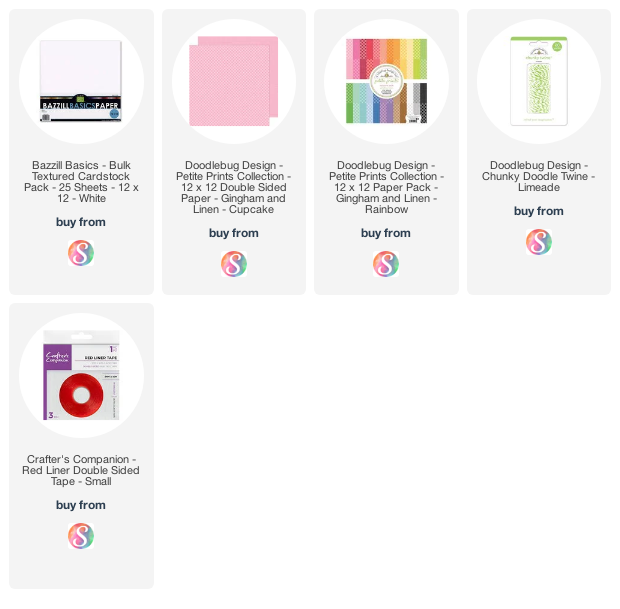
Below I've linked to Doodlebug's Petite Print, Gingham & Linen paper in cupcake that would be a great substitute. 
 
Supplies: As an Amazon Associate, I earn from qualifying purchases.  Affiliate links are used in this post at no additional cost to you. I receive a small amount of compensation when you click through and shop using the provided links. This helps me to continue building my small business. Thank you!