Monday, July 6, 2015

Cinch Jet Set Travel Journal

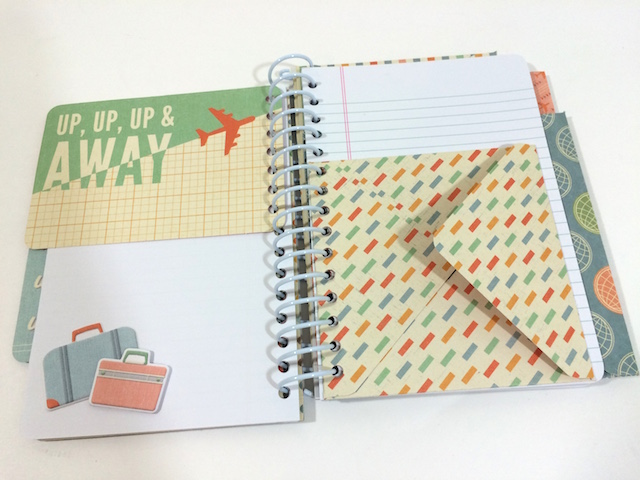
Hi everyone, today I have a great vacation project posted over on We R Memory Keepers blog. If you plan to travel this summer, create this easy travel journal to take with you!  Record your memories, tuck in some photos, keep memorabilia in the envelopes, and your trip will be saved and easy to share.  
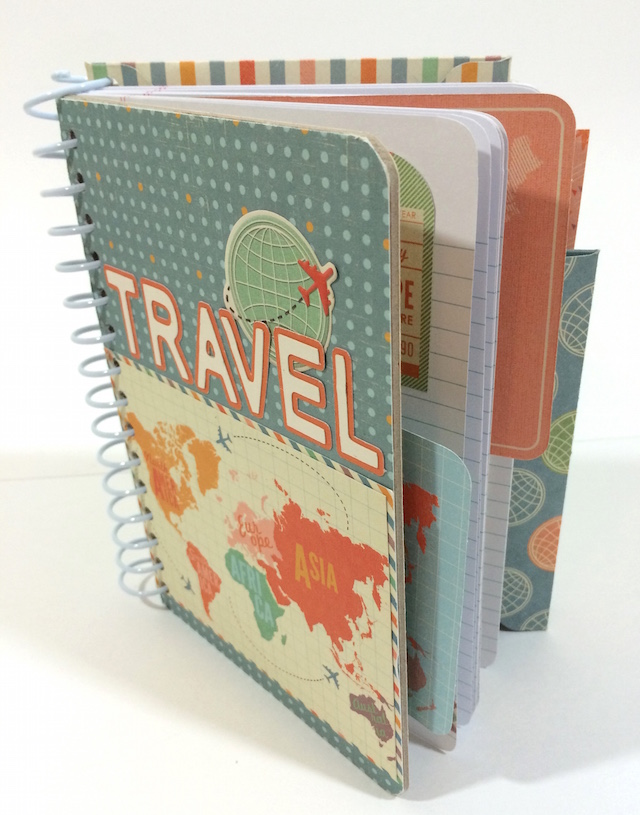

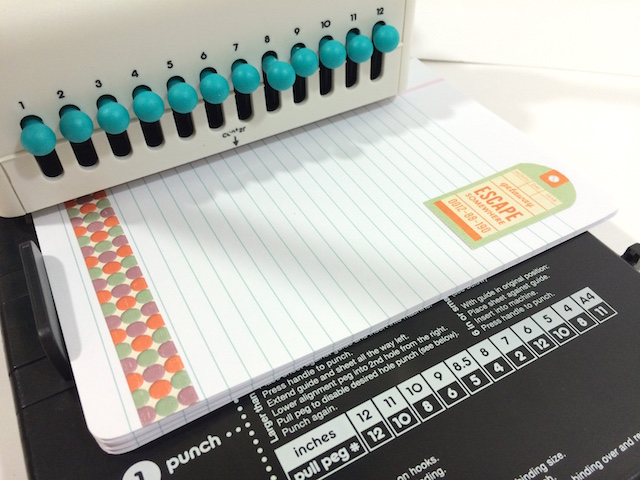
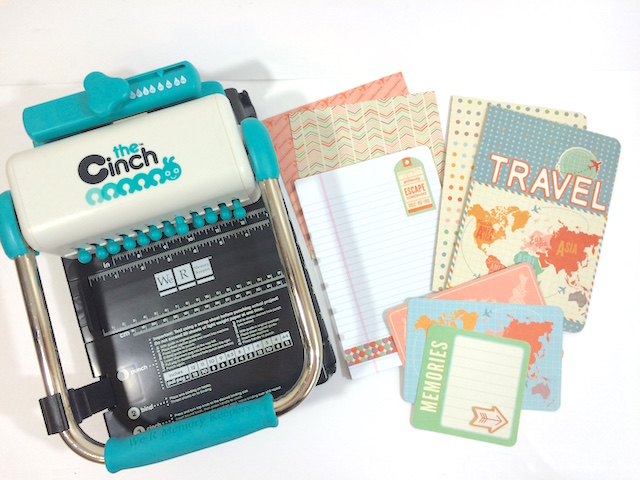
To create the journal, I used the Cinch Binding Tool, the Envelope Punch Board and the Cinch Journal Kit. The Jet Set paper is an older We R collection from my stash.  I didn’t need much paper for this journal so using up scraps from the past was perfect!
 
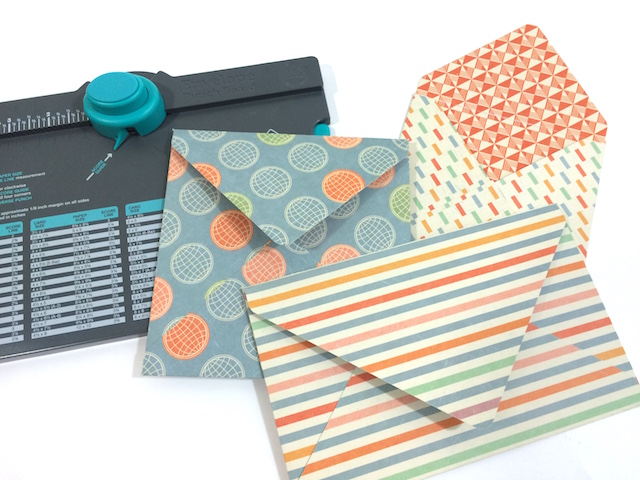
To start, I created some envelopes of various sizes using the envelope punch board. This is very easy … just follow the size instructions right on the board!
Once the envelopes were created, I decorated the chipboard covers that are included in the Cinch Journal kit.  When my covers were embellished, I punched my binding holes using my Cinch tool. Easy directions are also included right on the Cinch, as well as in the packaging for the journal kit.  
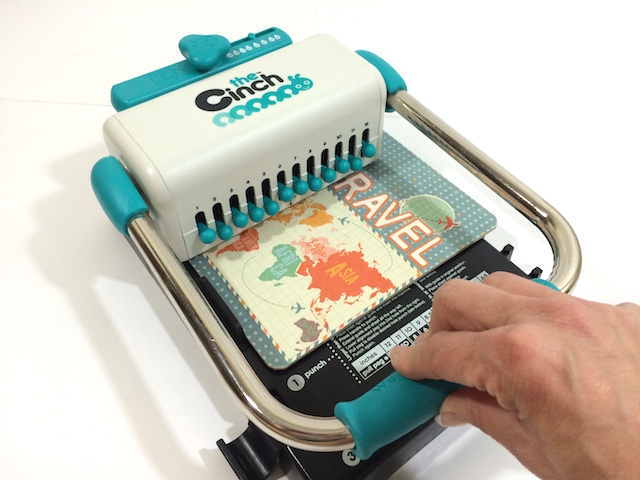

Next, I punched binding holes in all of my journaling pages, envelopes, and accent pieces.
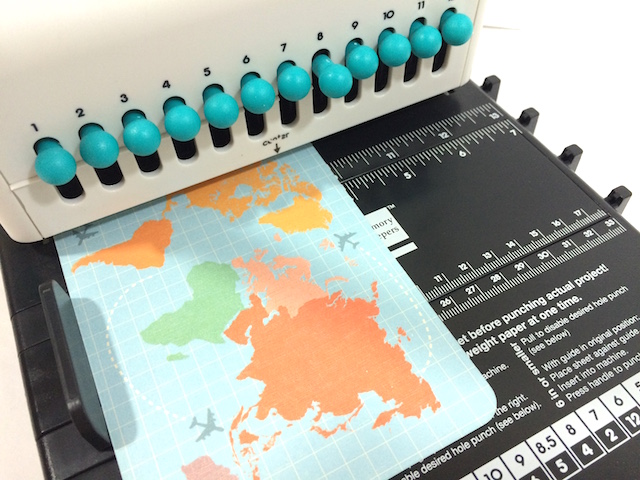


Once all of my binding holes were created, I added my binding wire to all the pieces to create my finished journal.  
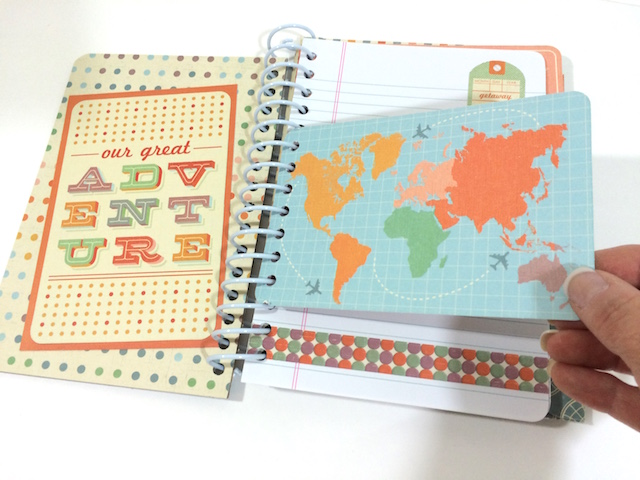


I hope this has given you some ideas for a travel journal for your summer vacation!  Make them for the kids too!  Theirs could include pages to keep them busy during the trip, space for their photos and notes, or even coloring pages.

Be sure to like Artsy Albums on our Facebook page to stay up-to-date on our tutorials, new kits, sales, and giveaways! Thanks for stopping by!
 
 
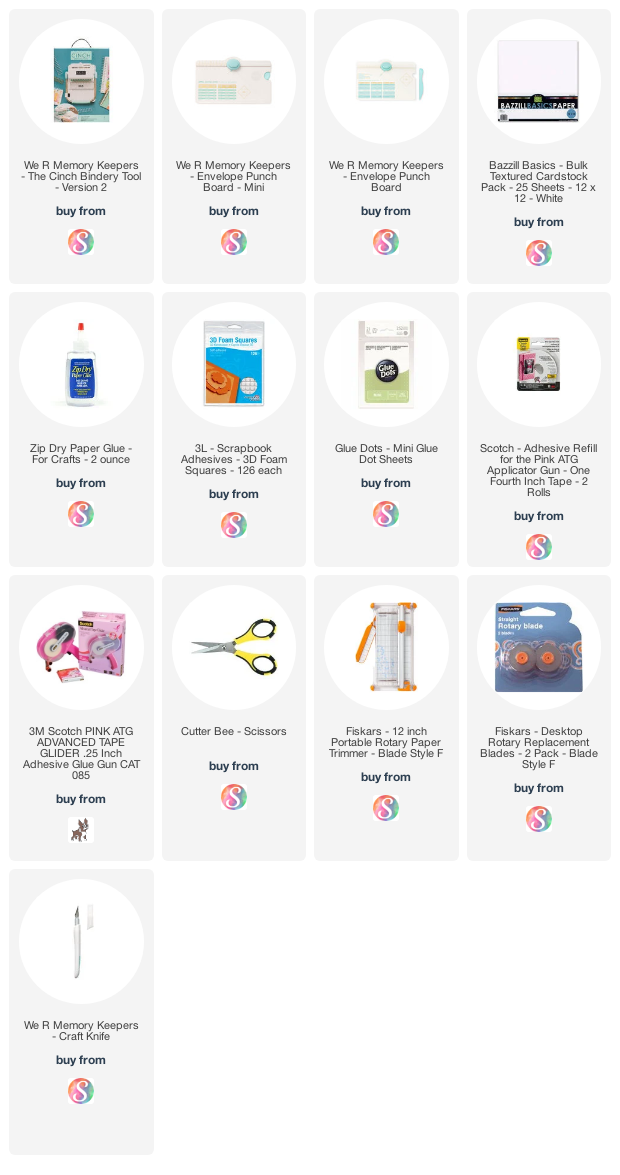
Supplies: Affiliate links are used in this post at no additional cost to you. I receive a small amount of compensation when you click through and shop using the provided links. This helps me to continue building my small business. Thank you!

Tuesday, June 30, 2015

12x12 July 4th Scrapbook Layout with Doodlebug

Hey guys! Today, I'm sharing my latest Doodlebug Design Team Project. It's a bright and fun 12x12 layout just in time for the 4th of July. I have always loved the red, white, and blue color combination. But when you pair those colors with Doodlebug's adorable patterns and embellishments ... it's even more fun!

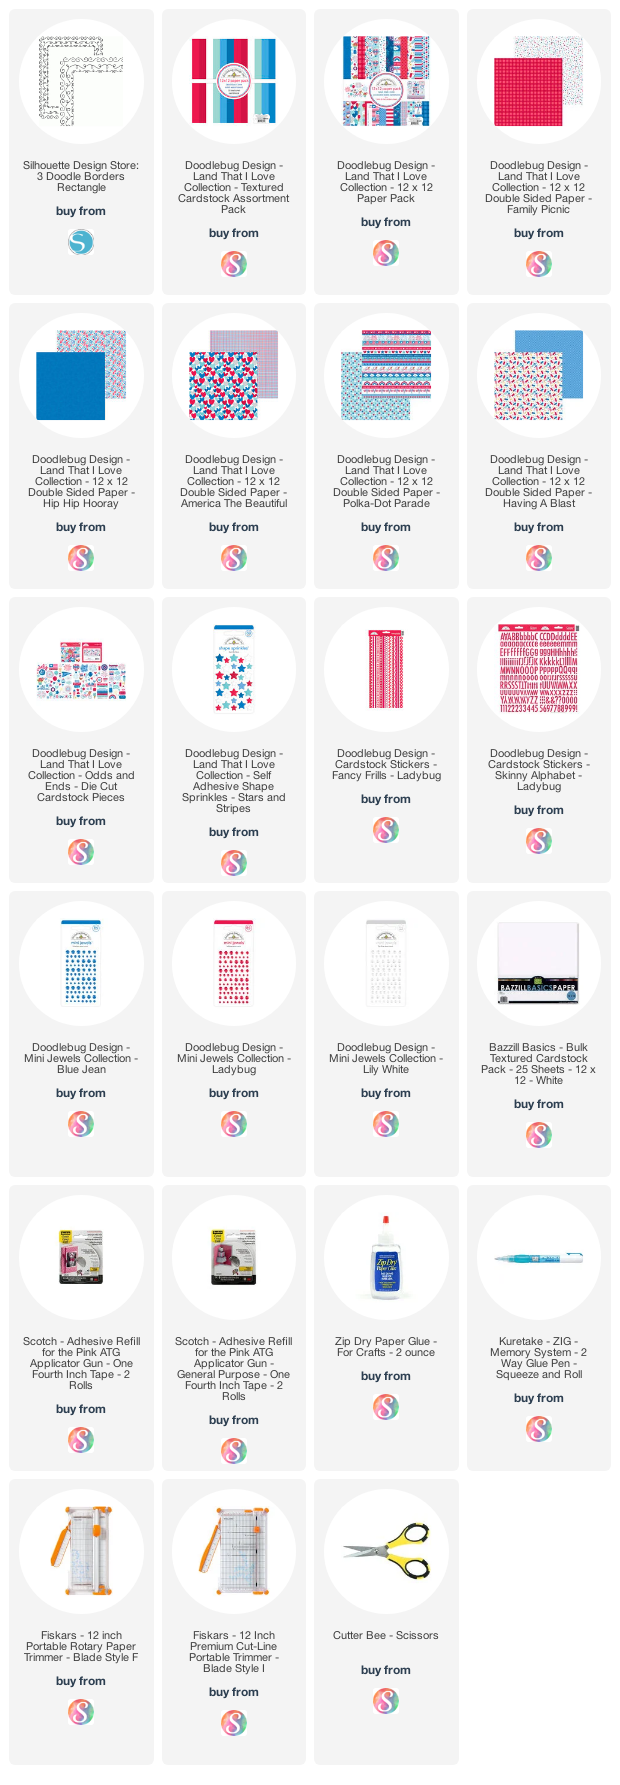
To make this page, I layered Doodlebug's textured card stock in ladybug with some pattern papers from the Patriotic Picnic Collection. I used my Cameo machine to sketch a fun swirly border into the white card stock using a cutting file called 3 Doodle Borders. Then, I anchored the layout with some striped paper and scallop fancy frill stickers (product links below).

For my title, I used the Chippers alphabet stickers in ladybug. And you just can't have a patriotic holiday without a little sparkle, so ... the star jewels were perfect for adding a little shine to my layout.

Above, I combined the Chippers alpha stickers and the Skinny card stock stickers for my July 4th title. I think they work great together! The cute American flag is one of the icon stickers and I added another star jewel to it for more sparkle.

Thanks for stopping by the blog today. I hope you have fun with the Patriotic Picnic Collection. Below are the links for the products used in this layout. Have a wonderful and safe holiday! 😊

 
Supplies: As an Amazon Associate, I earn from qualifying purchases.  Affiliate links are used in this post at no additional cost to you. I receive a small amount of compensation when you click through and shop using the provided links. This helps me to continue building my small business. Thank you!


Tuesday, June 23, 2015

Doodlebug ABC Book

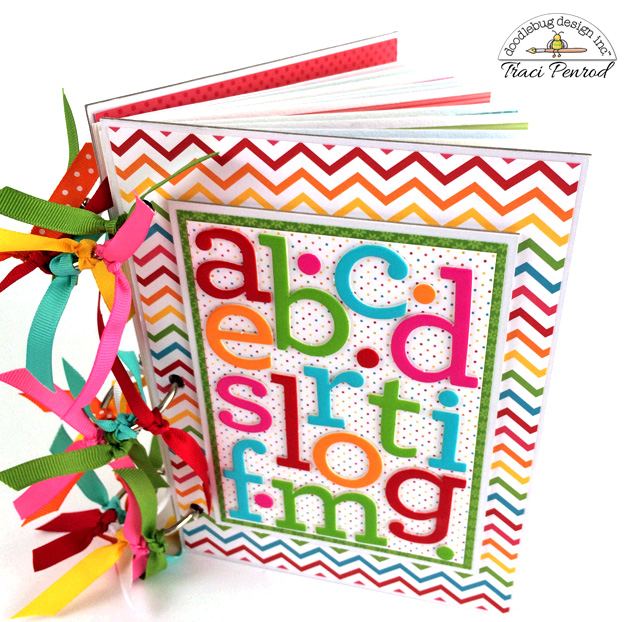
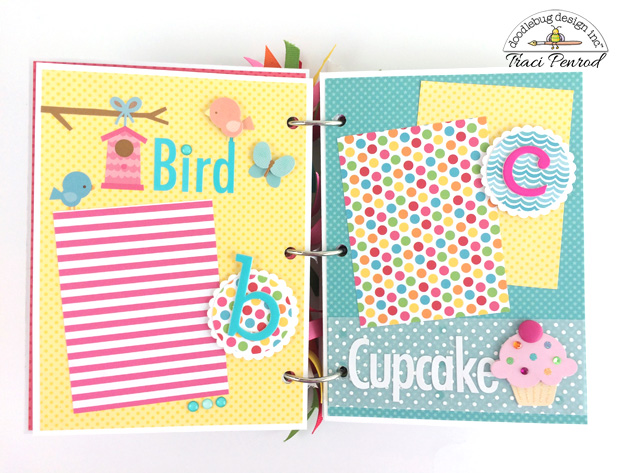
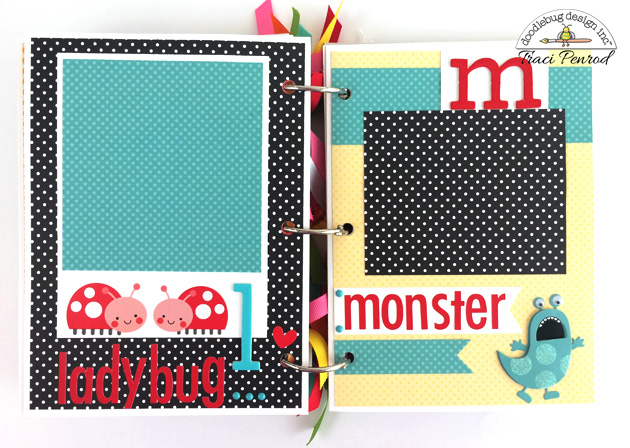
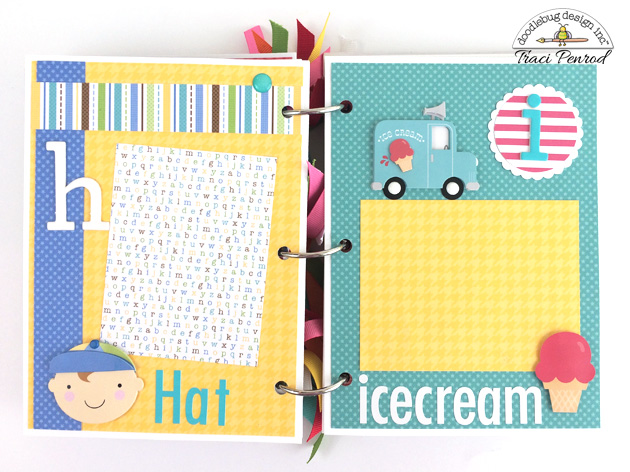
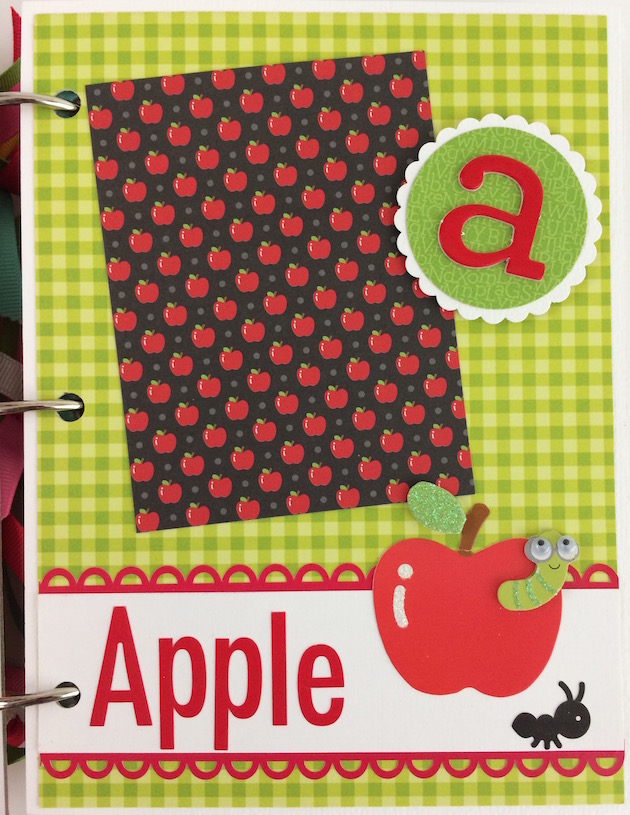
Hi everyone! Today, I'm sharing my latest Doodlebug Design Team project. It's a cute child's ABC Alphabet Book that you can create for the sweet littles in your life. Doodlebug challenged the team to use Chippers alpha stickers in a fun way so ... I created this awesome album! It's my turn over on the Doodlebug blog today so stop by and say hello!


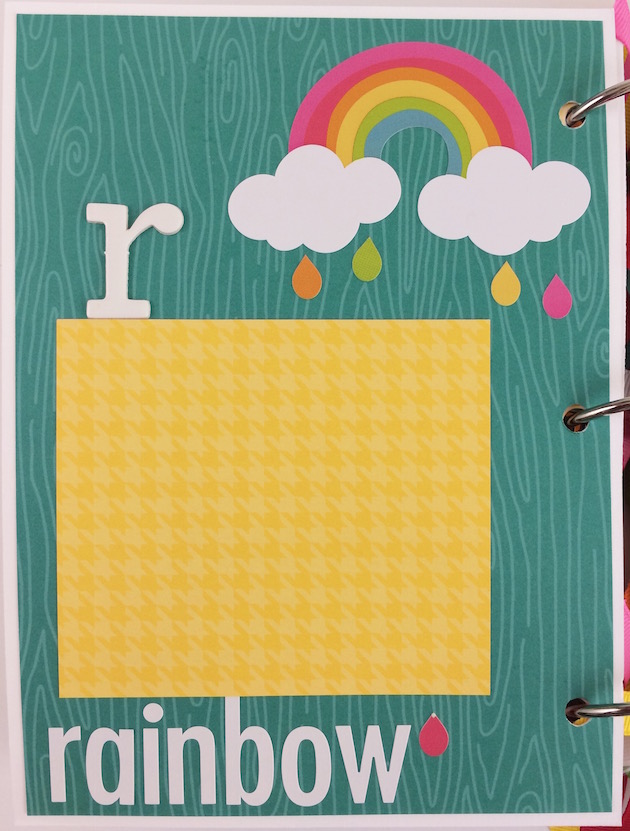
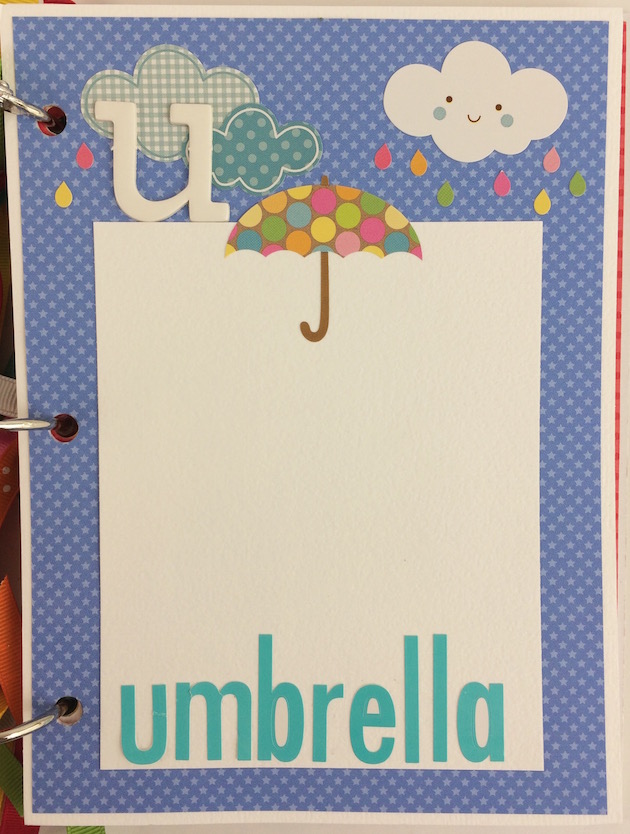
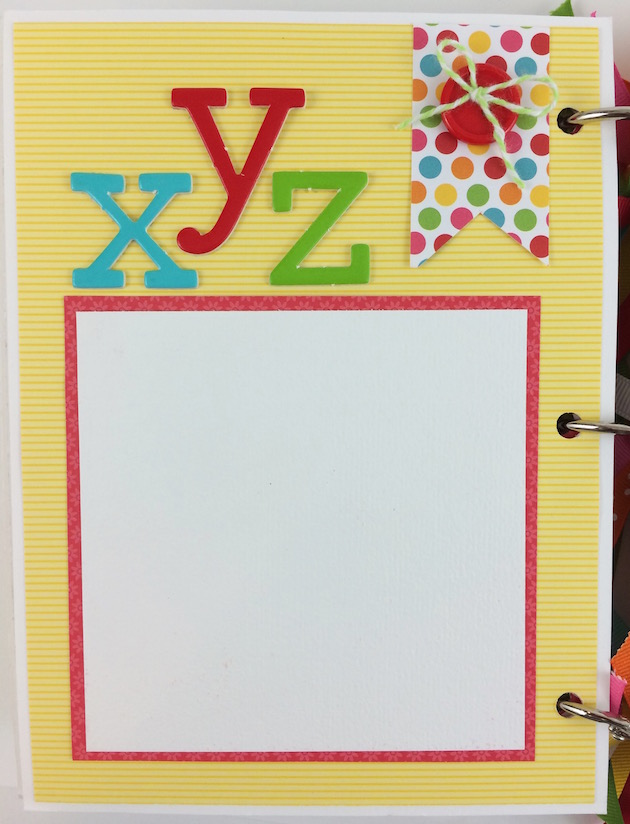
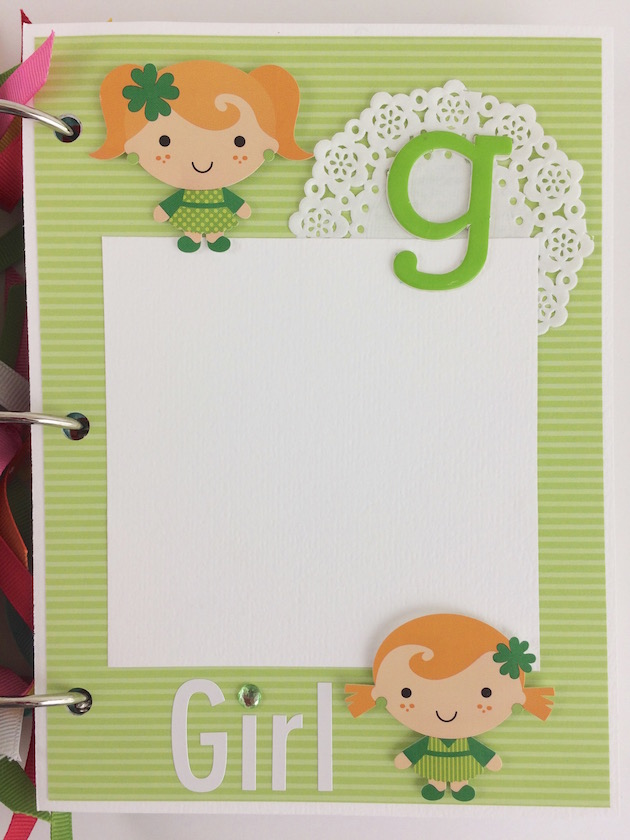
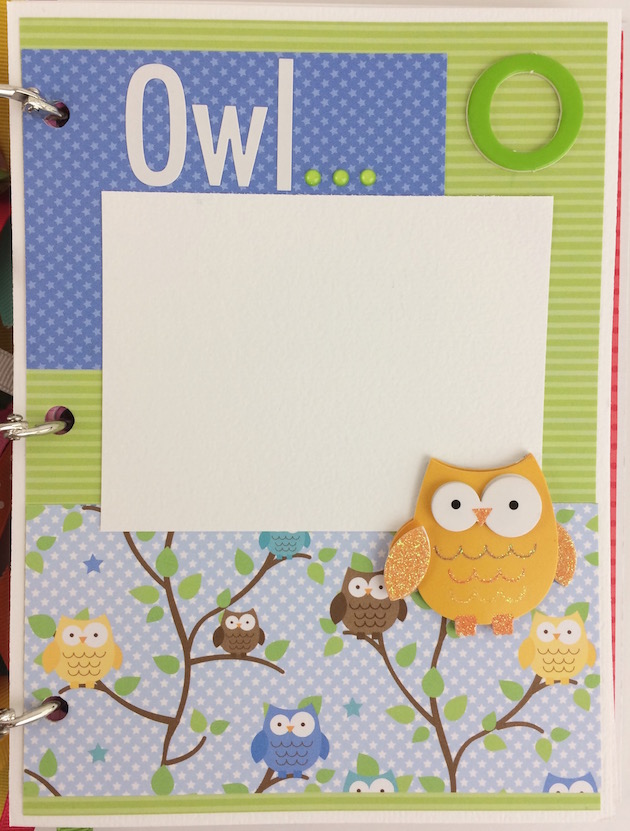
Each page inside the album is dedicated to a letter of the alphabet. Children can see the letter, a cute Doodle Pop or sticker, a word that starts with that letter and a personal photo!

You could add pictures that correspond with the letter or the word on that page. For example, on this page you could use a cute photo of your little making, decorating or eating a yummy cupcake!

Or ... simply add any photo that's meaningful to them. The monster on this page cracks me up! 😂 I love him!

 
Wouldn't this make the sweetest gift for a child or grandchild, filled with photos of them or family members? Kids love to see photos of themselves.
 

You could get really creative with this idea and also make a Numbers book to help them learn about counting. Keep it simple and add numbers 1-10.
 

This would also make a super fun project to do WITH the kiddos! Let them add the letters, chose the stickers and pick out the photos! Weekend afternoon entertainment ... done!


Add a little bling ... what little girl doesn't love that?!


Thanks for letting me share another mini album with you! Have a great day and visit my shop for lots of wonderful album kits and premades!