Tuesday, November 14, 2017

Christmas Ornament - Nov Blog Hop with Lori Whitlock

Hi friends! Today is Lori Whitlock's August Blog Hop and my blog is the first stop on the hop. But be sure to visit Lori's site too because she has a sale and more great products for you! 

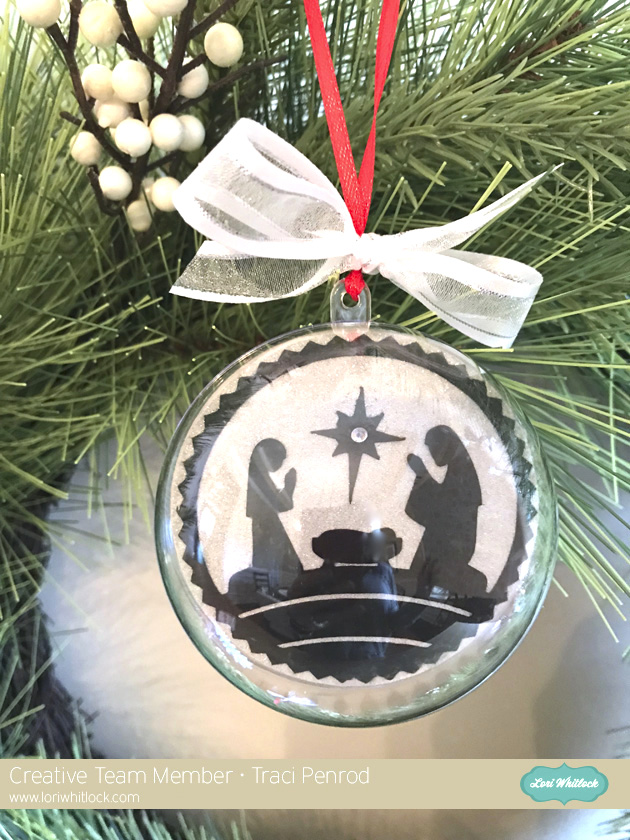
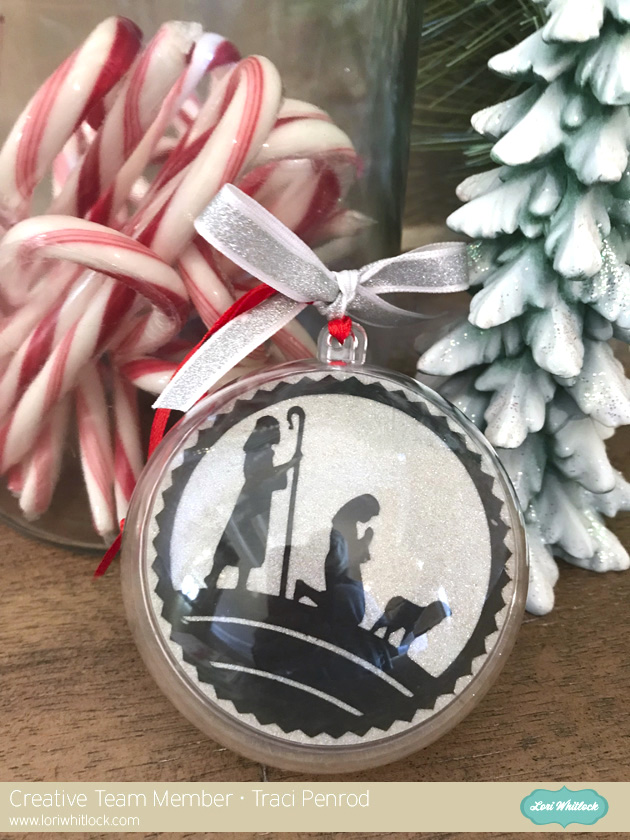
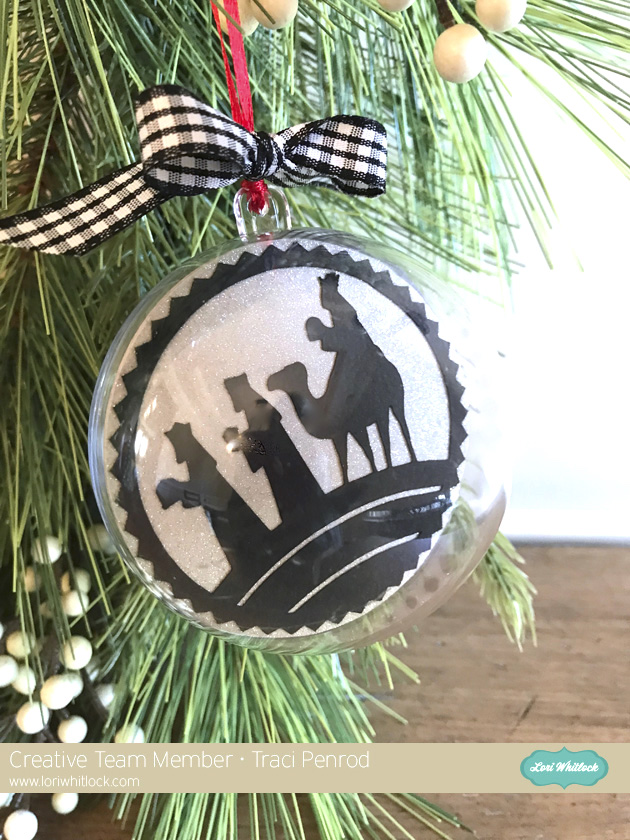
Today, I'm sharing a set of Christmas ornaments that I made using three of Lori's beautiful cutting files and some round plastic ornaments I found at Michael's. These open and have a clear piece of circular acrylic in the center for a photo or embellishment.  
 

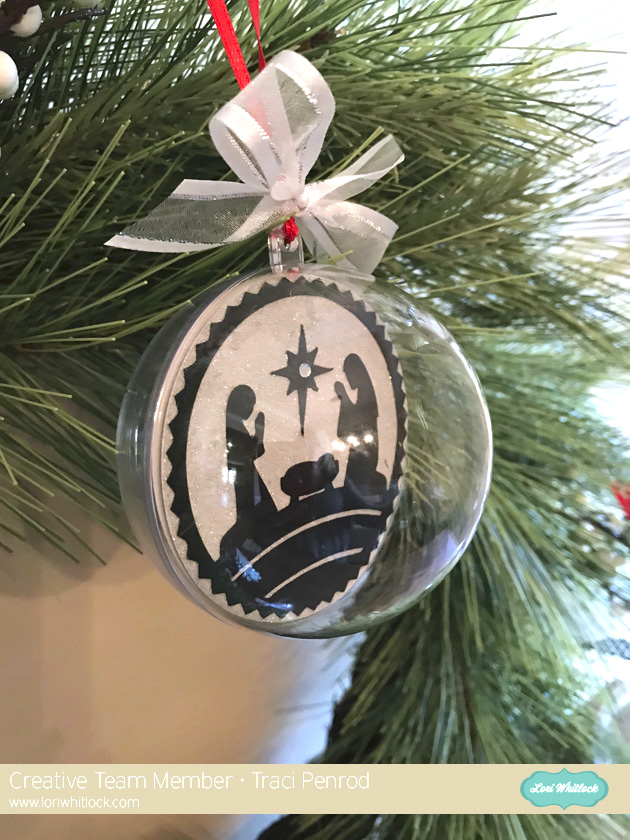
I cut out two 3" circles from silver glitter paper and adhered them to the front and back of the acrylic center of the ornament. Then, I added Lori's beautiful Nativity cutting files to each side. This way, the design can be seen if the ornament spins around.

For this first ornament, I used the cutting file called Nativity Circle Jesus and added a simple clear gem to the center of the star (links below).

For the second one, I used the cutting file called Nativity Circle Shepherds. Love these!

And for the third ornament, I used the cutting file called Nativity Circle Wisemen. All three designs are gorgeous. They are sold separately or in a bundle in Lori's shop and Silhouette Design Store (links below). I hope you give these pretty ornament ideas a try!

 
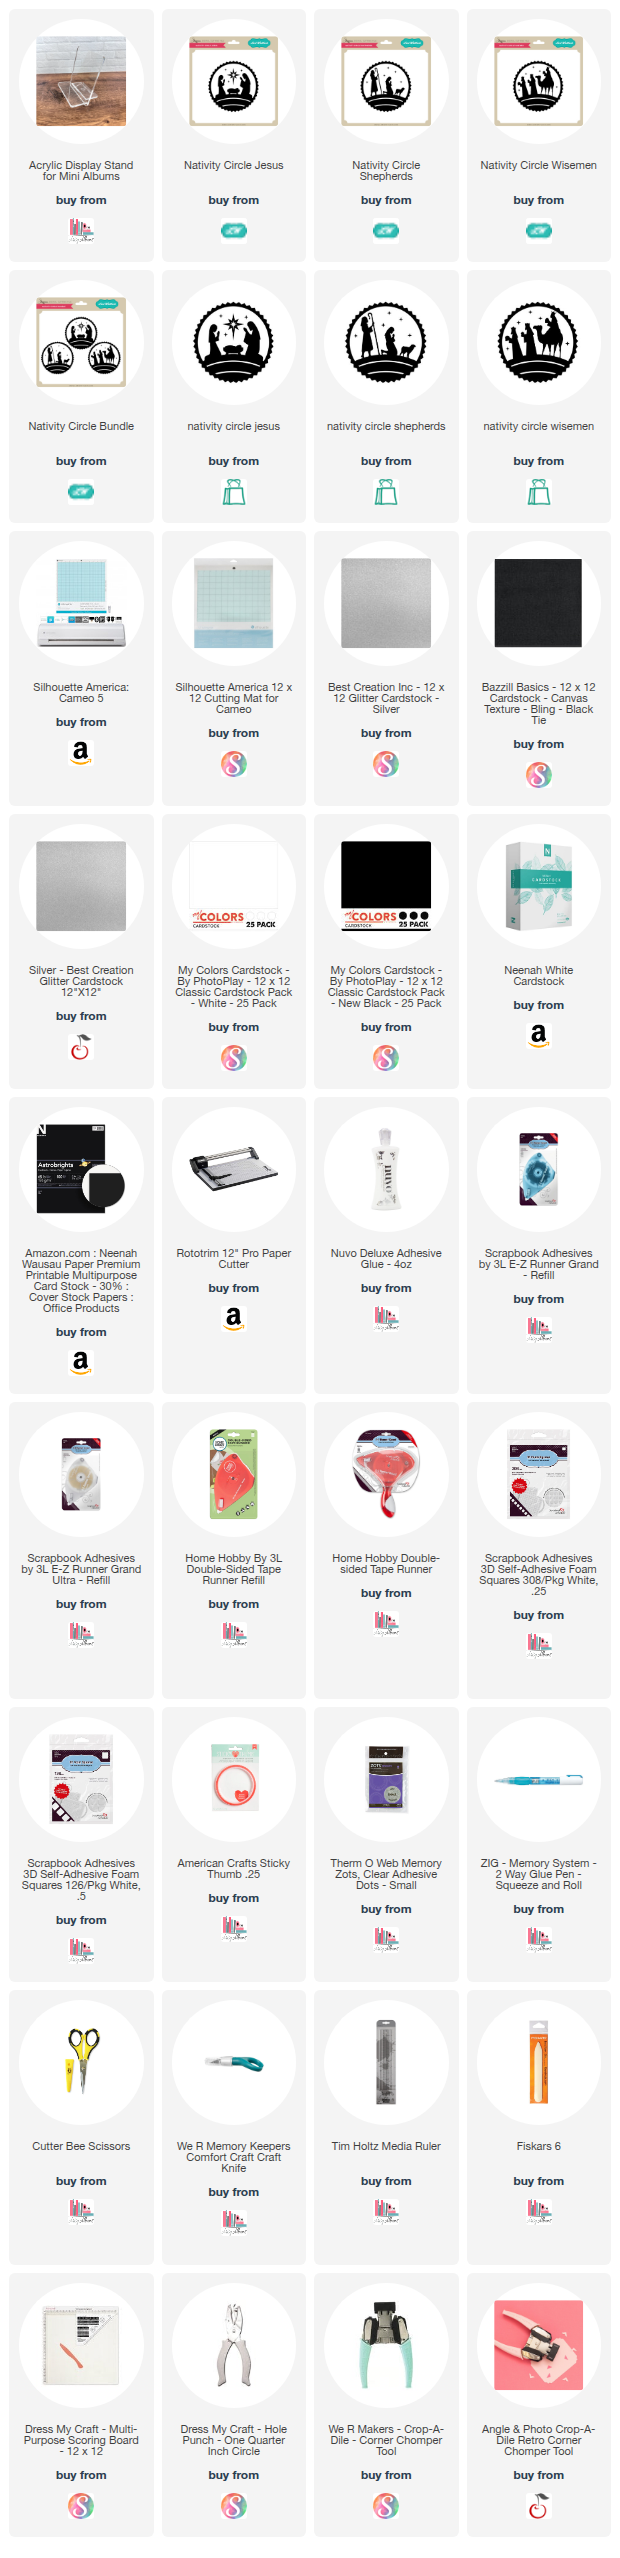
Supplies: As an Amazon Associate, I earn from qualifying purchases.  Affiliate links are used in this post at no additional cost to you. I receive a small amount of compensation when you click through and shop using the provided links. This helps me to continue building my small business. Thank you!  

Sweet Treats Party Invitation and Decorations

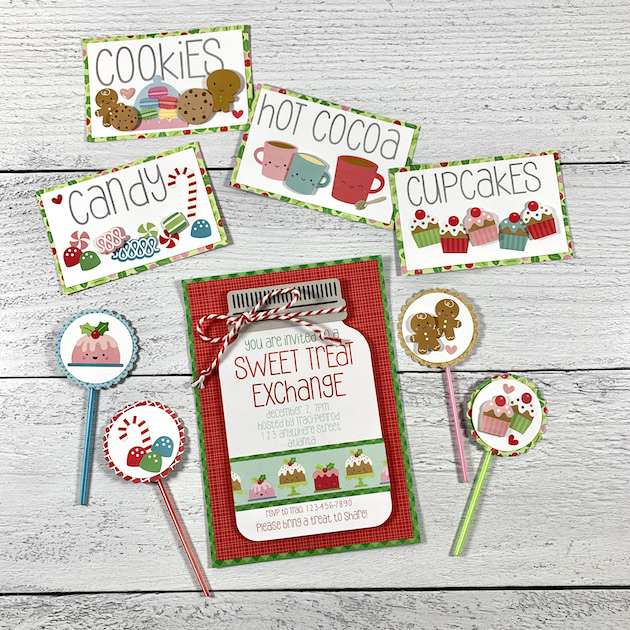
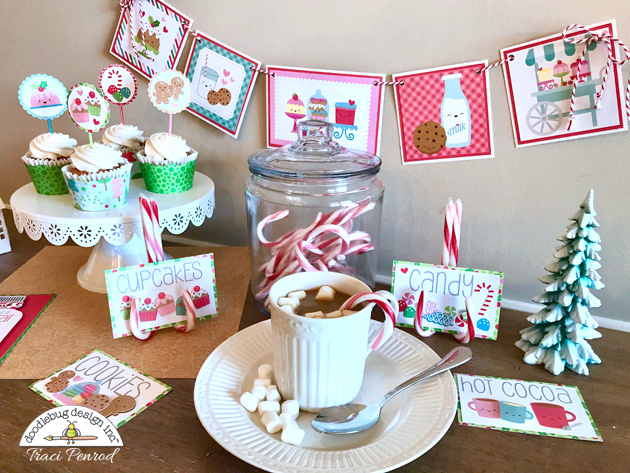
Hello everyone! Today, I'm super excited to share my latest Doodlebug Design Team Project. I have some cute and fun ideas for a Sweet Treats Exchange party. Think cookie swap, but with any and all kinds of sweet treats. Yummy!

Cookie Swap Exchange Party Decorations & Invitation

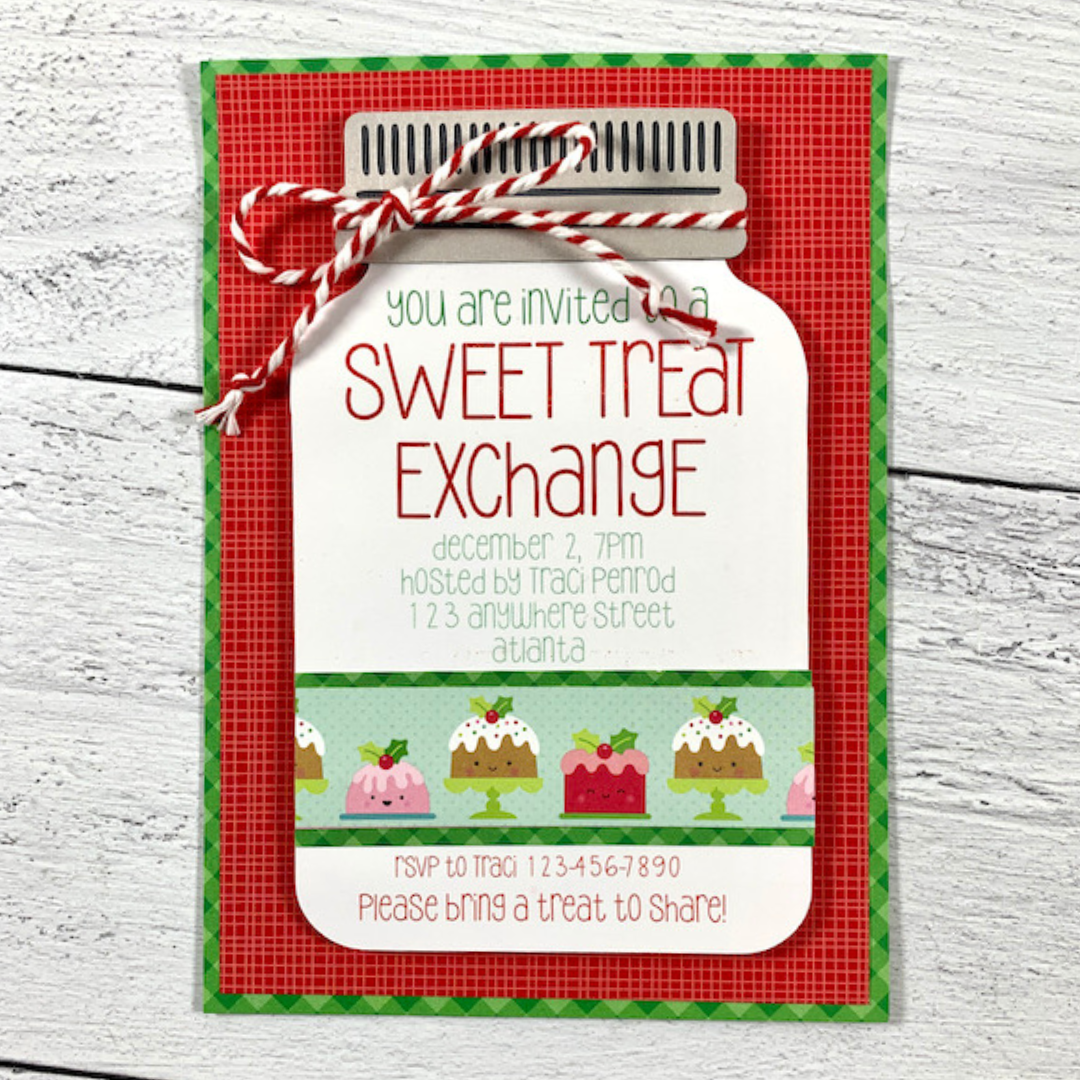
First, every party needs an invitation. For mine, I used gingham and linen pattern papers for the base, in ladybug and grasshopper. Then created a print & cut using Doodlebug's Jar of Hearts design with my silhouette machine. The font is by Lori Whitlock and is called Cutie Pie (links below).  

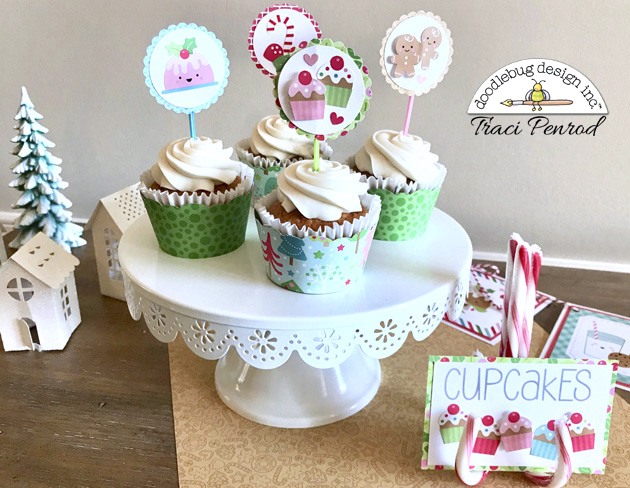
Cookie Swap Exchange Party Decorations & Invitation

Next, I created some cupcake wrappers and toppers. I punched out scallop circles from Milk and Cookies pattern paper, layered them white card stock circles and Icon stickers, and attached them to Doodlebug pixie sticks.

Cookie Swap Baking Exchange Party Decorations & Invitation

I cut the cupcake wrapper out with another Silhouette design (link below). 

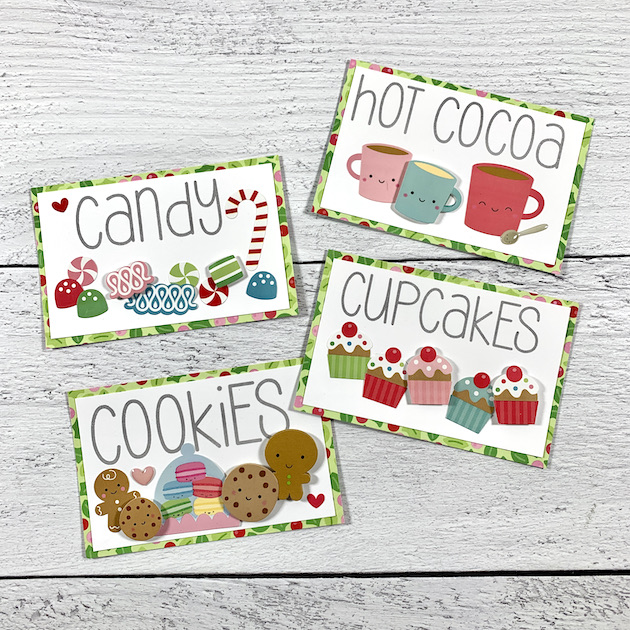
Cookie Swap Exchange Party Decorations

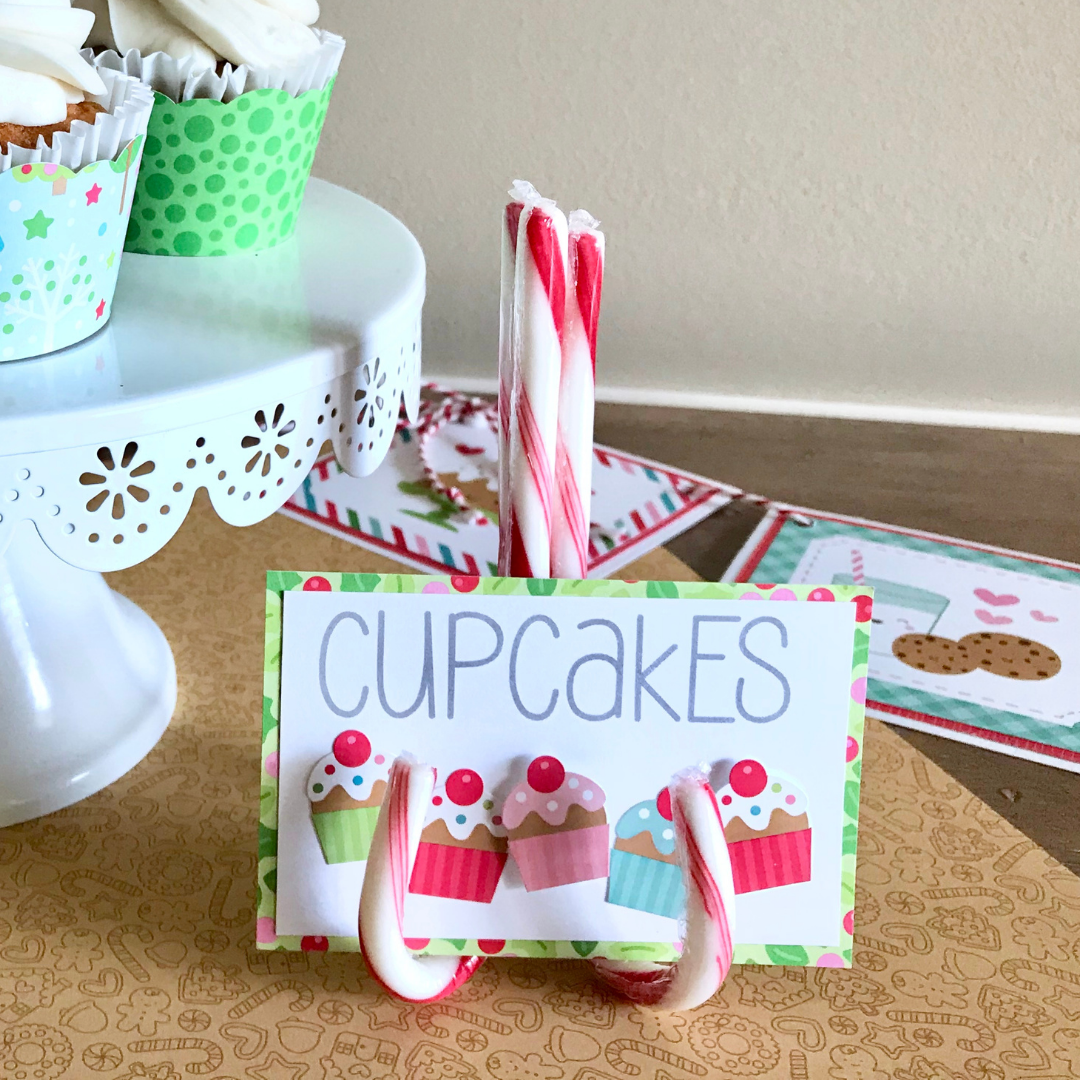
For my little signs, I used the Cutie pie font to print the words, cut the card stock to 2.5" x 4" and embellished each one with icon stickers and a few Doodle-pops. Each sign is matted with Merry Berries pattern paper. 
 
Cookie Swap Exchange Party Decorations
 
Cookie Swap Exchange Party Decorations & Invitation

Finally, my banner is just 4x4 and 4x6 cards from the Milk and Cookies and Cream and Sugar collections. I matted them with card stock, punched holes in the corners, and added ladybug chunky twine.

Thank you for letting me share a few party ideas with you today! 

Supplies: Affiliate links are used in this post at no additional cost to you. I receive a small amount of compensation when you click through and shop using the provided links. This helps me to continue building my small business. Thank you!

Thursday, November 9, 2017

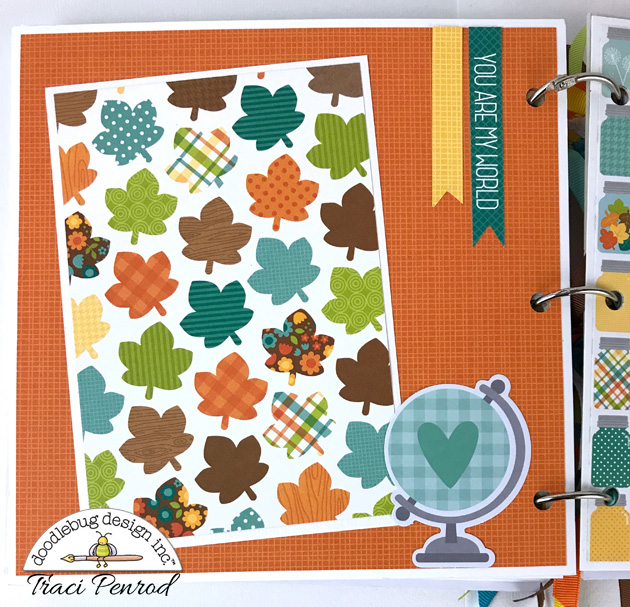
Thankful Fall Scrapbook Album with Doodlebug

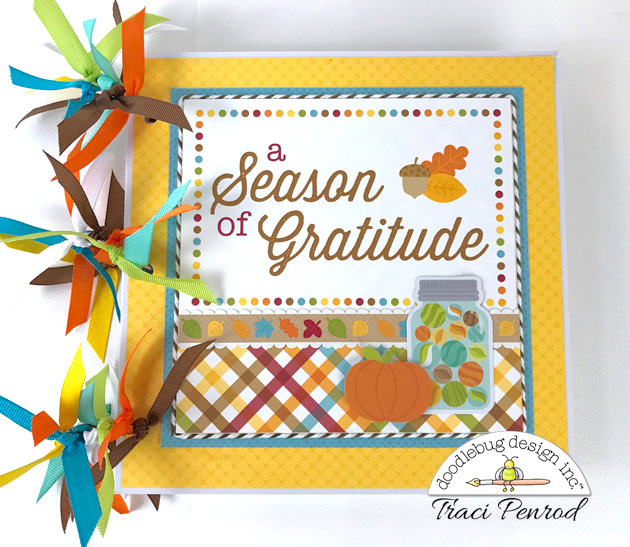
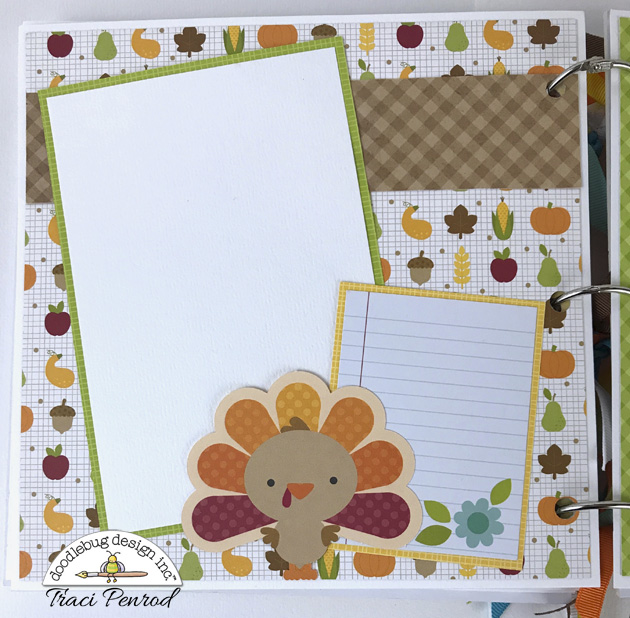
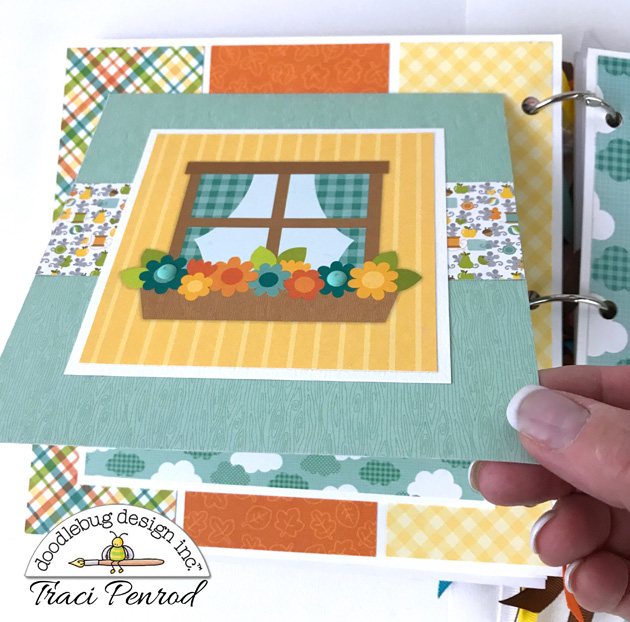
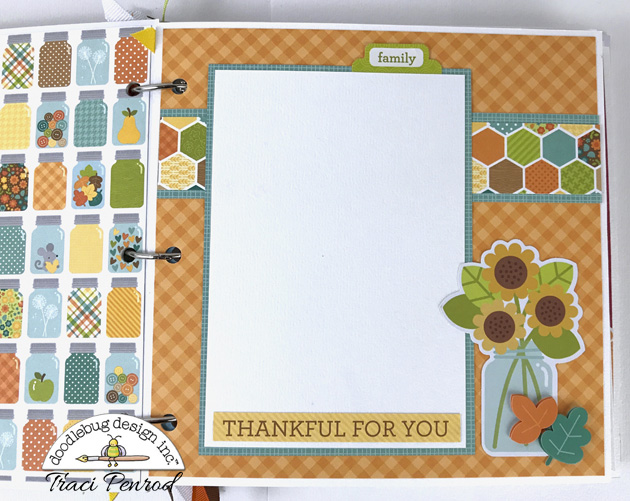
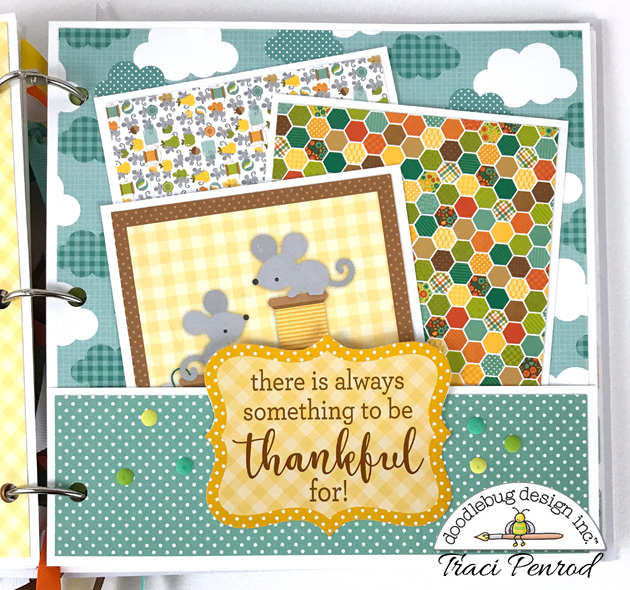
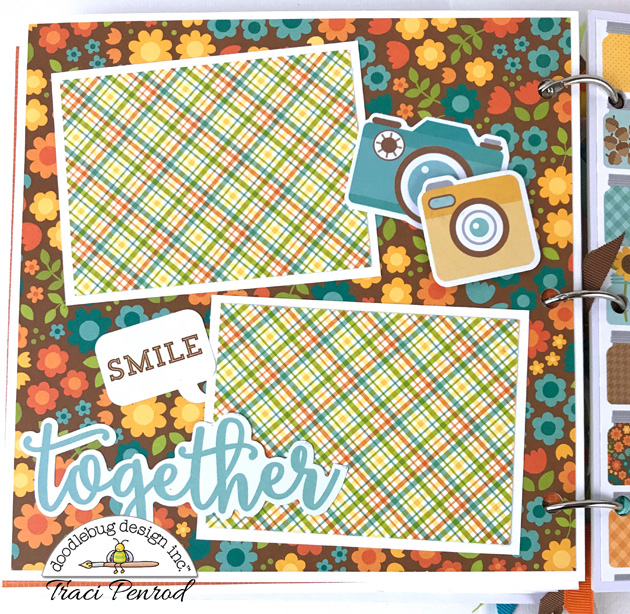
Hi friends! Today, I'm excited to share my latest Doodlebug Design Team Project. It's a super cute fall themed 8x8 inch mini album titled A Season of Gratitude. It's perfect for your autumn pictures of family, friends, festivals, colorful leaves, and Thanksgiving!

 
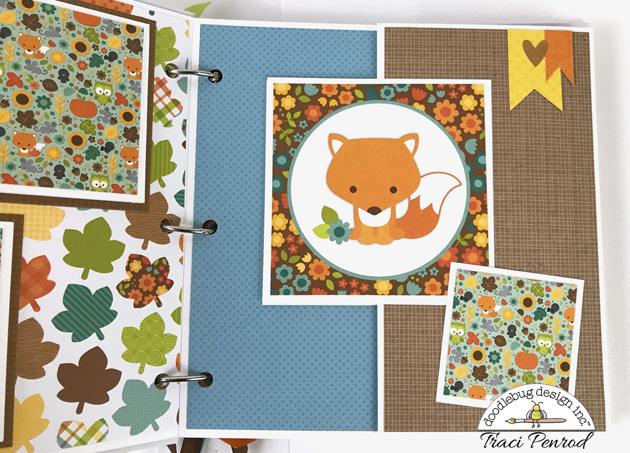
I designed this with the Doodlebug Design, Fall Friends and Flea Market Collections. They go perfectly together!


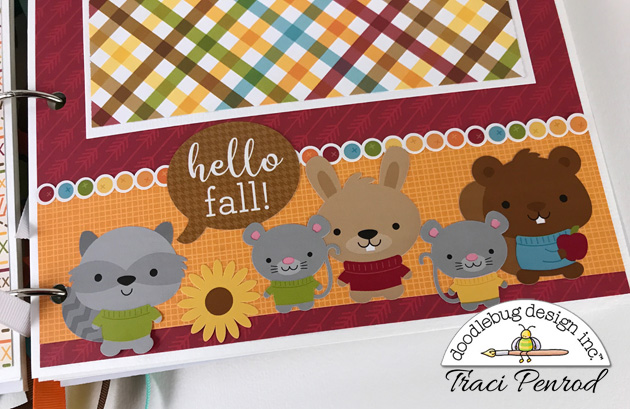
The little critters from the Fall Friends collection are SO cute! Look at their little sweaters!


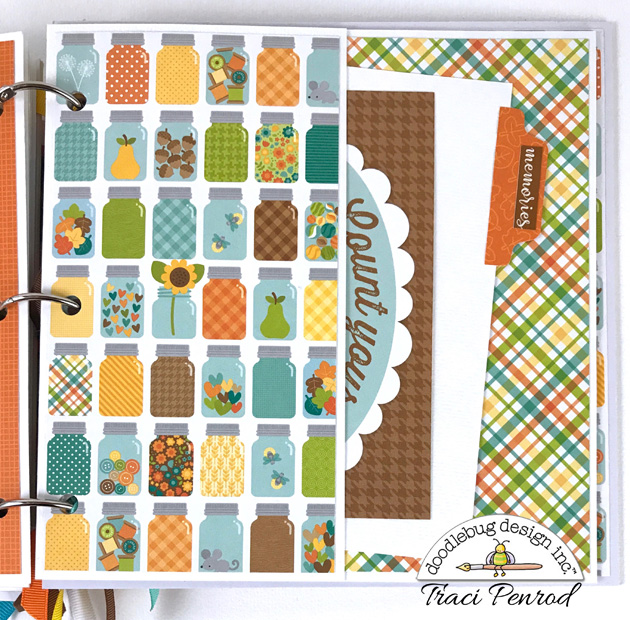
The jar paper is one of my favorite prints in Flea Market! And I couldn't create my albums without the fabulous Odds & Ends and Doodle-pops.  


Now I just need to get my family together for a fun fall photo shoot so I have pictures to put in my album! That will be the toughest part of this project :)  Thanks for letting me share my album with you today! 

Until next time ... happy crafting!

Blog * Shop * Facebook * Instagram * Pinterest

Thursday, October 26, 2017

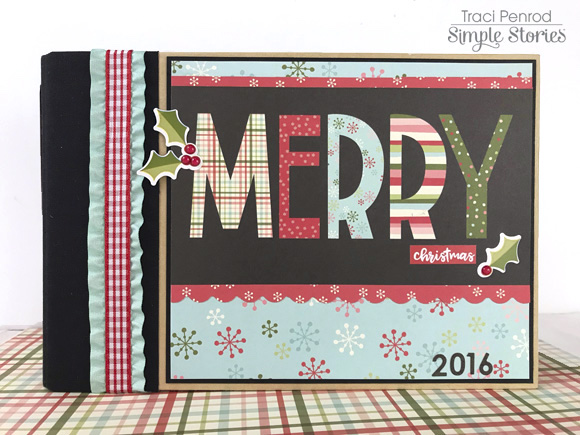
Merry Christmas Mini Album with Simple Stories

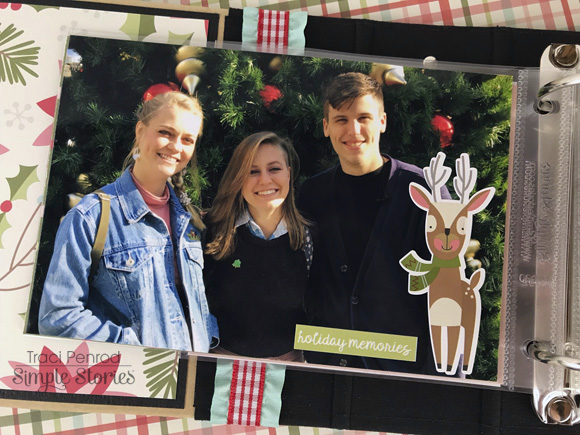
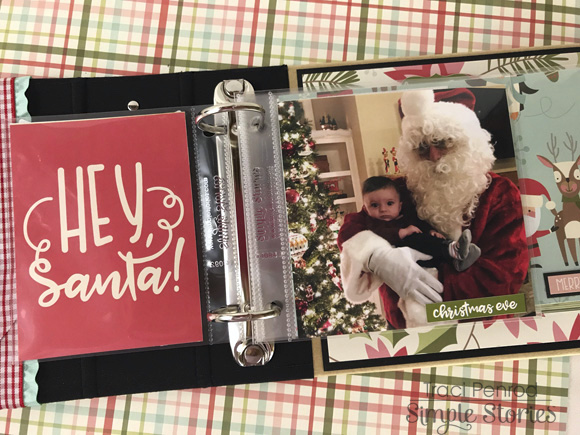
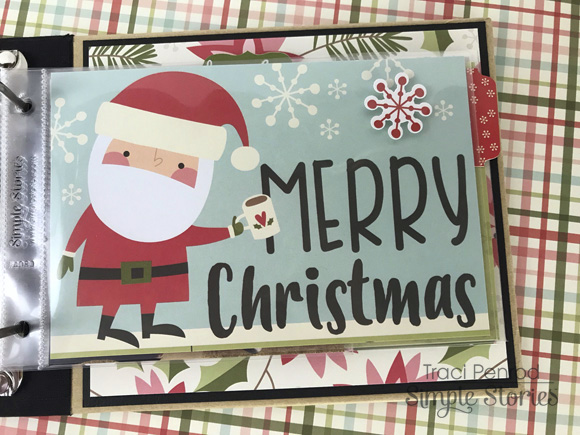
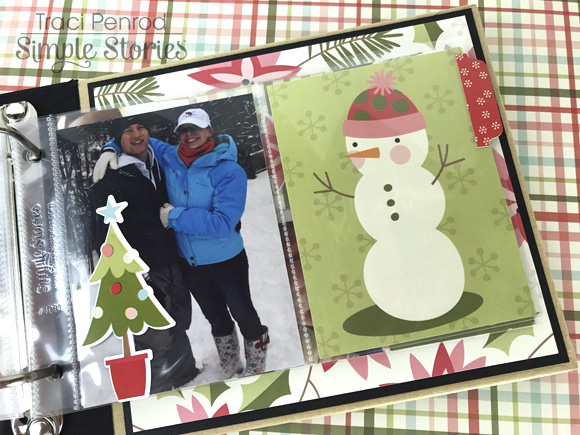
Hey guys! Today, I'm sharing my latest Simple Stories Design Team Project. It's a fun holiday mini album titled Merry Christmas. I really enjoy creating small sized scrapbooks so I love the 4x6 Sn@p binder albums. They're the perfect size for a fun little project and they make unique gifts for people who have everything!

I designed the album with the Simple Stories Oh What Fun Collection, and ... it's oh so fun! It's filled with cute images of Santa, his reindeer, penguins, presents, snowmen, and more.

The little reindeer above just cracks me up! He's from the 12x12 cardstock sticker sheet and he's so cute!

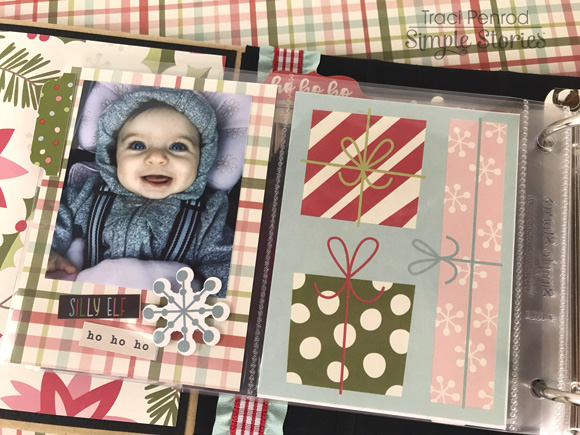
I'm loving the colors in this collection. There are shades of red, green, aqua blue, and pink. I love pink!


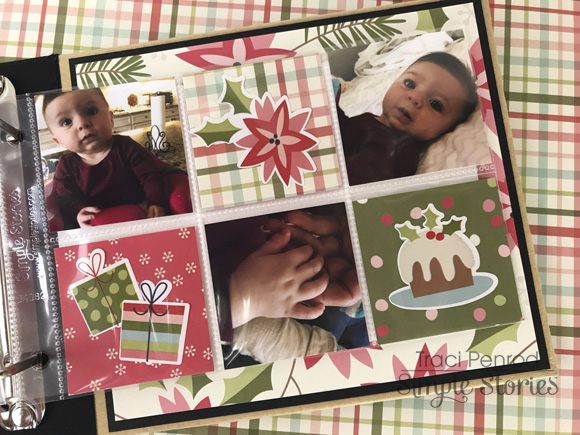
I also love the 2x2 pocket page for the little pictures of my sweet granddaughter.


See how easy? A few cute photos, a couple sheets of paper and stickers, and a 4x6 Sn@p album! I'm doing these for gifts this year. After all, who doesn't love pictures? 

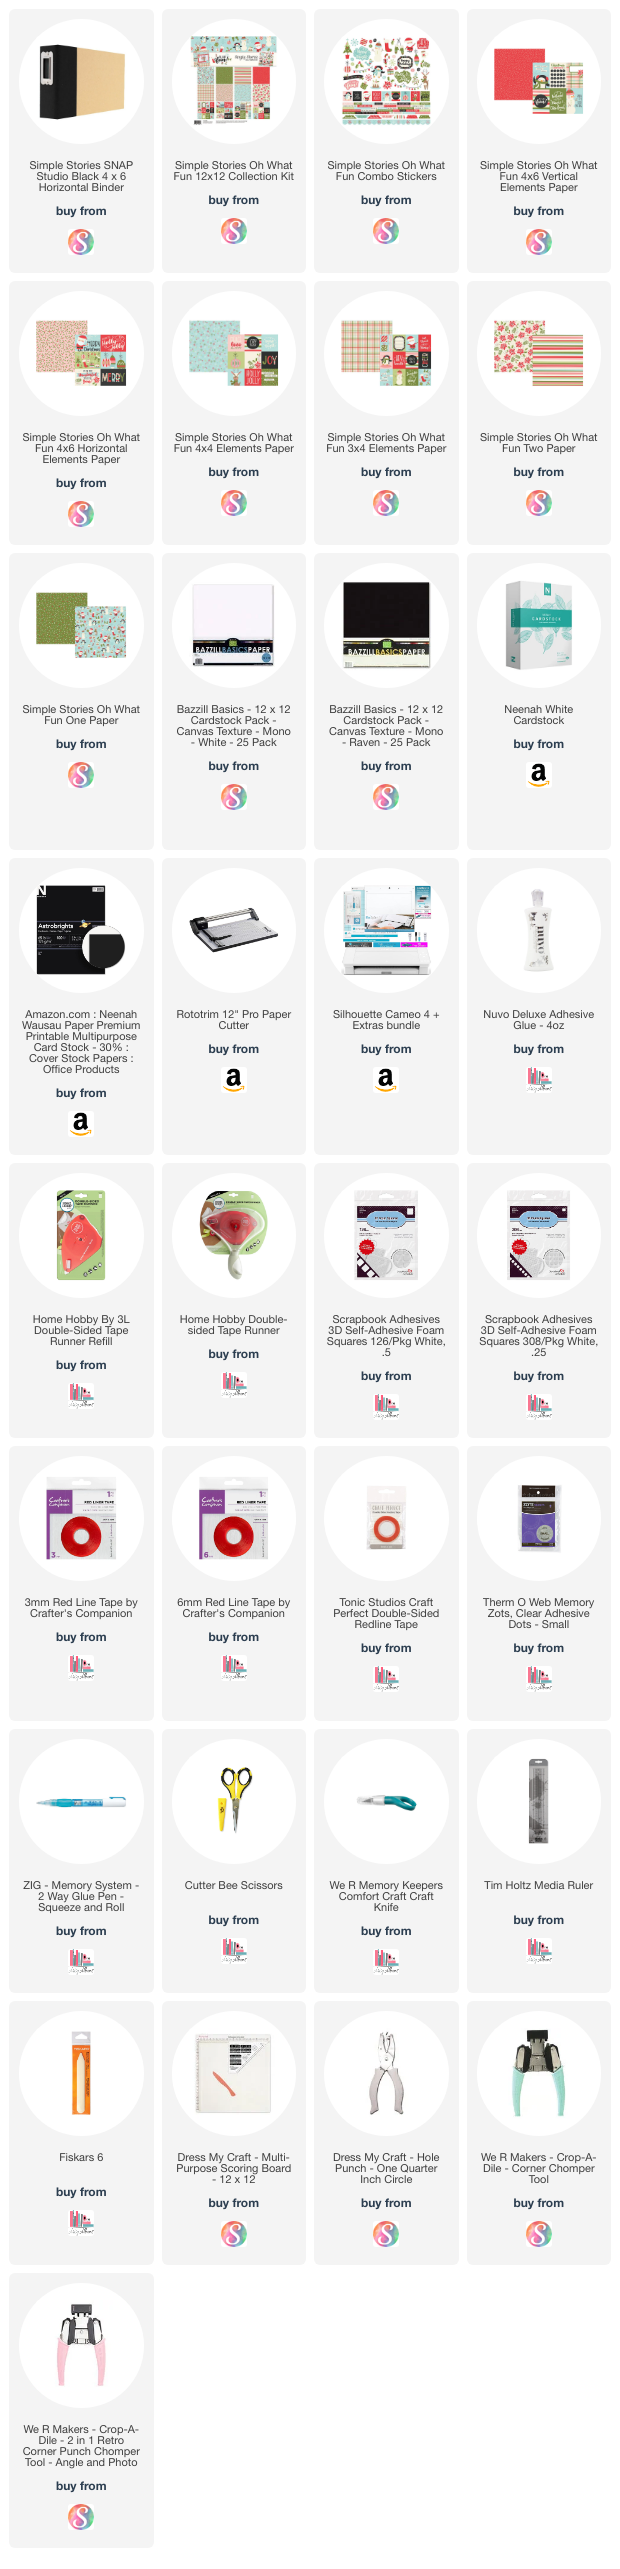
To make shopping easy, I've added the product links for the Oh What Fun Christmas Collection below. Happy scrappin'! 😊 

Blog * Shop * Facebook * Instagram * Pinterest

Supplies: As an Amazon Associate, I earn from qualifying purchases.  Affiliate links are used in this post at no additional cost to you. I receive a small amount of compensation when you click through and shop using the provided links. This helps me to continue building my small business. Thank you!


Wednesday, October 18, 2017

Washi Tape Challenge with Doodlebug Design

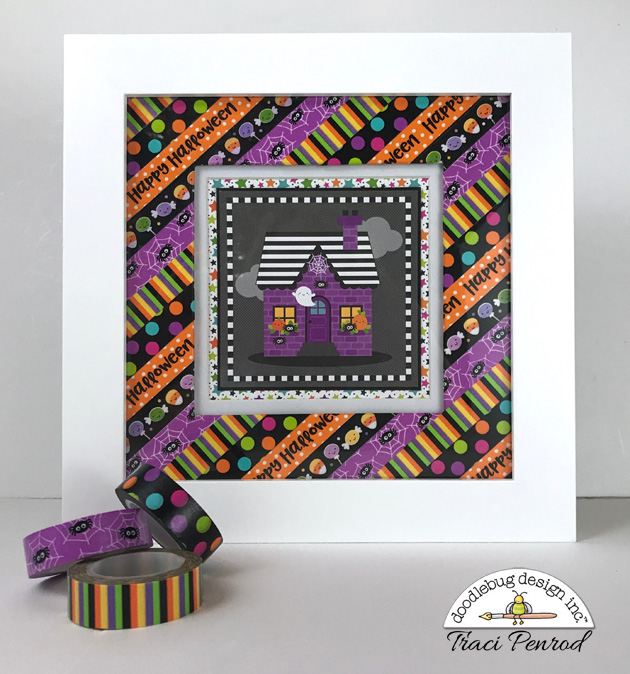
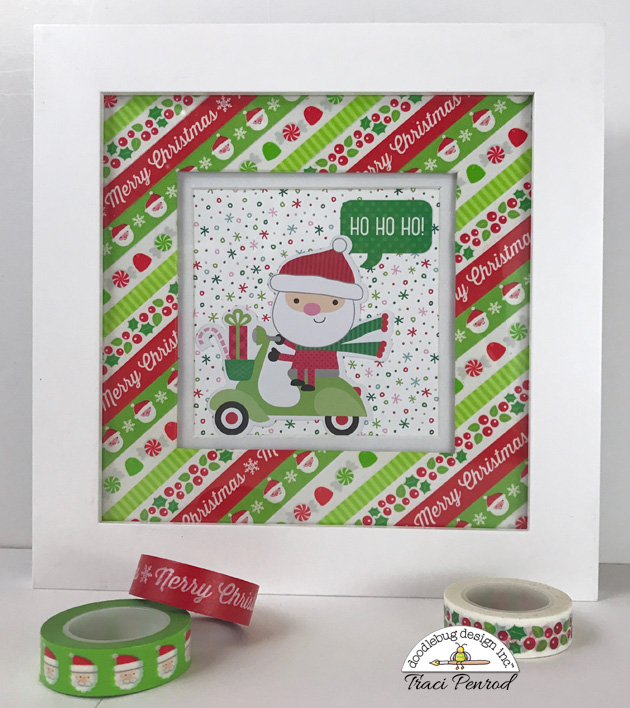
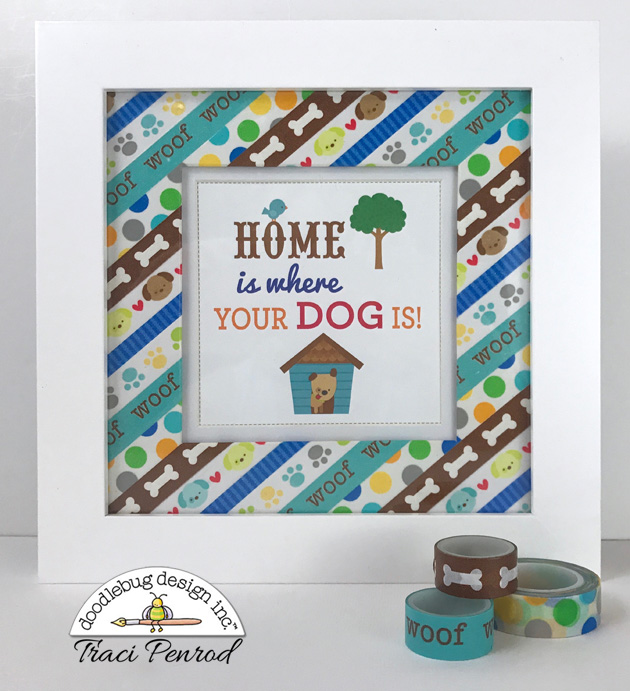
Hey there! Today I'm excited to share my latest Doodlebug Design Team project which you can also see on their blog too. It's a fun Washi Tape project! I found these 8x8 frames on sale at my local craft store so I decided to create a few holiday decor pieces, and a gift for a friend. 

 
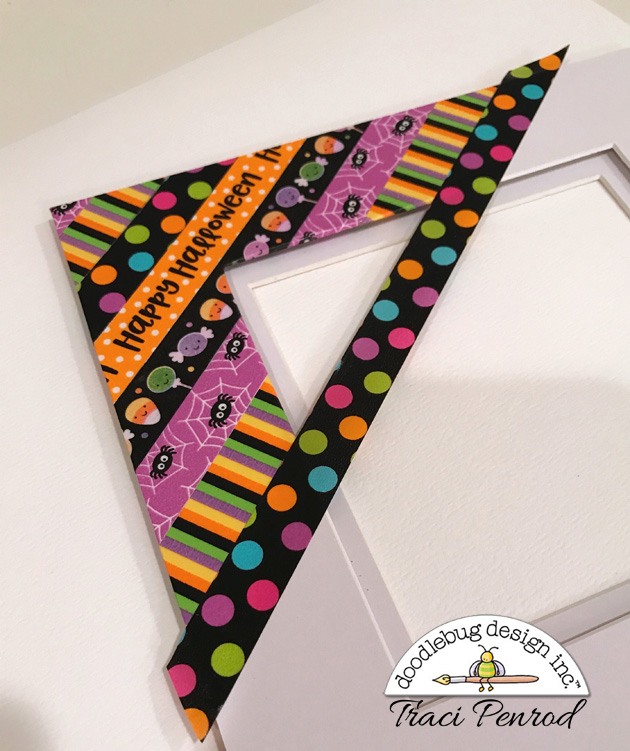
The frames came with double white mats. I covered the larger outside mat and left the one inside white.

 
I started with a corner, positioning the orange "Happy Halloween" tape first.  Then I added the rest of the tape by stretching it across the frame cut-out from one side to the other, trimming it, and folding it under each side. I could have saved some tape by not going across the opening, but this helped me line everything up perfectly.
 
 
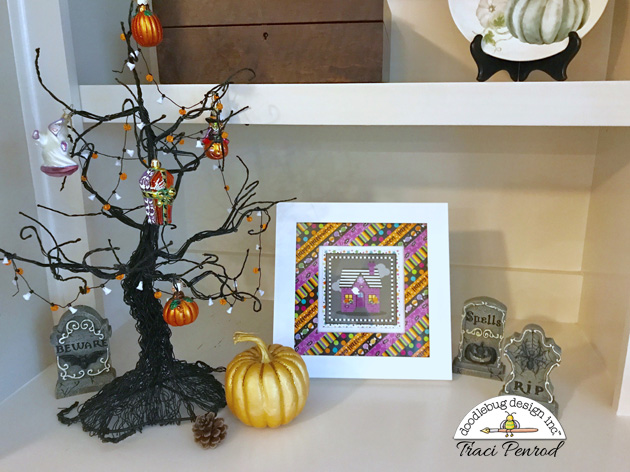
Here's the finished Halloween frame in my family room.  This was a super easy way to add a little pop of color to the plain space on my shelves.
 

  I also made one for Christmas ... 
 

 ... and one as a gift for a friend. She can take out the center piece and add a cute picture of her new puppy if she likes. This would be so cute hanging over the leash hook.
 
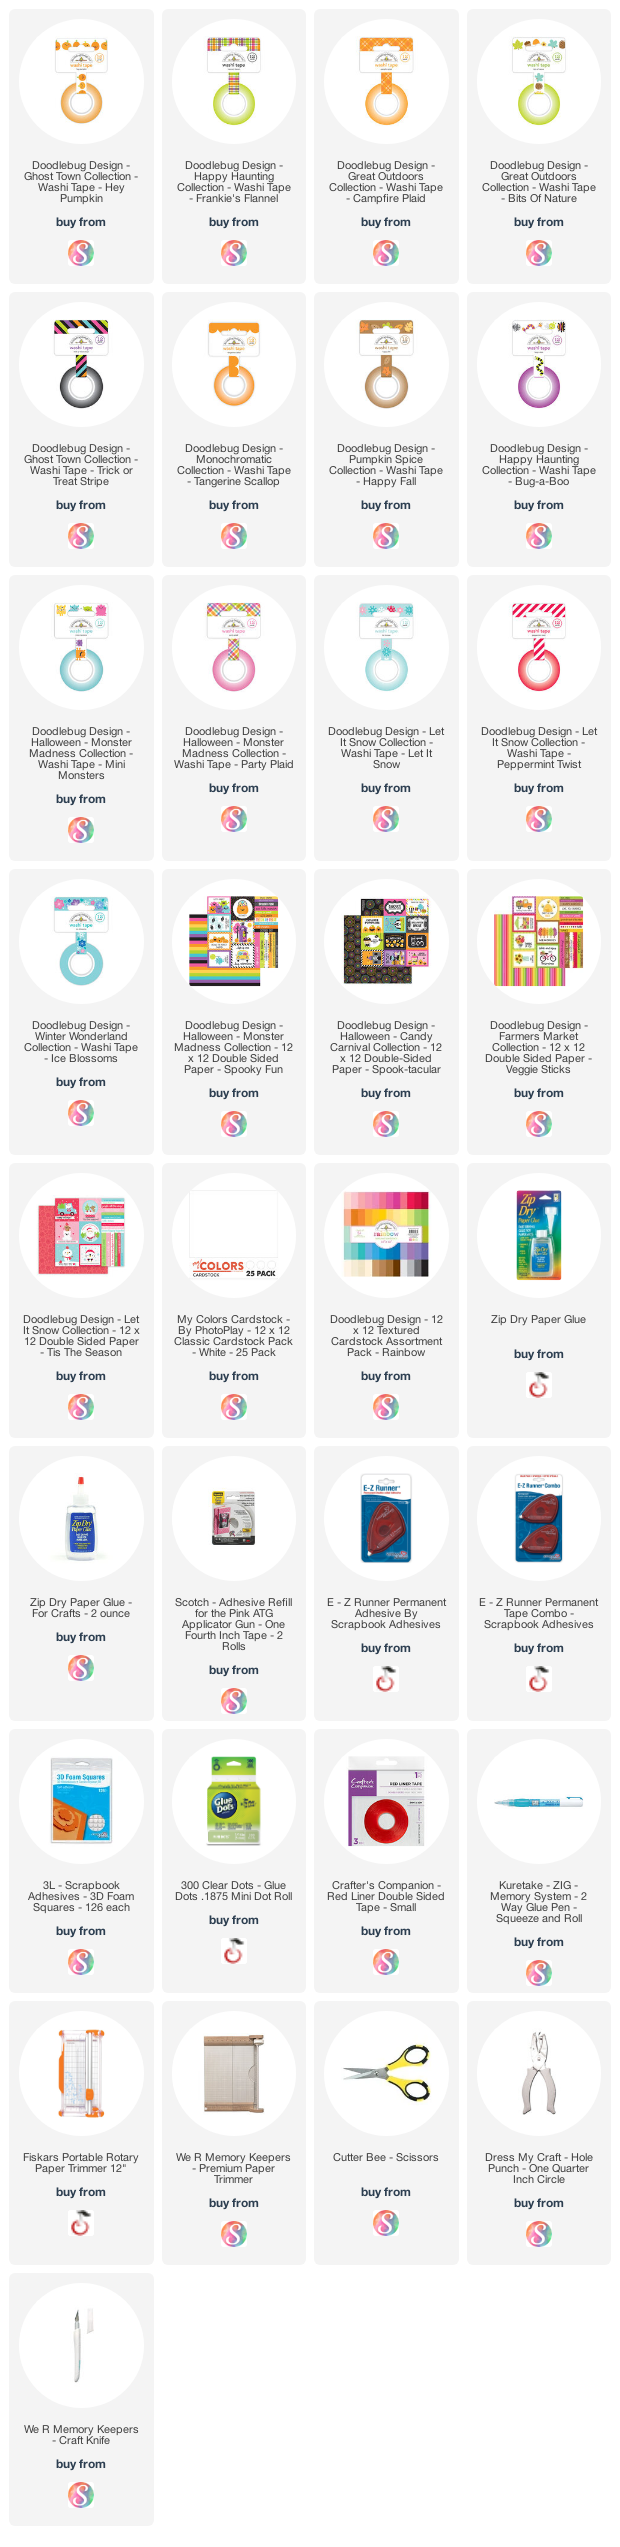
Below are product links for the items used in this project.

Booville Washi Tape
Booville 4x4 card
Milk & Cookies Washi Tape
Here Comes Santa Die Cuts
Puppy Love Washi Tape
Puppy Love 6x6 Paper

And here are some links to great substitute products that are currently available! 

Supplies: As an Amazon Associate, I earn from qualifying purchases.  Affiliate links are used in this post at no additional cost to you. I receive a small amount of compensation when you click through and shop using the provided links. This helps me to continue building my small business. Thank you!

Monday, October 9, 2017

Christmas Scrapbook Album and 12x12 Layout Kits

Hi everyone! I'm so excited to be sharing my latest mini album and 12x12 layout kits with you. And while I know I say this every time Doodlebug Design comes out with a new collection, this new Milk and Cookies Collection might be the cutest one ever! Well ... at least since Booville last month, lol! 😉

First, let's look at my Merry Christmas Mini Album ...

Christmas Scrapbook Album with Mr. & Mrs. Santa Claus, a wreath and a gingerbread

To purchase the instructions for this album visit:
 
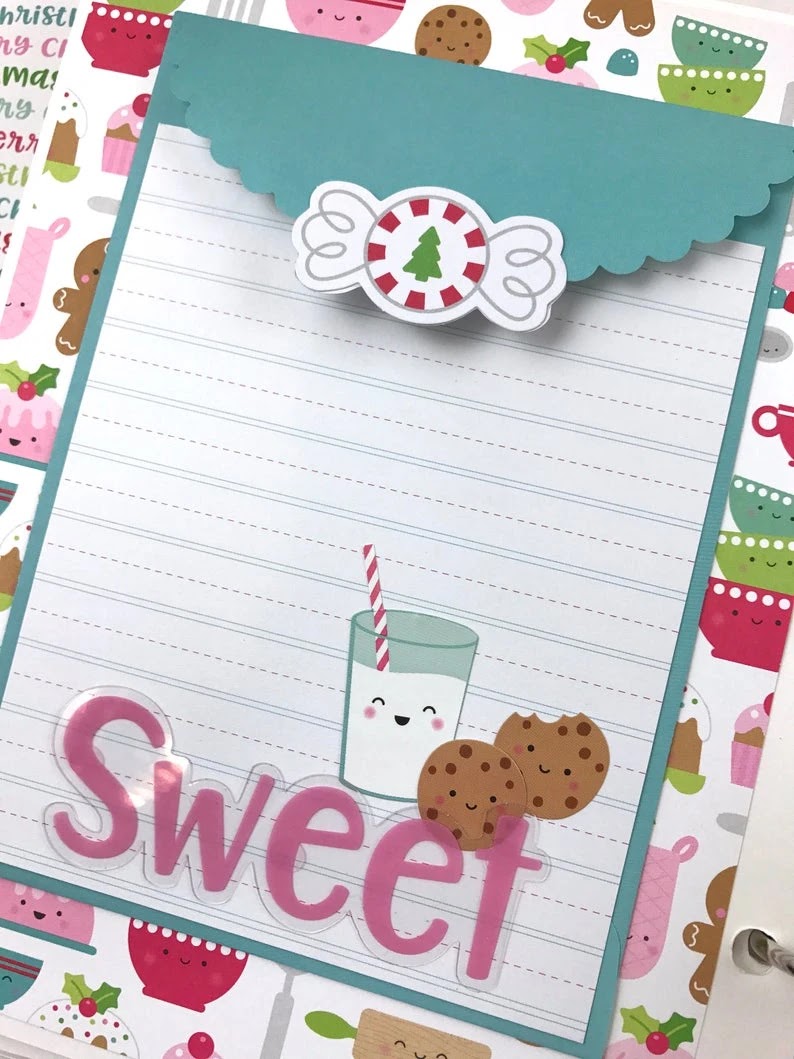
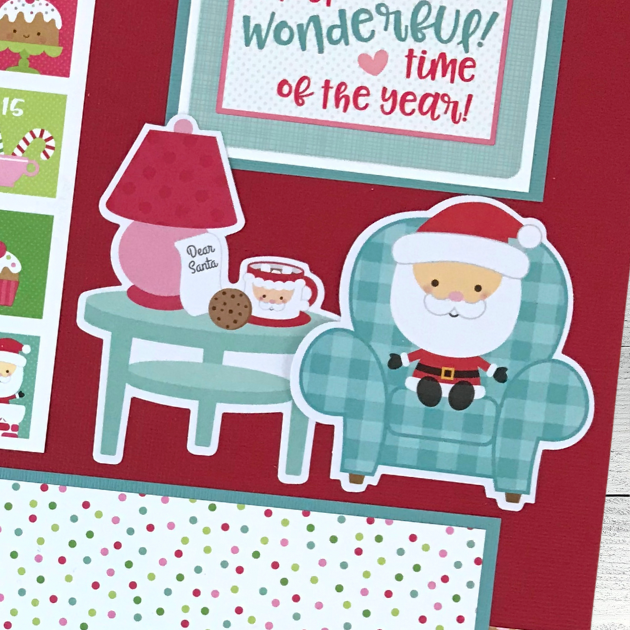
I designed this with a 6x8 inch red Simple Stories binder and added lots of Doodlebug's adorable pattern papers, die cuts, stickers, enamel dots, twine, AND ... fun interactive elements (product links below).
 

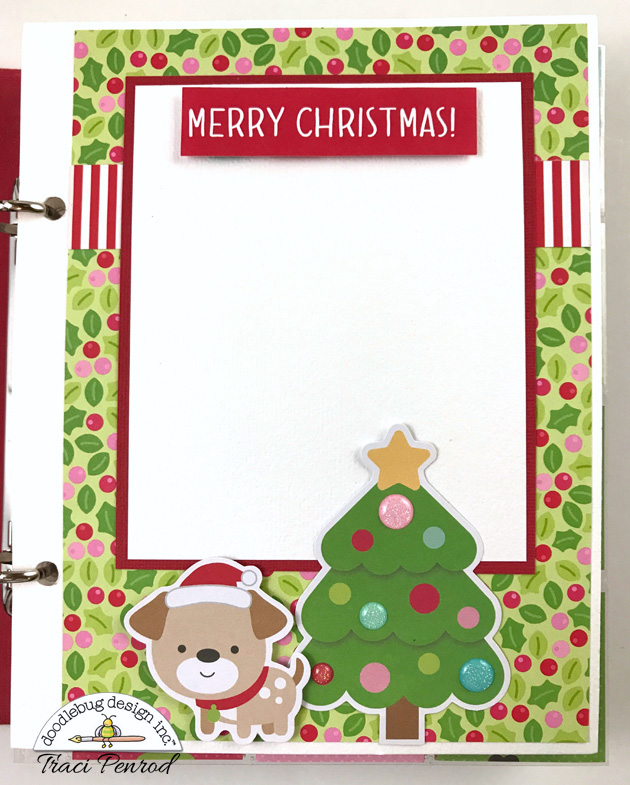
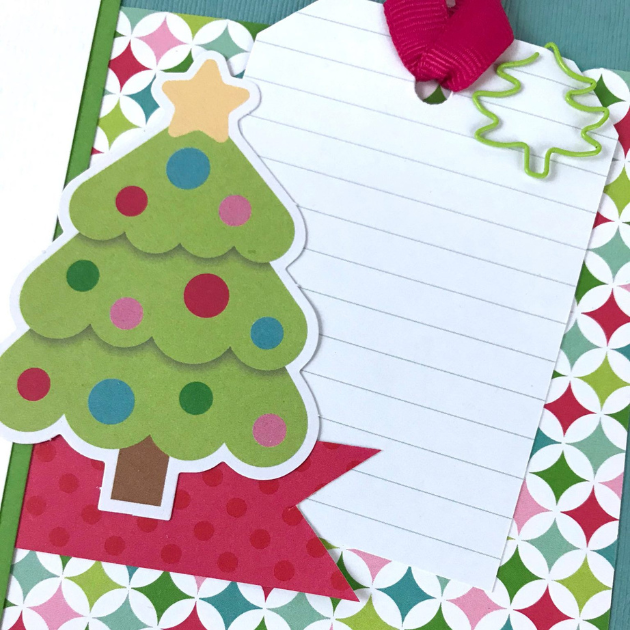
This first page has a photo mat that's perfect for a family photo around the Christmas tree. And speaking of trees ... I added some glitter enamel dots the die cut piece above for some dimensional ornaments. Love it!

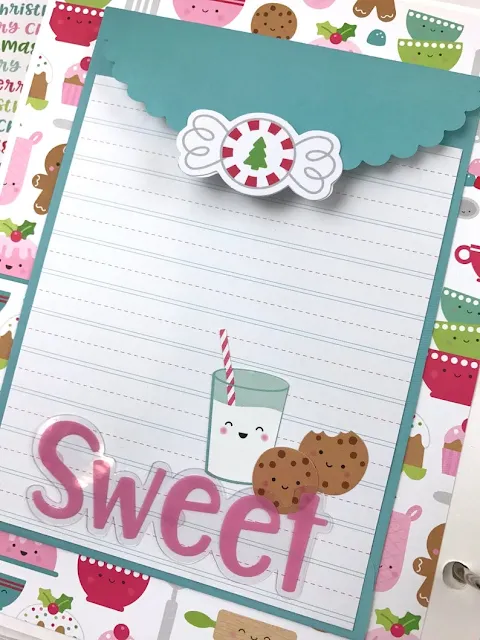
I had fun adding cards from Doodlebug's Create A Card set throughout this album.  I used one of the cards and lots of cute Odds and Ends die cuts for the page shown above.  Flip the card up and a few pictures can be tucked inside (see below).


This brick pattern is one of my favorites. I think I need to stock up on this sheet to use in future projects!
 

When I saw the 2x2 squares on the 12x12 Flannel Jammies print, I knew it would make a cute accent page in the album.  I cut out the squares and tucked them into a 2x2 pocket page.  I plan to add little pictures behind the squares that can be revealed like an advent calendar over the years.
 

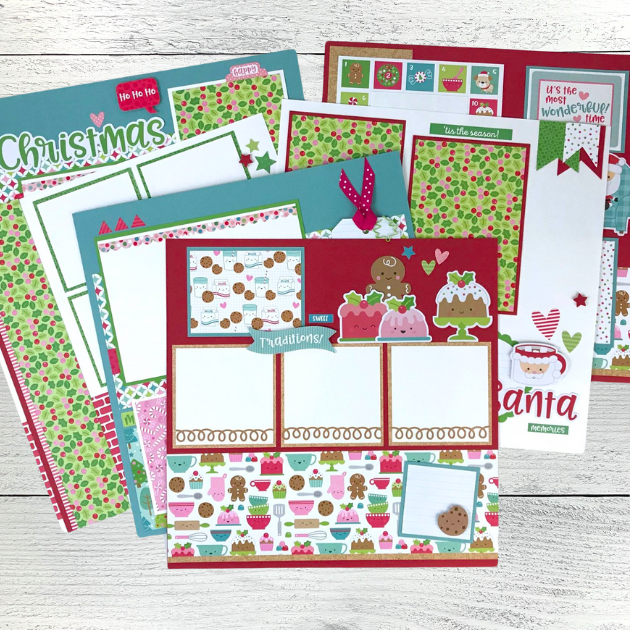
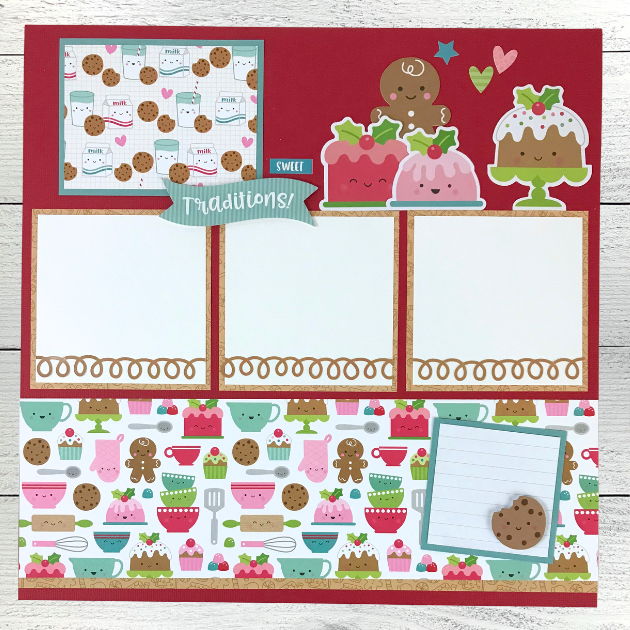
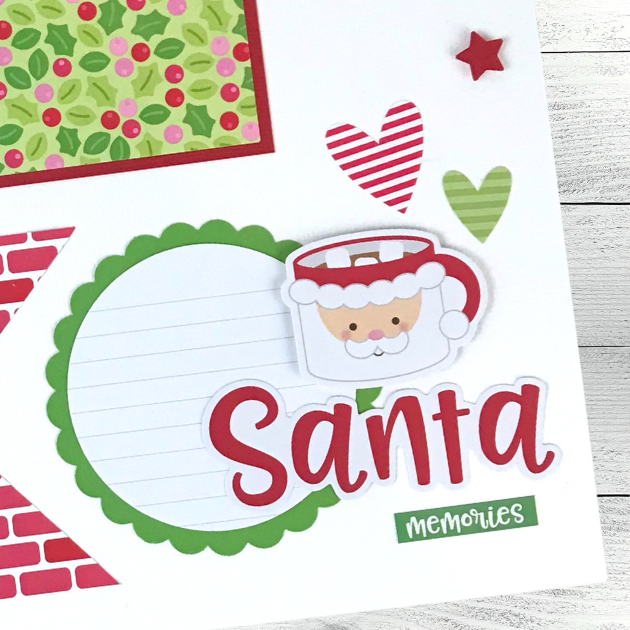
Next, my 12x12 Santa Memories Scrapbook Layout Kit ...

To purchase the instructions for these pages visit:

These 6 colorful scrapbook pages (3 double-page layouts) were also designed with the Milk and Cookies Collection and have space for 18 photos.

Both of these fun DIY kits are perfect for saving pictures of family, friends, your Christmas tree, a holiday show, a lights festival, party, your beautifully decorated home, church or school event, a cookie swap, a gingerbread house, caroling with friends, wrapping gifts, a visit with Santa, and Christmas day!


Hop over to my shop to see my Merry Christmas Mini Album and the 12x12 Santa Memories Page Layout Kits that I created with the Doodlebug, Milk and Cookies Collection.

Both kits are fun and easy to create and will make the best keepsakes for your holiday photos. Thanks for stopping by and have a great day!
Update: These kits have sold out but the instructions for them are available in my shop. My instructions are simple, step-by-step, and include a product list and full color photos of each page. Links for the instructions are below. Happy scrappin'!
Blog * Shop * Facebook * Instagram * Pinterest