Wednesday, December 16, 2020

Rustic Christmas Scrapbook Page Layout

Hi guys! Oh my goodness, we're inching our way closer to Christmas. Yay! And I got some wonderful Christmas pics of my sweet Rylee and our newest addition, Jax. How cute and little and wonderful is he? I'm so in love.

And with new photos, comes new scrapbook pages! Rylee's little plaid top inspired these layouts and the Echo Park, Lumberjack Christmas Collection was perfect for their adorable holiday pictures.
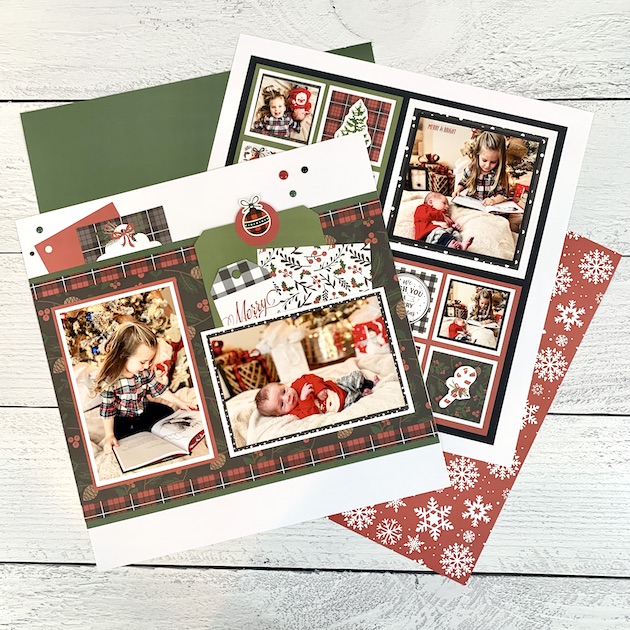
12x12 Rustic Christmas Scrapbook Page Layouts

This collection has a rustic winter feel with reds, greens, plaids, pinecones, wood tones, and a touch of black. Just what I wanted for these pictures. Rylee is over the moon about her baby brother and already loves telling him stories out of her books. This was such a sweet moment to capture. Before long Jax will be bigger and they'll be fighting over a toy, lol! So we're taking lots of pictures of these soft, gentle moments.
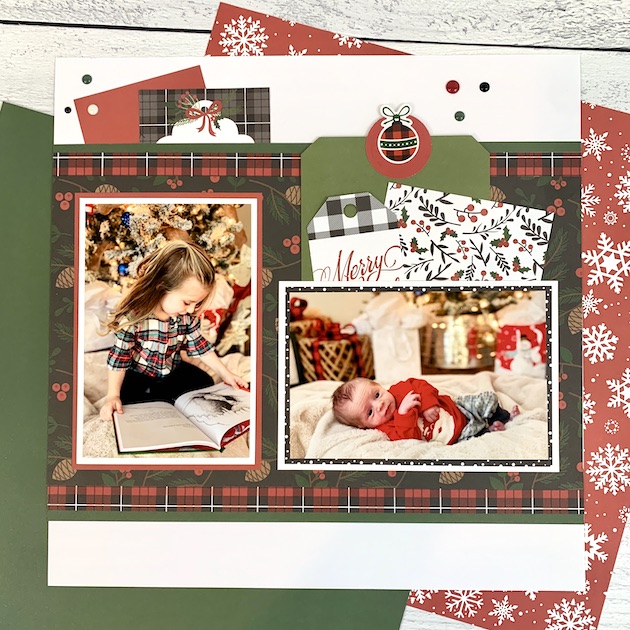
12x12 Christmas Scrapbook Page Layout with plaid paper, berries, & pinecones

I added a pocket to this page with mats for extra photos (or journaling) and a tag. You could also stick a little wish list, a note to Santa or a beautiful Christmas card in here.
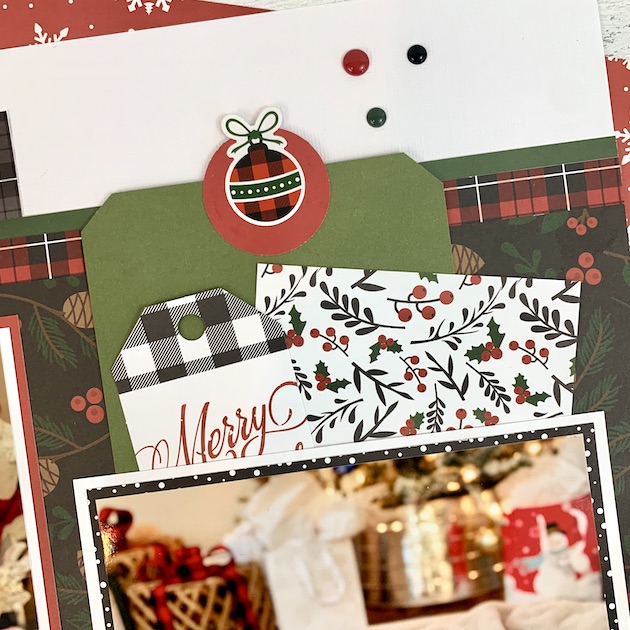
12x12 Christmas Scrapbook Page Layout with a pocket and tags

These pages could really be used for any family or friend holiday pictures. Maybe you and a loved one snuggled by the tree, family photos outside or Christmas morning opening presents! 
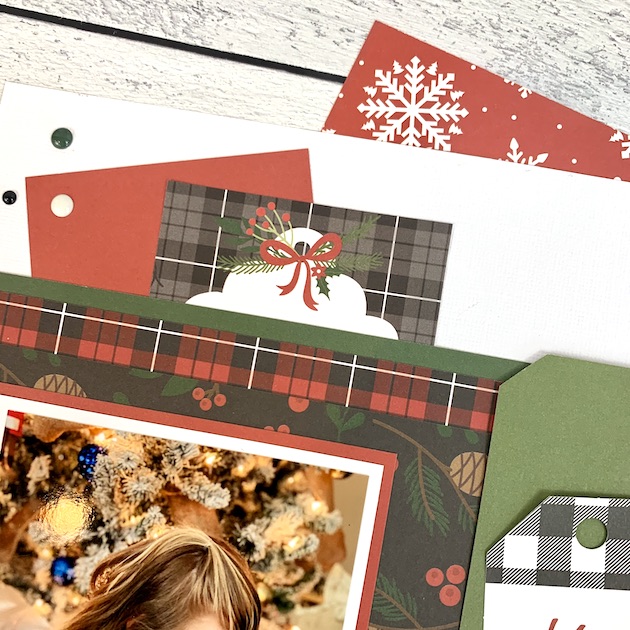
12x12 Christmas Scrapbook Page Layout with plaid paper, berries, & tags

For the second page, I created a grid that allowed me to add a bunch of photos and embellishments. Oh, how I love the silly faced picture in the top left corner! Perfectly captures the fun, sweet spirit of a 4 year old.
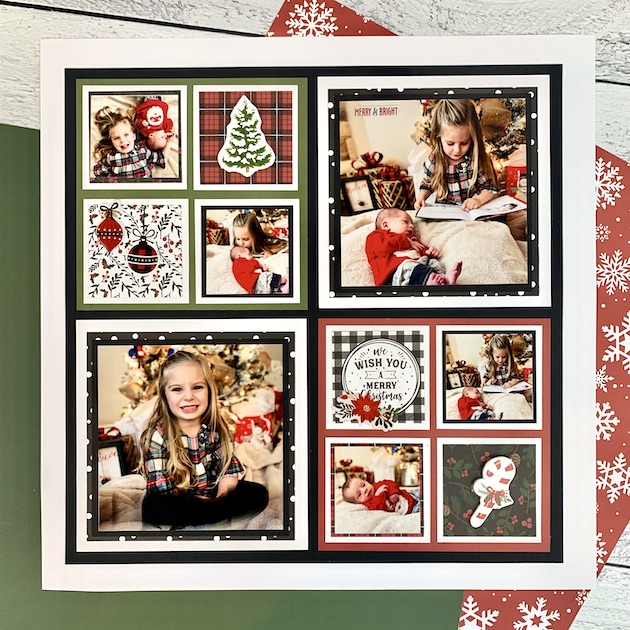
12x12 Christmas Scrapbook Page Layout with a grid for lots of photos

I layered a lot of different mats on this page to really highlight the photos and I had fun incorporating all the patterns. I mean, scrapping is all about mixing, matching and having fun, right?!
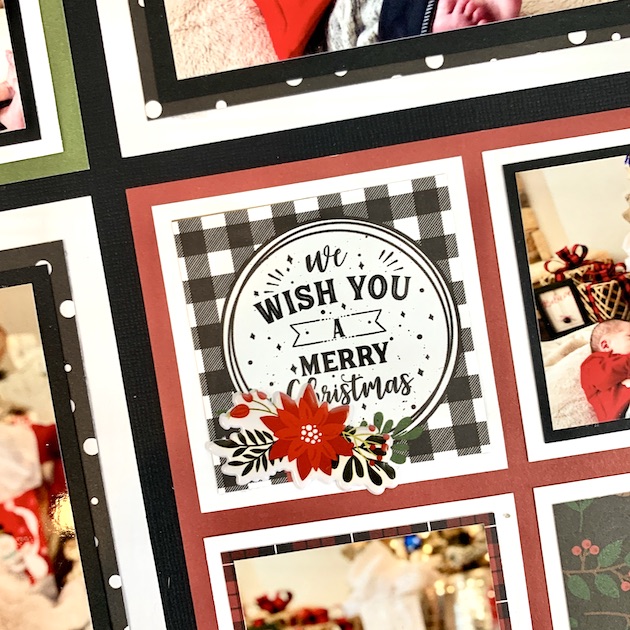
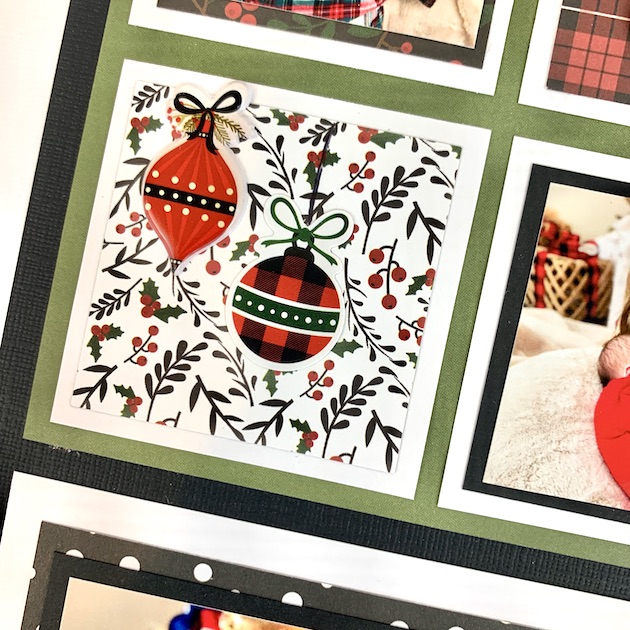
12x12 Christmas Scrapbook Page Layout with plaid paper, poicettia flowers, & berries

I added some festive embellishments to four of the boxes but, if you had more pictures you could certainly add them instead. I love using a few puffy stickers for dimension and the ornament ones are so pretty!

12x12 Christmas Scrapbook Page Layout with ornaments

I hope this gives you some ideas for your next project. Product links are listed below so you can check out Echo Park's Lumberjack Christmas for your future holiday layout! Happy scrappin'!
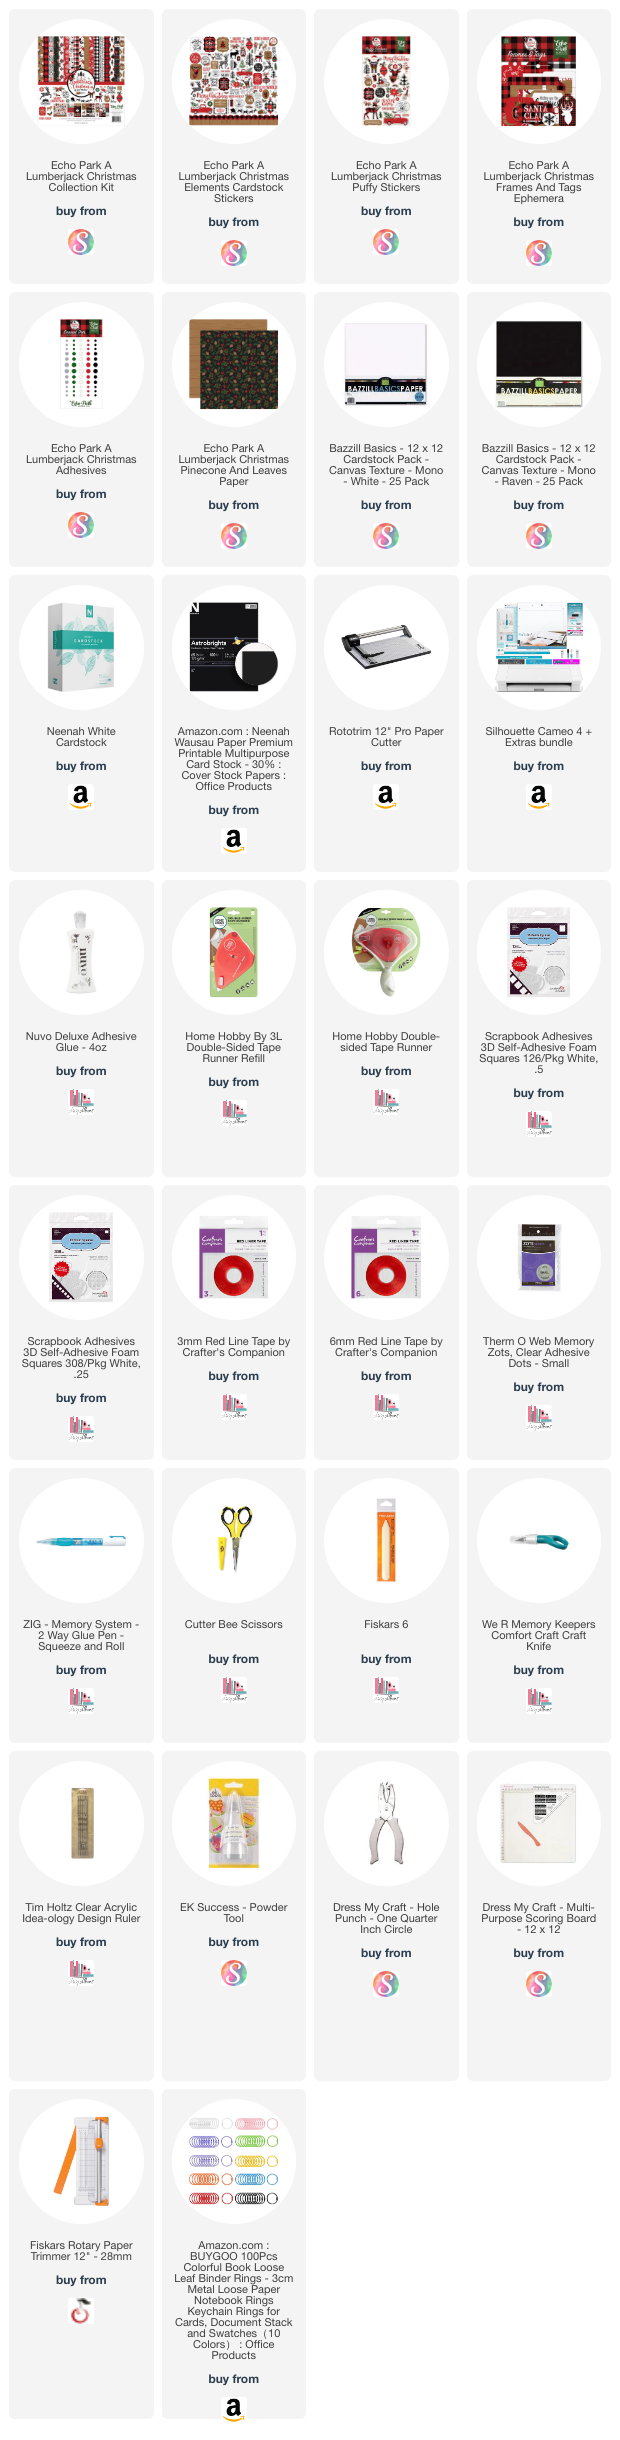

Supplies: As an Amazon Associate, I earn from qualifying purchases. Affiliate Affiliate links are used in this post at no additional cost to you. I receive a small amount of compensation when you click through and shop using the provided links. This helps me to continue building my small business. Thank you!  


Tuesday, December 15, 2020

Christmas Gift Tags with Doodlebug Design

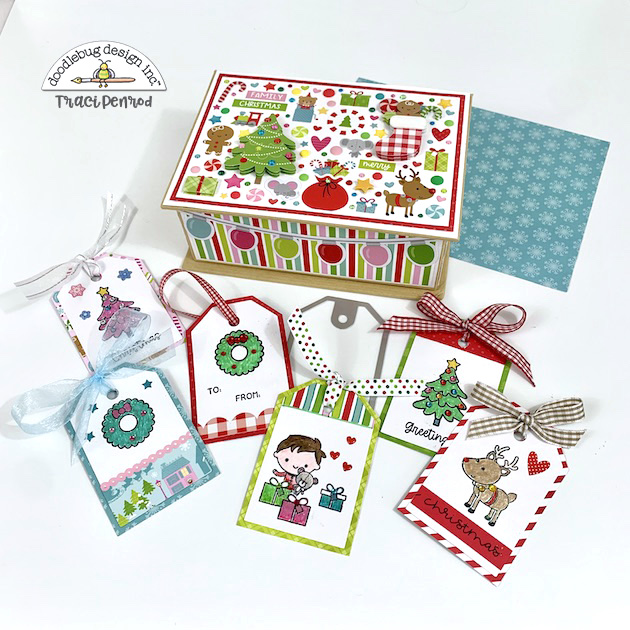
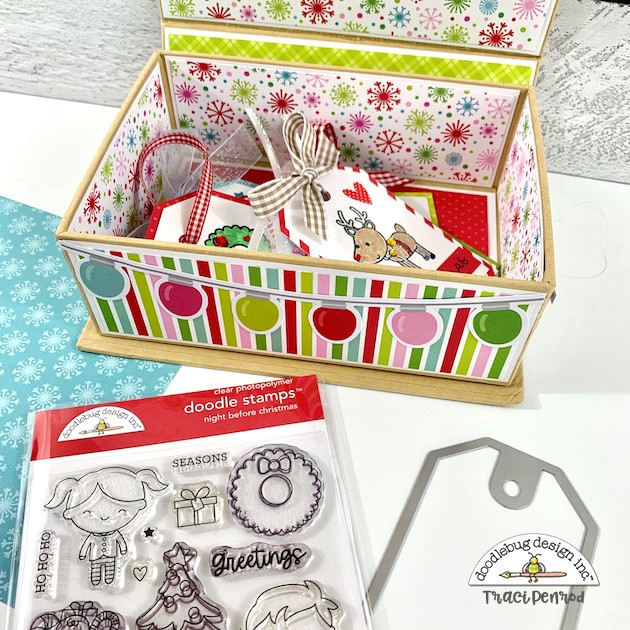
Hey scrappers! In the beginning of December I shared a Christmas box that I made for storing handmade gift tags. I told you I'd be back to show off those tags once they were finished and ... today's the day! This is an easy and small project that anyone can do with simple scraps. So, get your crafty on and let's do this! 😊


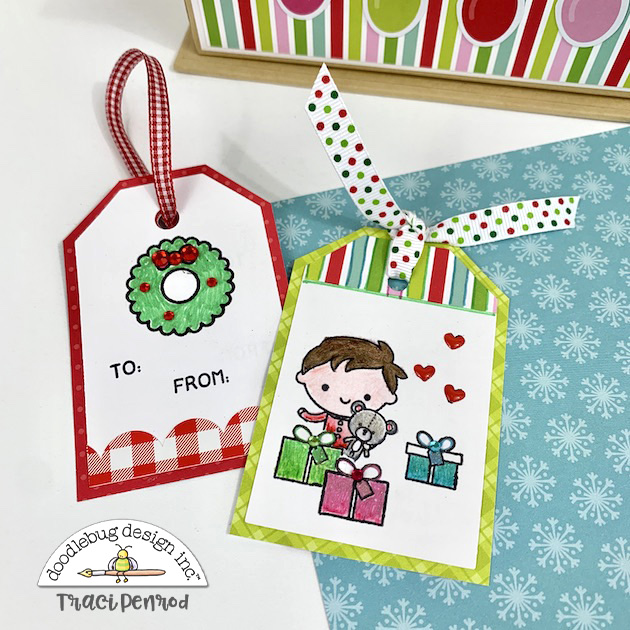
I wanted to mix things up a bit so ... since I haven't done any stamping in a while, I figured that would be a fun project to do. First, I cut the tags out of white cardstock using the DoodleCuts Large Tag die. Then I picked out the stamps I wanted to decorate them with. I chose Doodlebug's Night Before Christmas Doodle Stamps, which are precious! Then I decided on the layouts and, using black ink and my handy dandy Misti stamping tool .. I stamped away!
 

If you're new to stamping, I highly recommend the Misti stamping tool. It helps to keep everything lined up properly. You can re-stamp the exact image if the ink was too thin and you can easily stamp one image on top of another! To see video on this stamping tool, click HERE.


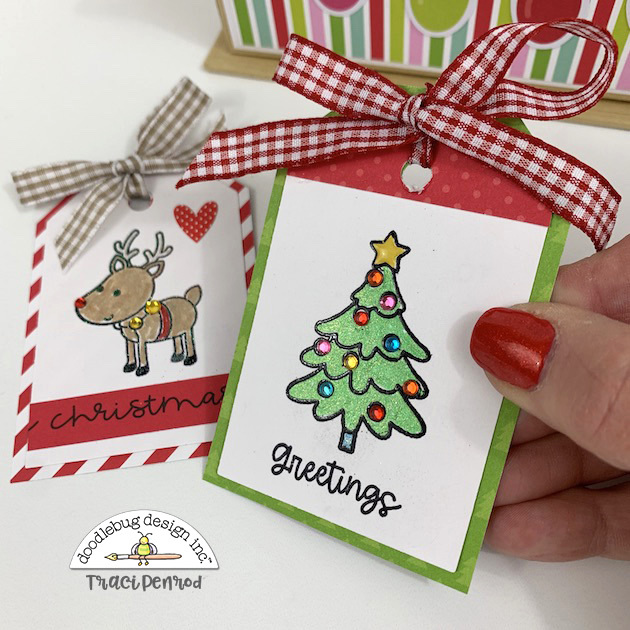
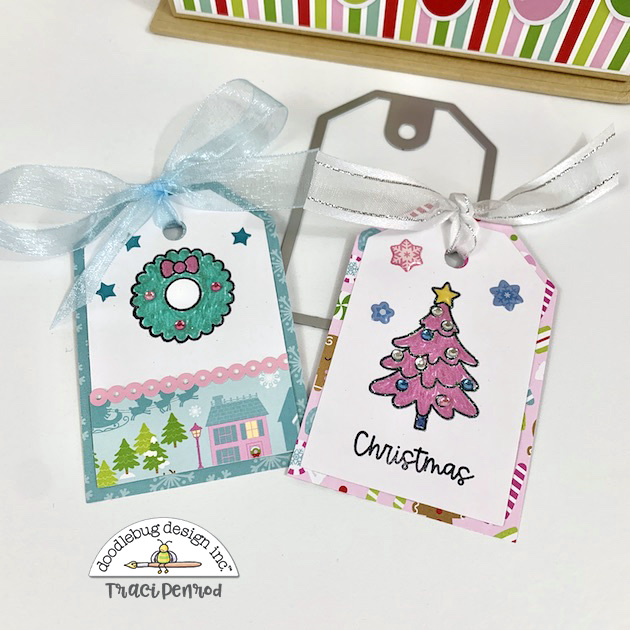
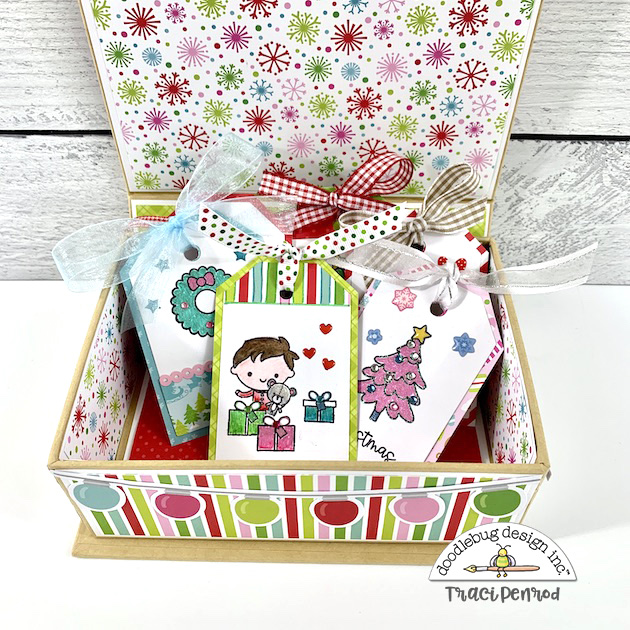
Now on to the best part! The coloring and bejeweling and stickering! (Stickering, lol ... that should totally be a real word! 😂) Anyway, I colored the images with glitter gel pens and added some mini jewels here and there for a little extra sparkle. Then I just played with different stickers like the mini heart sprinkles, the stars, the snowflakes and even some border stickers (product links below). 
 
For the "Christmas" on the reindeer tag above, I just cut the word out from the Dasher & Co. pattern paper. I also added some decorative paper at the top of a few tags for variety.
 

Once I finished embellishing the tags, I matted each one on to a cute piece of paper from the Doodlebug, Night Before Christmas Collection. Then I tied a pretty ribbon to the top of each tag and ... you're done!
 
So, if you have 10-15 minutes of crafty time, make some gift tags! They're fun and easy to make, and you'll feel such a sense of accomplishment when you add them to your presents!
 

I'm using my Christmas box to hold my tags until I'm ready to wrap gifts. In the meantime, my box of tags looks pretty cute sitting out on my coffee table! What do you think? I love it!
 

Be sure to check out the product links below and thanks so much for stopping by! 🎄

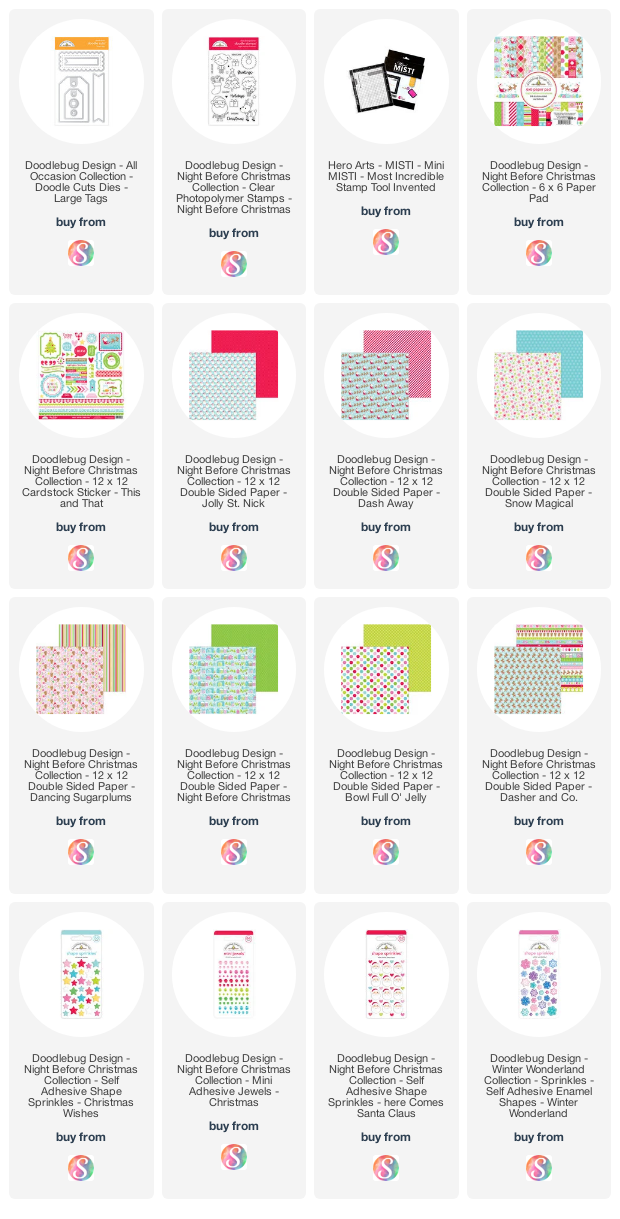
Supplies: As an Amazon Associate, I earn from qualifying purchases.  Affiliate links are used in this post at no additional cost to you. I receive a small amount of compensation when you click through and shop using the provided links. This helps me to continue building my small business. Thank you!
Blog * Shop * Facebook * Instagram * Pinterest

Monday, December 14, 2020

Christmas Card and Gift Wrap Ideas with Bella Blvd

Hey there! I hope you all had a nice weekend and you're enjoying the holiday season. Today, I'm sharing my latest Bella Blvd Design Team Project that was inspired by ... Christmas gifts! I was thinking of all the different ways we wrap items, so I came up with a few fun ideas using the cute Fa La La Collection (links below).

 
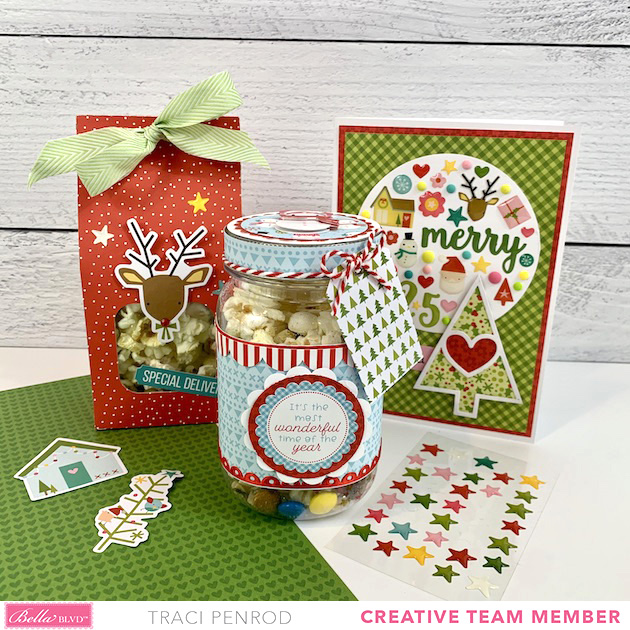
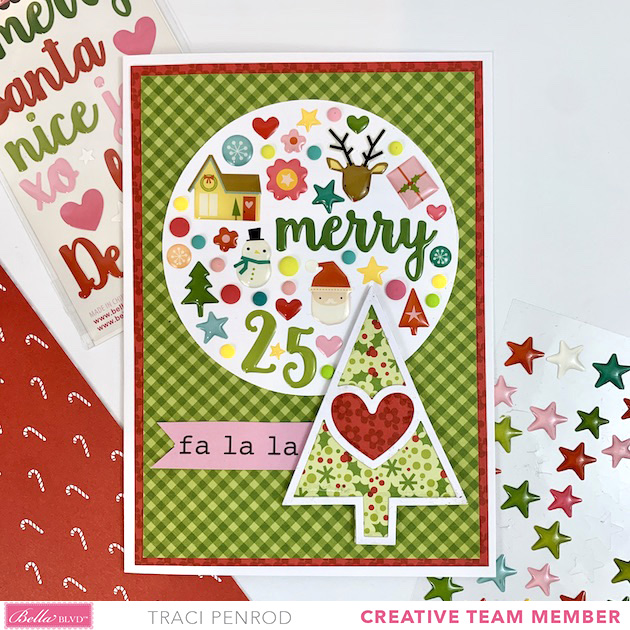
Let's start with the Christmas card. I love giving handmade cards and this one is easy and so much fun. It's like decorating a cupcake with lots of sprinkles on top! A card is the perfect spot for paper gifts, like ... event tickets, recipes, photos, pressed flowers, bookmarks, gift cards, and cash.

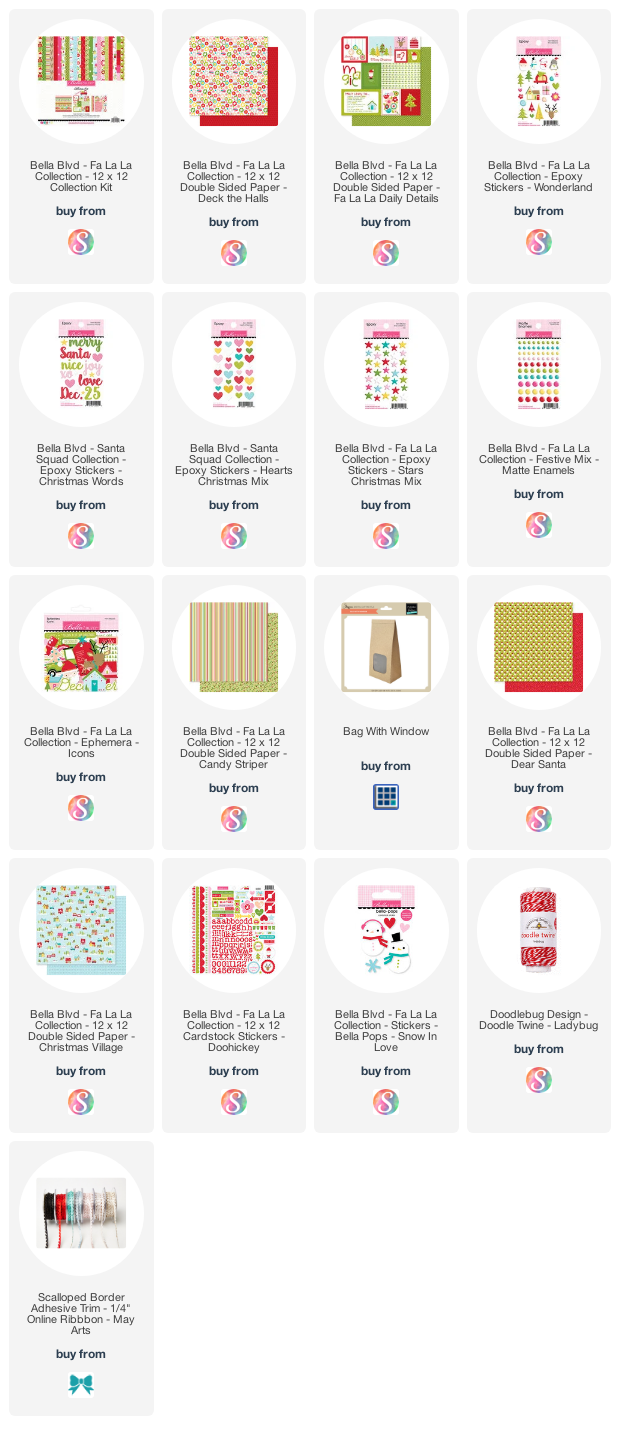
To make it, I cut out a piece of 5x7 inch white cardstock and layered the red Deck the Halls print & the green Daily Details gingham on top. Then, I cut out a white 4" circle for all the super cute stickers. My favorite!

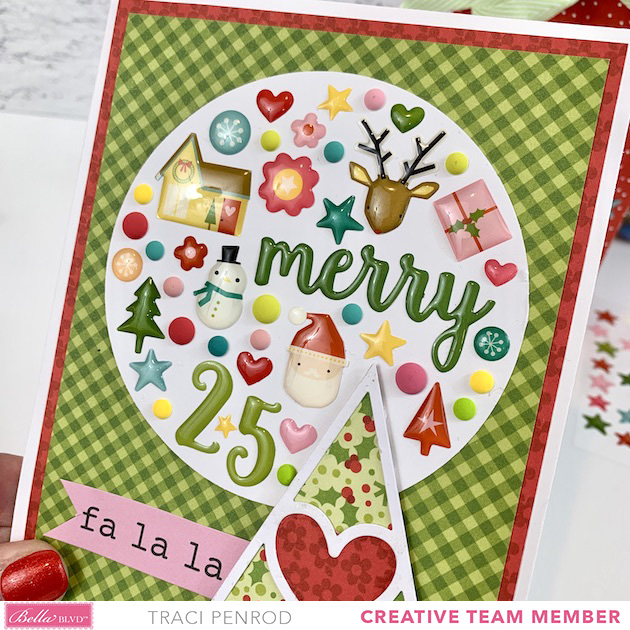
I began with the larger epoxy pieces from the Wonderland set. The "merry" and the "25" are from the Christmas Words set from the Bella Blvd, Santa Squad Collection. Then, I simply filled in with some matte enamel dots and shapes from the Hearts / Stars Christmas Mixes (links below).


To complete the front of my card, I added a tree from the Wreath Cut-Outs (Santa Squad Collection). I backed the shape with the green holly Candy Striper print and the red floral Deck the Halls print, then popped it up with foam tape for a little dimension. I added the pink Fa La La die cut from the ephemera, and ... ta daaaaaa!! What a cute card. 💕

 
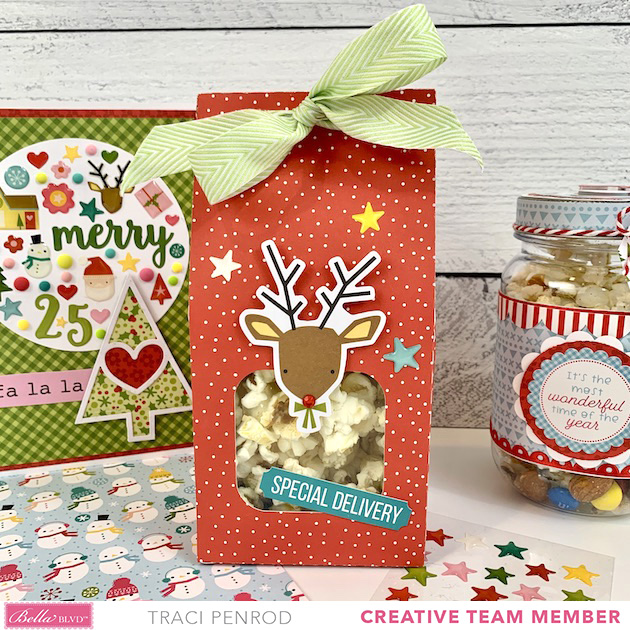
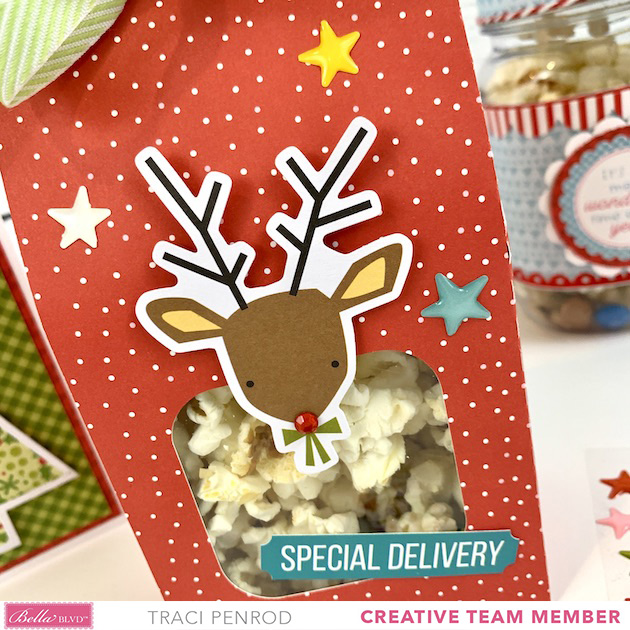
Now for the reindeer gift bag. I used a cutting file by Lori Whitlock called Bag with Window (link below). This is a really useful file that I've used for lots of other occasions. Just change the paper and use it for any holiday, birthday, gift, or party favor!

 
To make it, I enlarged the file so that it took up most of the 12x12 red Dear Santa paper. I cut and glued it together ... then, added a small piece of acetate behind the window, some colorful epoxy stars, the reindeer ephemera piece, and a red gem nose. Perfect! Rudolph looks adorable and ready for gift giving.

 
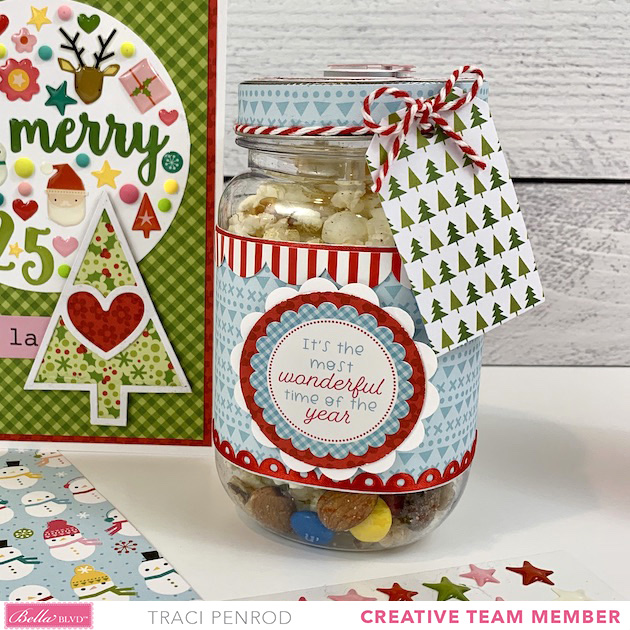
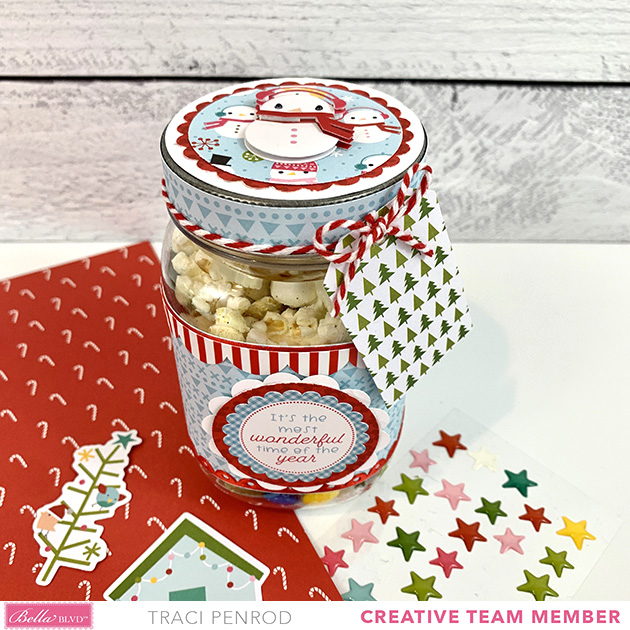
Last, but not least is the mason jar. It could hold ANY type of gift, like ... sweet treats, nuts, jewelry, small toys, recipes, spices, cute socks, a tie, etc. I added popcorn & trail mix to mine.
 
To create this, I wrapped my jar with the blue Christmas Village paper, the red & white striped Doohickey border sticker, red adhesive scallop ribbon from MayArts, and some twine. Then, I added the circular Doohickey sticker on the front.

 
To embellish the top of the lid, I added the cute little "Snow In Love" Bella-pops snowman. I'm "snow in love" with him! The tree covered die-cut tag is from the ephemera package and it was the perfect size to hang off the side for a special handwritten note.

Thanks for visiting the blog and I hope you're inspired with these fun gift wrap ideas. Enjoy the season and happy crafting!

Supplies: As an Amazon Associate, I earn from qualifying purchases. Affiliate links are used in this post at no additional cost to you. I receive a small amount of compensation when you click through and shop using the provided links. This helps me to continue building my small business. Thank you!