Thursday, February 4, 2021

8x8 Sweet Scrapbook Pages for February

Hey everyone! So, today I'm back to share my February pages from a monthly album I'm creating for my sweet granddaughter. Last month I showed you her January pages, which you can see here. I couldn't wait for February because I knew I wanted to use Doodlebug's, Made With Love collection. I really 💗 it!
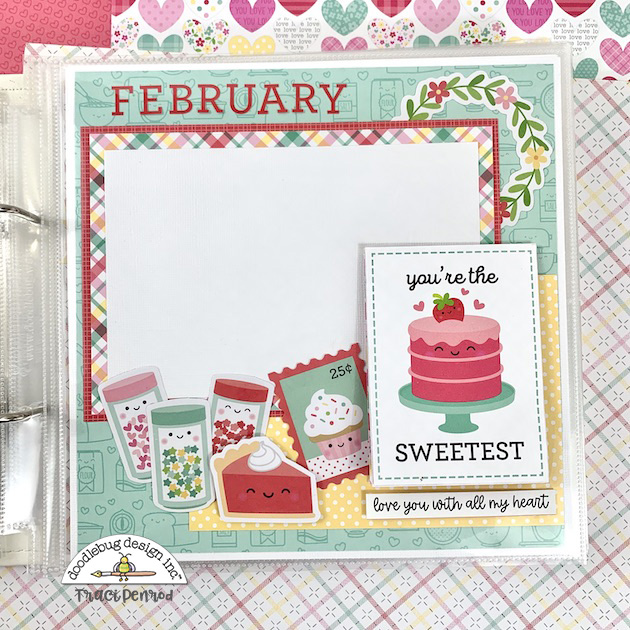
8x8 Valentine's Day scrapbook page layout with a baking theme

Rylee and I have a lot of fun together in the kitchen so this collection was perfect for us. She lives close and is at my house a lot so we cook and bake together often. At four years old, she's a great little helper! I love the way these pages turned out and I'm so excited to add pics of our special Rylee and Nini moments. 
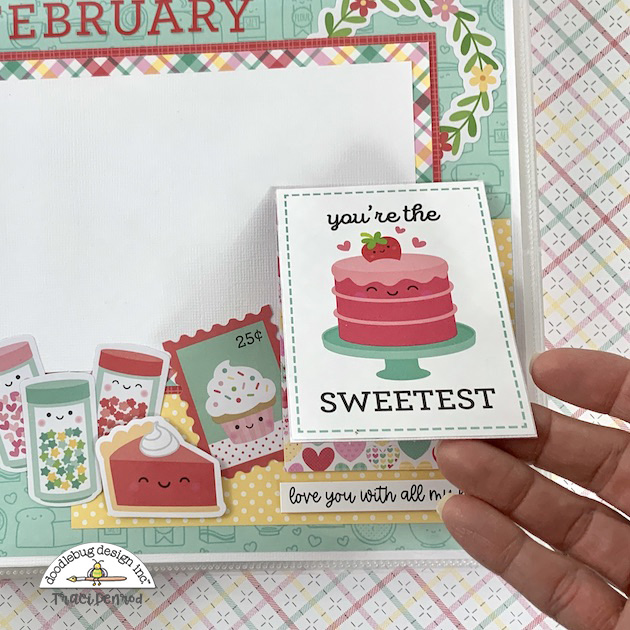
 
8x8 Valentine's Day scrapbook page layout with a cake, cupcake, pie, and sprinkles
 
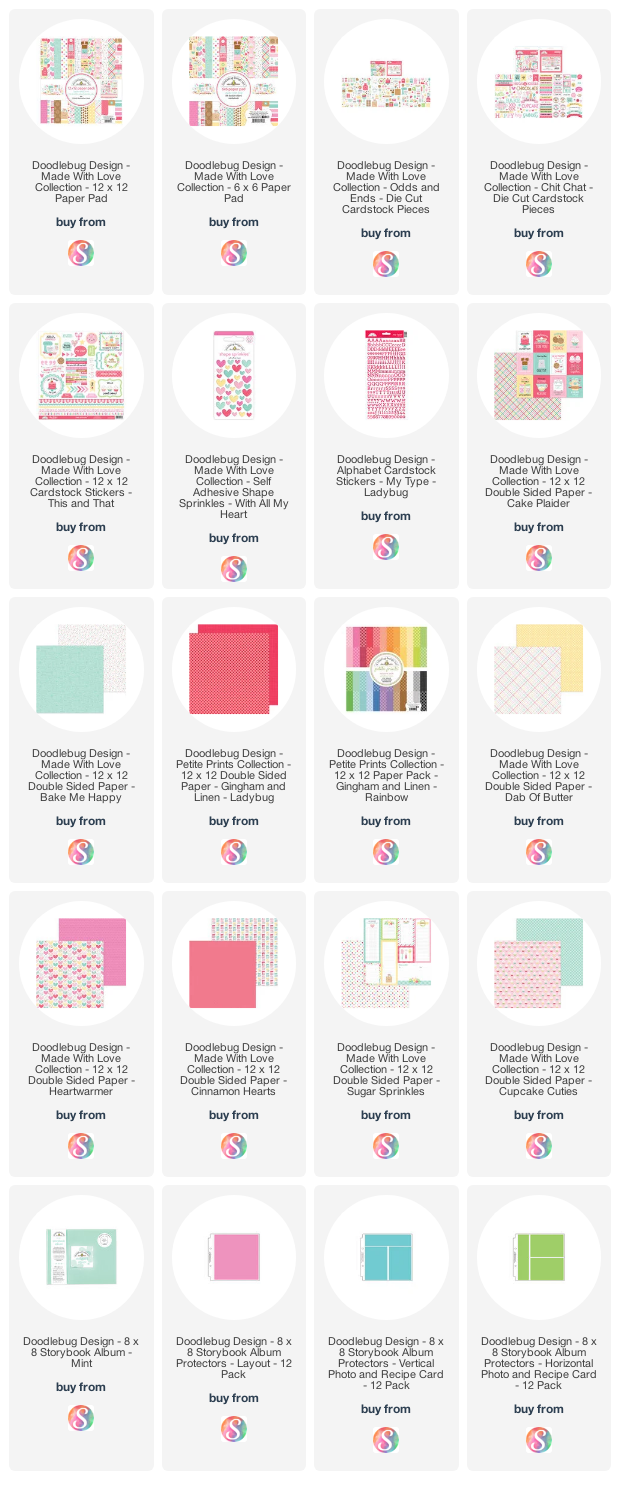
For the first page, I used white card stock and the pistachio Bake Me Happy paper for the background. I created 1 large photo mat and added some adorable Odds & Ends to the page. The little jars of sprinkles are perfect since we love to make sugar cookies. I also added a "flippie" using the "sweetest" 3x4 card. Check out the cute heart paper inside! (Product links below.)
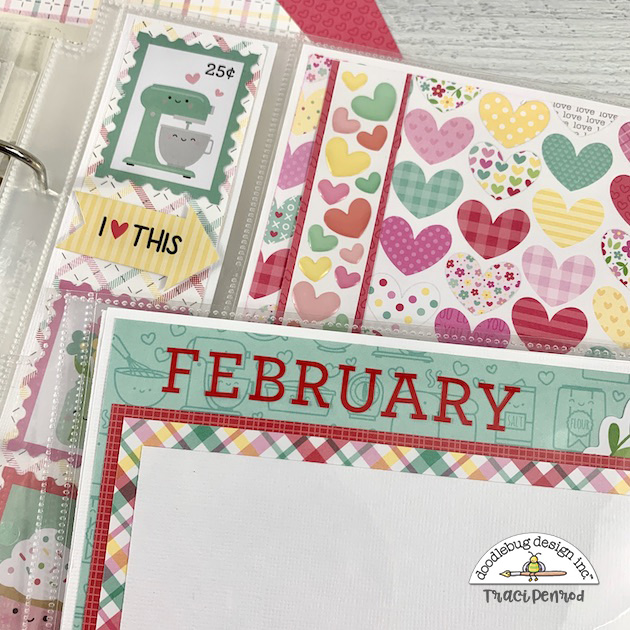
 
8x8 Valentine's Day scrapbook page layout with lots of hearts and a baking theme

The February title was made with Doodlebug's My Type alpha stickers in ladybug. The red with the pistachio paper is so pretty. And the plaid! Isn't it the perfect amount of pattern and color to tie everything together?
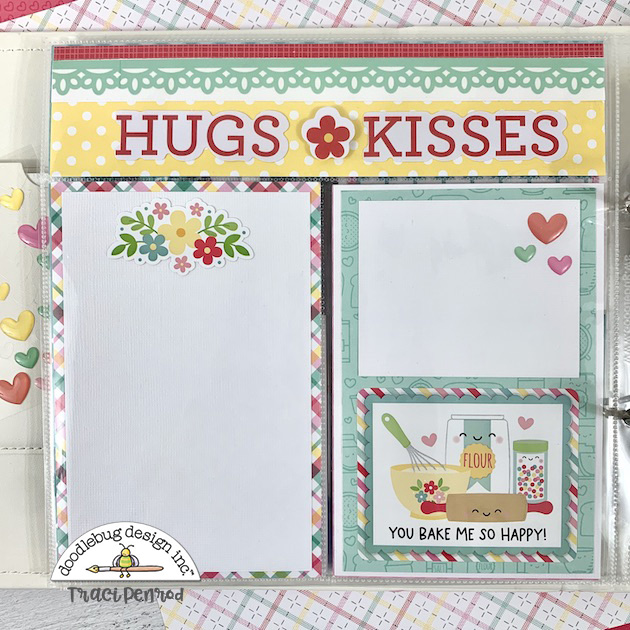
 
8x8 Valentine's Day scrapbook page layout with pretty flowers, colorful enamel hearts, and a cute baking card
 

For this next page, I chose a 3 pocket (vertical & recipe card) page protector for my 8x8 Doodlebug Storybook Album. I'm mixing different plastic pages in my album and I love the interest that it adds. 
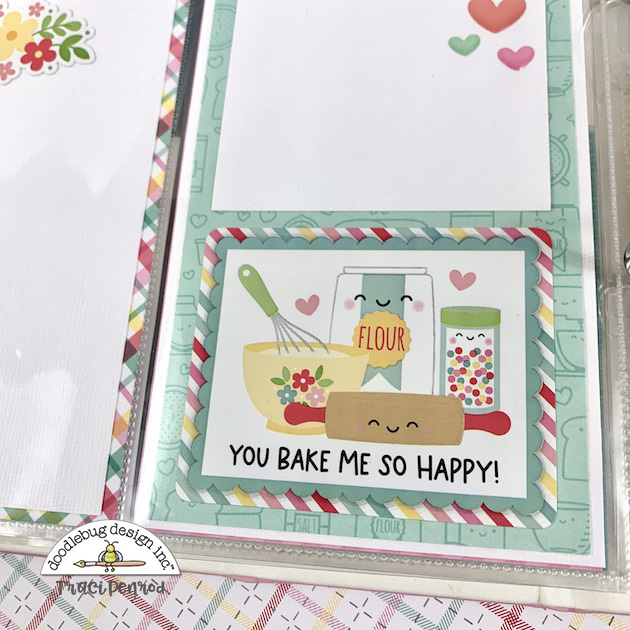
 
8x8 Valentine's Day scrapbook page layout with flowers, colorful enamel hearts, and a cute baking card
 

The You Bake Me So Happy is a sticker from the This and That. Can you see how the scalloped edge has a shadow? It actually looks like it's floating over the striped paper. So cool! 💕
 
8x8 Valentine's Day scrapbook page layout with a cute baking theme, colorful enamel hearts, and pretty flowers
 
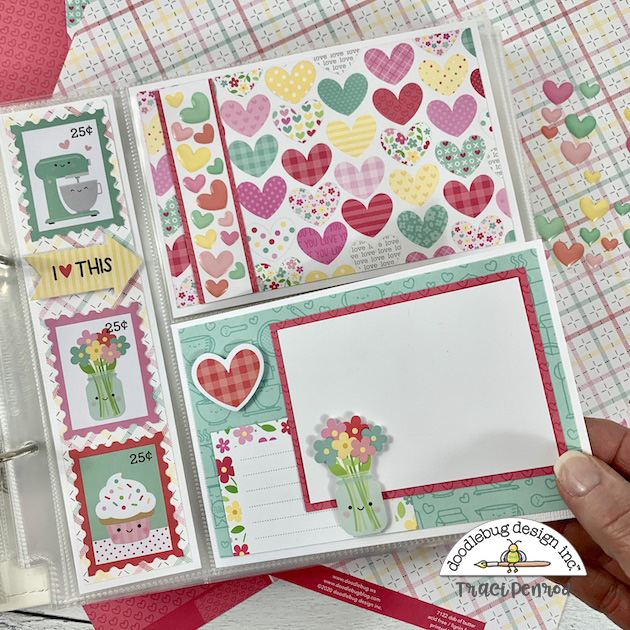
My next page was really fun. I wanted to add a folding card to the bottom 4x6 pocket in order to get more pictures on my page. So, I used a piece of 4" x 12" white card stock, scored it at 6" and embellished the front and inside. It slid right into the bottom pocket for a fun interactive element and I lined the inside with that pretty plaid again.
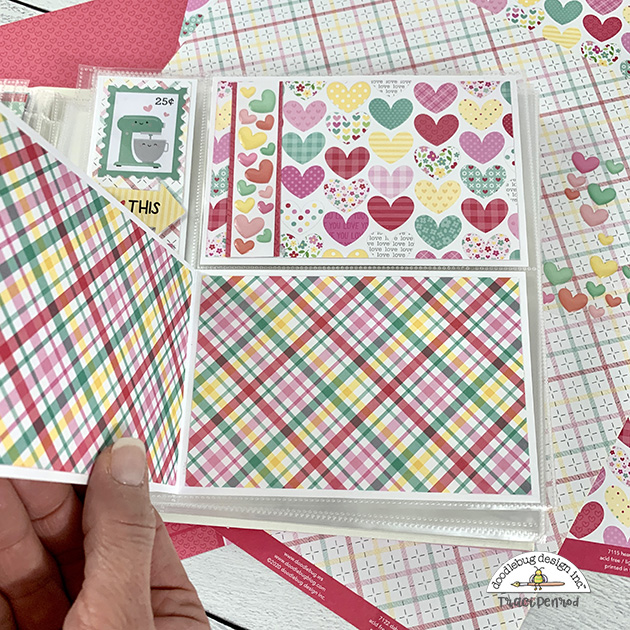
8x8 Valentine's Day scrapbook page layout with a cute baking theme, colorful hearts, and a pretty plaid folding card

See? Super cute, right? And this actually gives me space for 3 photos now instead of 1! Total win. I adore all of the colorful hearts and cannot wait to add some Valentine's Day pictures of Rylee here. 
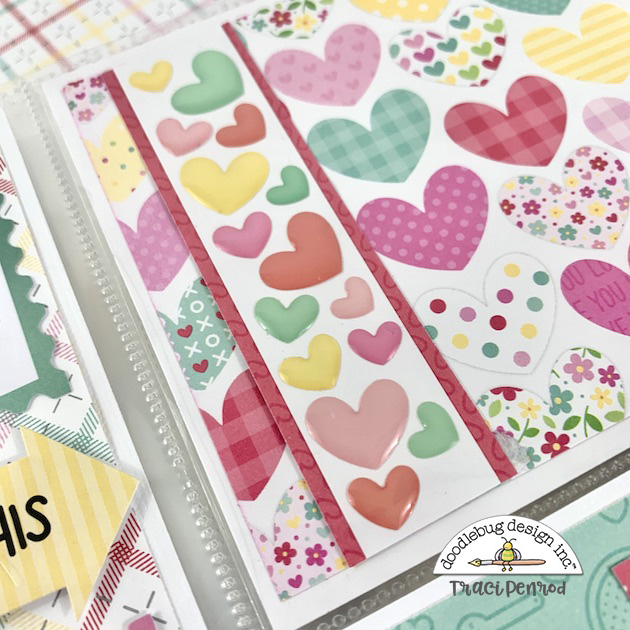
 
8x8 Valentine's Day scrapbook page layout with colorful enamel hearts and pretty flowers
 
I had to show a close-up of those adorable epoxy heart sprinkles. You know I love those little stickers so, for the top 4x6 card I added a band of them. I had to have a sprinkles moment! 😊
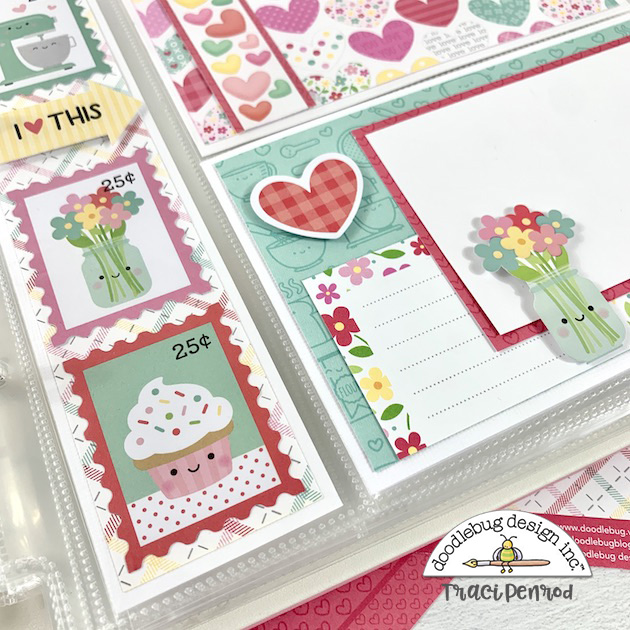
 
8x8 Valentine's Day scrapbook page layout with a cute baking theme, colorful enamel hearts, and pretty flowers
 
To finish off this page, I added some cute pieces from the Chit Chat that look like stamps. They fit perfectly in that long narrow 2" band down the side.
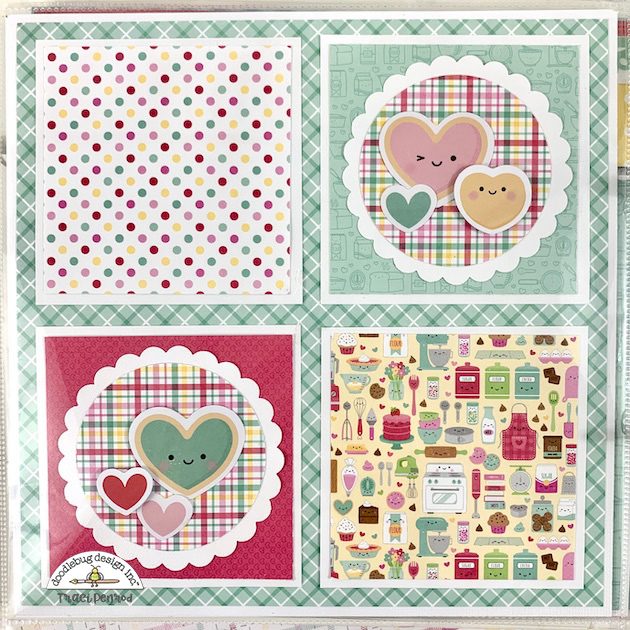
8x8 Valentine's Day scrapbook page layout with a cute baking theme, cute heart cookies, and a pretty plaid
 
For my last page I created four equal squares. I punched out two 3" scalloped circles in white cardstock and made centers from the plaid paper. Then I decorated them with cute hearts. I love the mix of shapes, patterns and colors on this page. 
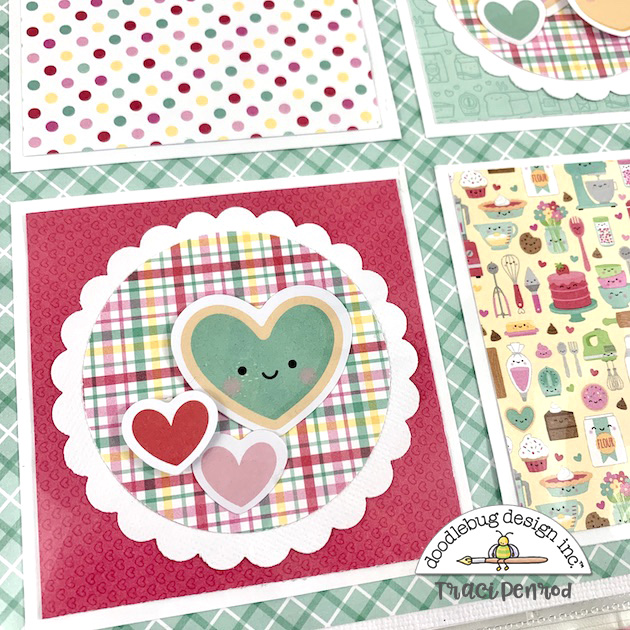
8x8 Valentine's Day scrapbook page layout with a cute baking theme, cute heart cookies, and a pretty plaid

When the year is complete I will have the cutest album filled with photos of Rylee and our special memories. 

To see my other 8x8 pages visit: Spring, Farm, January, March, April, May, June, July, August, October, November, December, February, June, Dog, and December.

Thanks so much for stopping by my blog today!

Supplies: As an Amazon Associate, I earn from qualifying purchases. Affiliate links are used in this post at no additional cost to you. I receive a small amount of compensation when you click through and shop using the provided links. This helps me to continue building my small business. Thank you!
 

Wednesday, February 3, 2021

Valentine's Day Mini Album and Box

Hey everyone, I have great news! I've been invited back to be a part of the Doodlebug Design Team for another year. I feel so honored! I adore all their collections and have so much fun working with them. I love creating new products with Doodlebug cuteness!💕

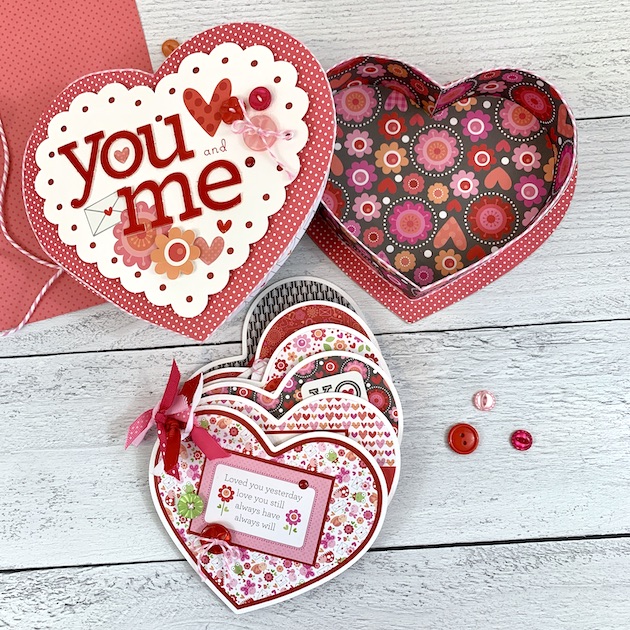
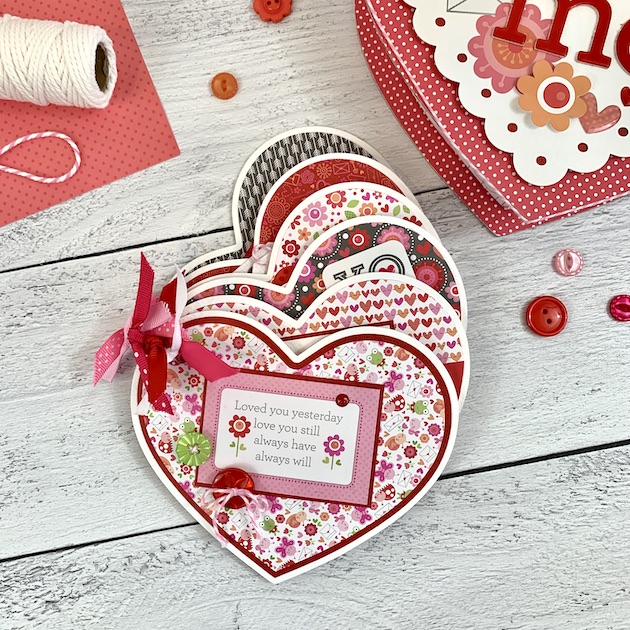
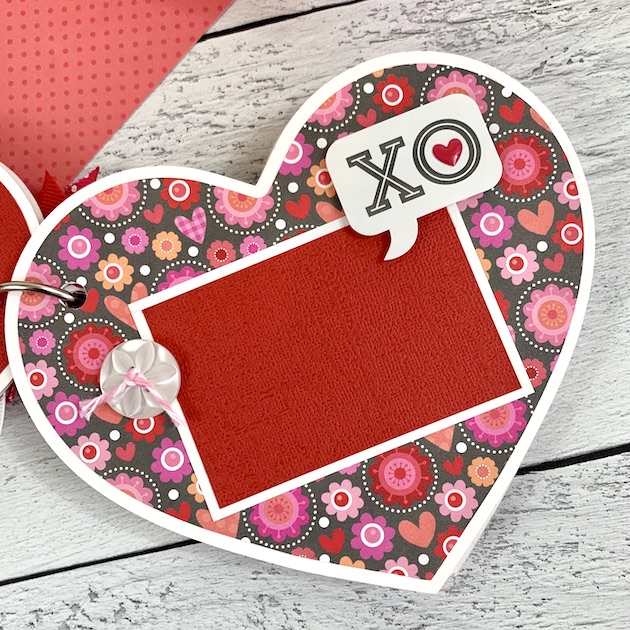
With that said, I thought it would be fun to look back at my very first Doodlebug Design Team Project. It was in February 2015 and I made a heart shaped Valentine's Day mini album and box. You can see the original post here. I still have this and I still love it!

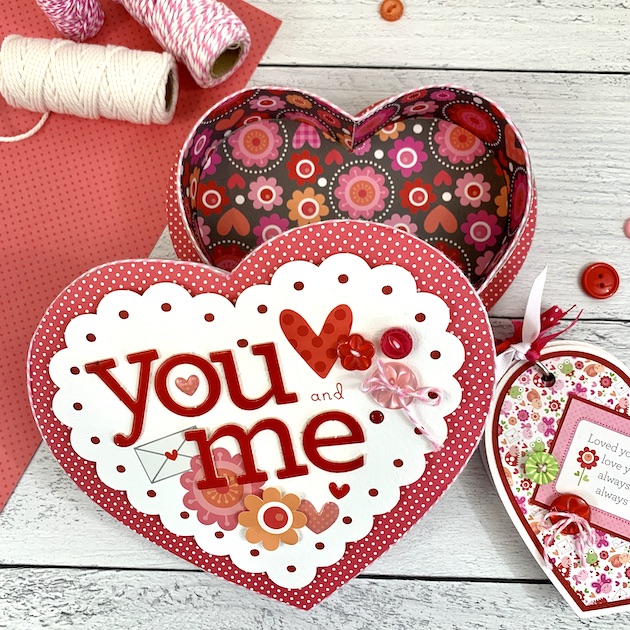
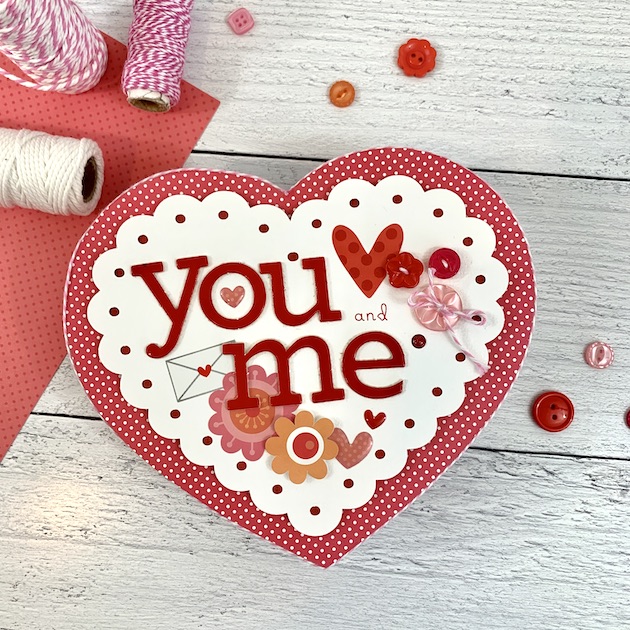
For my project, I was inspired by Valentine candy boxes. I decided to create my own heart shaped box using a cutting file designed by Lori Whitlock called Heart Candy Box (link below), some chipboard and lots of goodies from the Doodlebug Lovebugs Collection.

For the box, I used my CAMEO to cut all the pieces out of chipboard and then pattern paper. (I enlarged all pieces before cutting so that a 5.5" album would fit inside). I assembled everything together with a strong liquid adhesive and then had fun embellishing the top of the box. 


I used Doodlebugs Chippers (in ladybug) for my title, along with stickers, buttons, twine and a few heart-shaped sprinkles. I also used twine (in cupcake) around the edge of the box to cover up the chipboard.

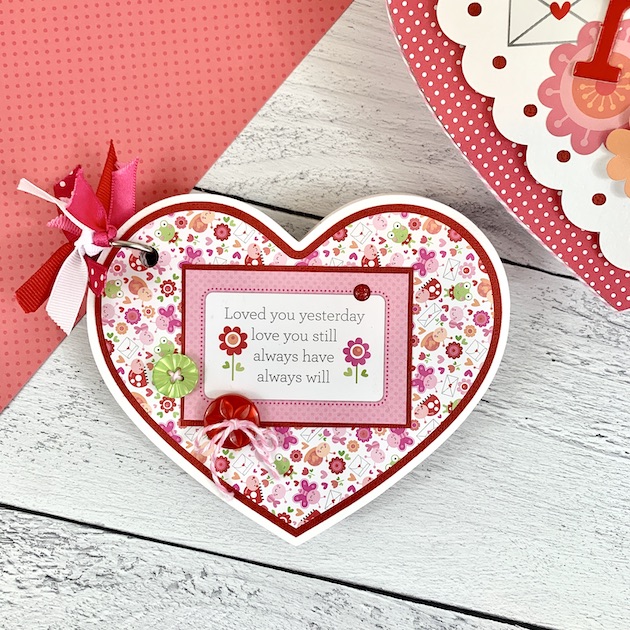
For the mini album, I cut 6 hearts out of white textured card stock, and then added layers of paper from the 6x6 Lovebugs paper pad. I love that the prints are smaller and the cut-apart cards are miniature -- they fit perfectly throughout my little scrapbook.


This would be the sweetest mini album for pictures of you and your special someone. With it's own box, it would look great sitting out on a coffee table as holiday decor.

 
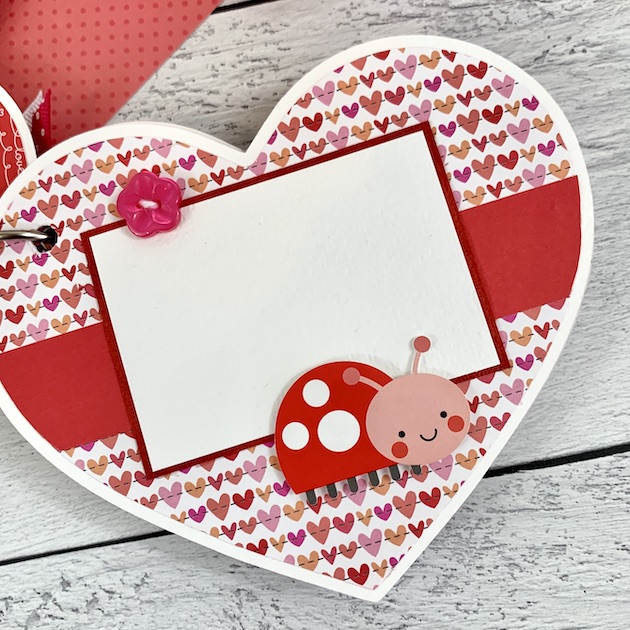
Or fill it with the beautiful faces of your littles!! Kids always give you plenty of funny and sweet picture worthy moments. You can keep it for yourself or give it to the grandparents as a gift. And oh my gosh ... that love bug is precious with her sweet rosy cheeks! 😊

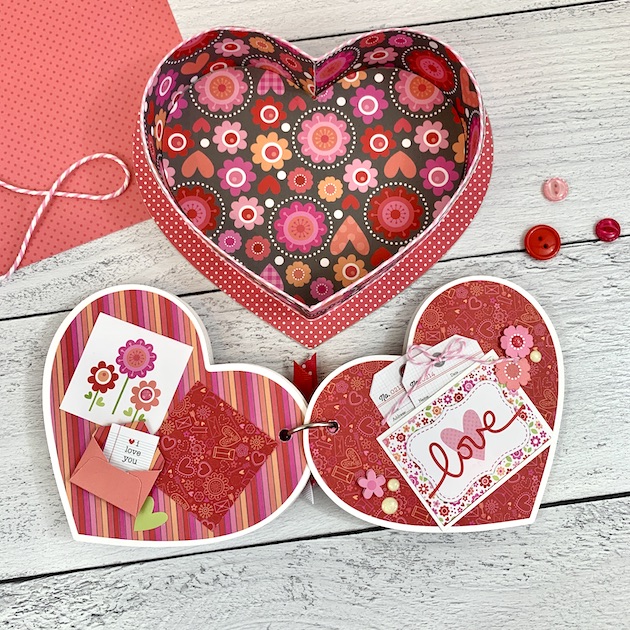
These 2 pages have such cute elements. That teeny tiny envelope is adorable and would be perfect for a teeny tiny love note, lol! And the small pocket with tags is great for journaling or a few extra photos. 

Even though I made this 6 years ago ... I think it's still a perfect mini album to make today. I had fun looking back on my first Doodlebug Design Team project and I'm so grateful to continue working with them.

I hope this inspires you to create some Valentine's Day crafts for yourself. Thanks for stopping by and happy scrapping! 

Supplies: As an Amazon Associate, I earn from qualifying purchases.  Affiliate links are used in this post at no additional cost to you. I receive a small amount of compensation when you click through and shop using the provided links. This helps me to continue building my small business. Thank you!

Tuesday, February 2, 2021

Valentine's Day Project with Tutorial

Hi friends! Today, I have a cute Valentine's Day gift set to share with you. It's great for the upcoming holiday for a friend, co-worker, classmate or a babysitter. It would even make a "sweet" hostess gift if you're going to someone's house that evening. I made this project for Lori Whitlock's blog a while back but I never shared the tutorial here on my blog, soooo... here it is! 

In this project, I used double-sided adhesive. Which ... is so fun to play with. It makes adding glitter, flocking powder, embossing powder or other decorative materials to your project quick and easy.

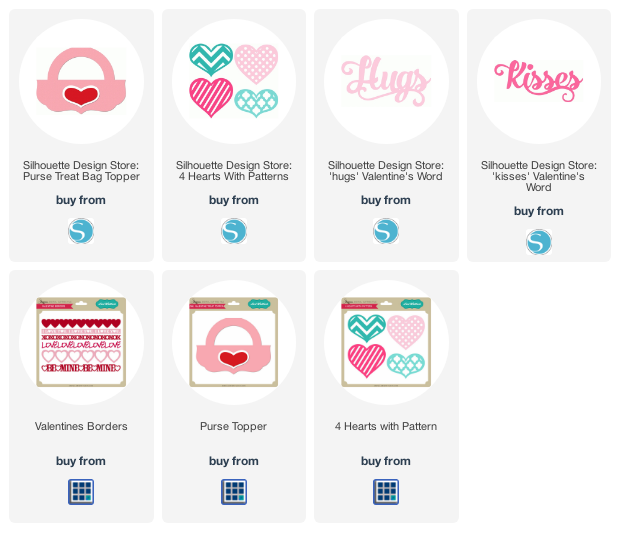
I knew I wanted to use glitter on my gift set so I started with the shape that I wanted to have the glitter on. I chose one of Lori’s cute new heart designs and resized it to fit my card front. (All cutting files links are below.)

Next, I opened my Cut Settings window and changed the setting to Double-Sided Adhesive, changed the paper size to 8 1/2 x 11 in page settings, loaded the adhesive into my CAMEO and hit cut.
 
After cutting out the adhesive material, I set that aside so that I could cut a white background heart to apply the double-sided adhesive to.  I could have just applied the shape directly to my card, but I wanted the heart to pop up from the card with foam tape, so I needed a background.  I wanted the background to be solid, so
I needed to remove the lines.  To do this, I had to release the compound path by right-clicking and choosing Release Compound Path.
 

Now I was able to go in and delete the striped areas of the shape and cut out a simple white heart background. Before cutting, I made sure to go back into cut settings and change the setting to cardstock.

Now that I had two hearts cut out, I just needed to peel the yellow backing off of the double-sided adhesive and apply the striped heart to my white card stock background shape.
 
Next, I carefully peeled off the top white layer of the double-sided adhesive and applied red glitter.  I wanted to make sure it was covered well, so I pressed the glitter down onto the adhesive before shaking off the excess.
 

I repeated these steps for the glitter word “Kisses” on my treat bag topper too.  In order to have space for “Kisses”, I deleted the heart that comes on Lori’s cute purse treat bag topper.  I also created two internal offsets for the front of this piece so that I could layer matching papers to the front.
 

I love Lori’s “Hugs” and “Kisses” files and thought they made a cute Valentine gift set when used together!


To see my original post over on Lori Whitlock's blog, click HERE.  Hope you have fun with this one and happy scrappin'!


Blog * Facebook * Instagram * Pinterest

Monday, February 1, 2021

12x12 My Heart Valentine's Day Layouts

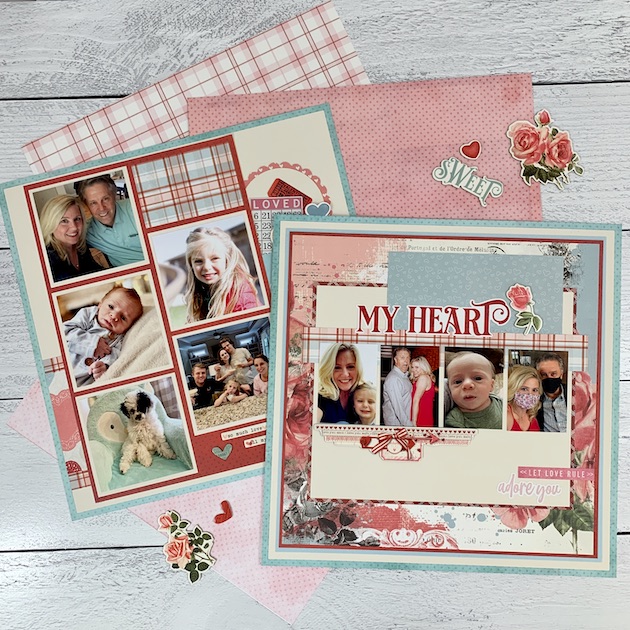
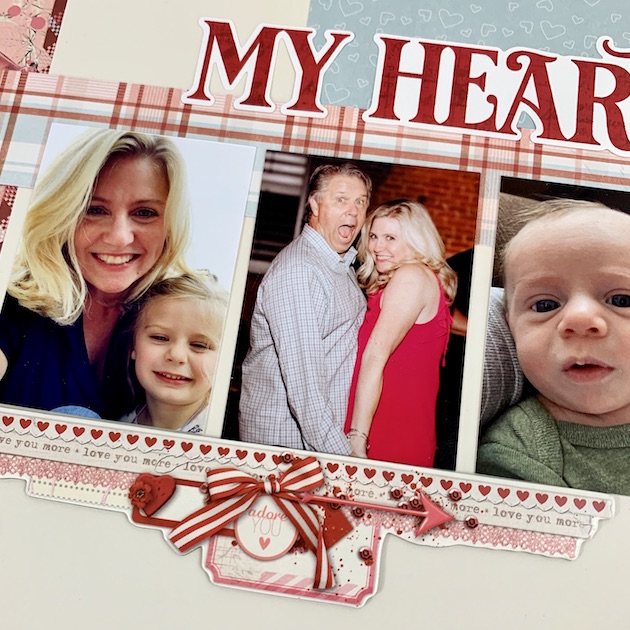
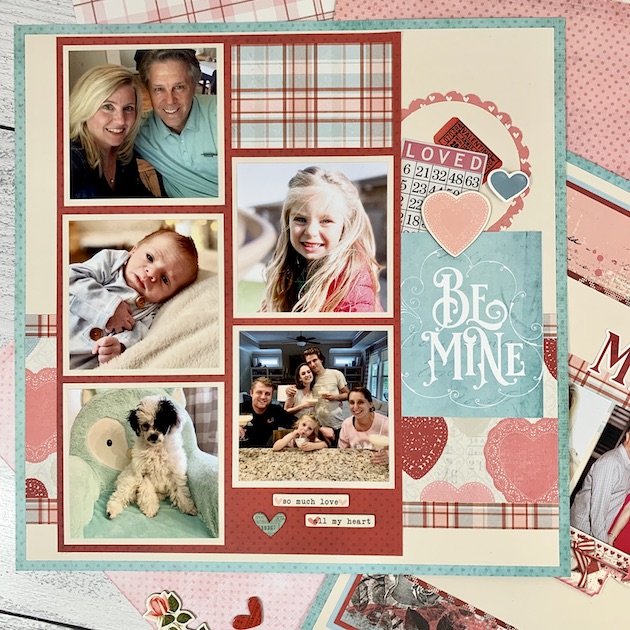
Hello friends! Valentine's Day is almost here and I'm starting to feel the love. So, I made two pretty 12x12 layouts that are perfect for your sweet photos. I used some of my favorite family pictures and a beautiful collection from Simple Stories called My Valentine. Take a look ...

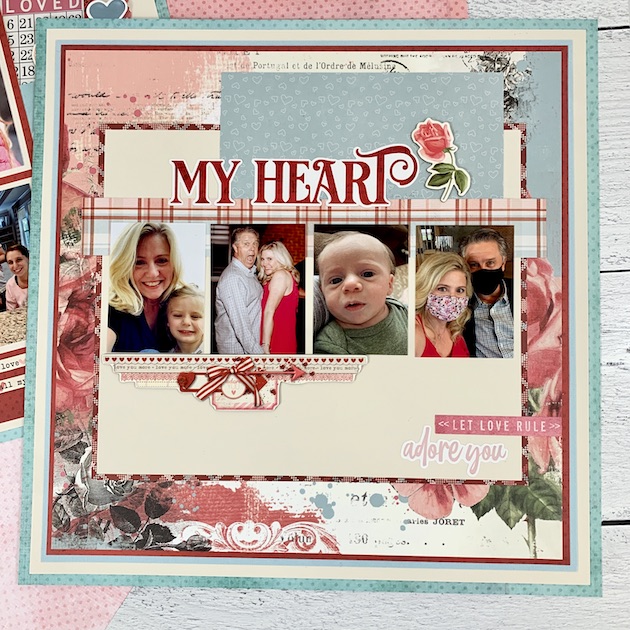
This collection is dreamy. I adore the romantic colors, the beautiful roses, and the hint of tradition with the heart shaped doilies peeking from behind the layers. But most of all ... I adore those faces!!

For both layouts, I used the aqua dots paper as my base. Then for the first page, I just layered papers to create interest with solid colors and pretty patterned papers all from the My Valentine collection.  

The "My Heart" sticker is from the 12x12 cardstock sticker sheet and the ribbon and arrow embellishment is from the 6x12 chipboard sticker sheet. Oh, that picture of my hubs is perfect. He's crazy, makes me laugh and ... roll my eyes every day, lol! And my sweet baby grandson, Jax. His precious face is that of a wise old man. I love it! 💗

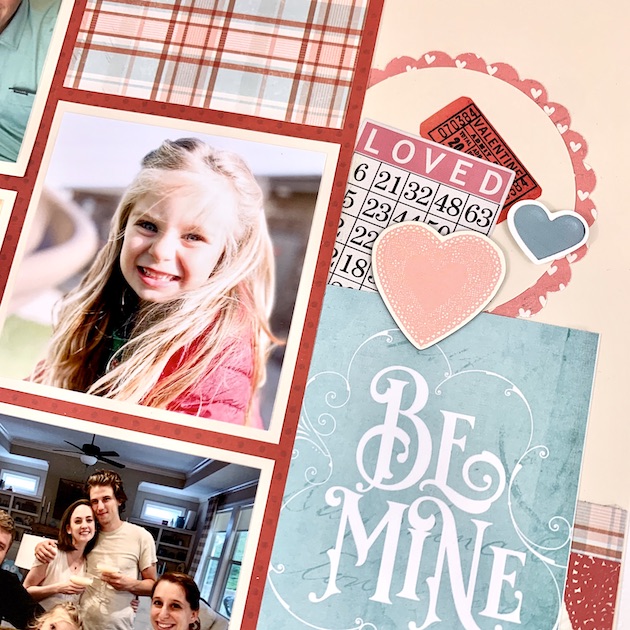
For the next page, I layered more papers from the My Valentine collection including the Heart to Heart paper that has the pretty doilies on it. The sweet puppy in the corner my son's newest addition to the family, Tarot. She's either crazy zooming or she's sleepy in someone's lap, lol!

The aqua "Be Mine" is a 3x4 card from the 12x12 collection kit and I embellished with more fun stickers. 

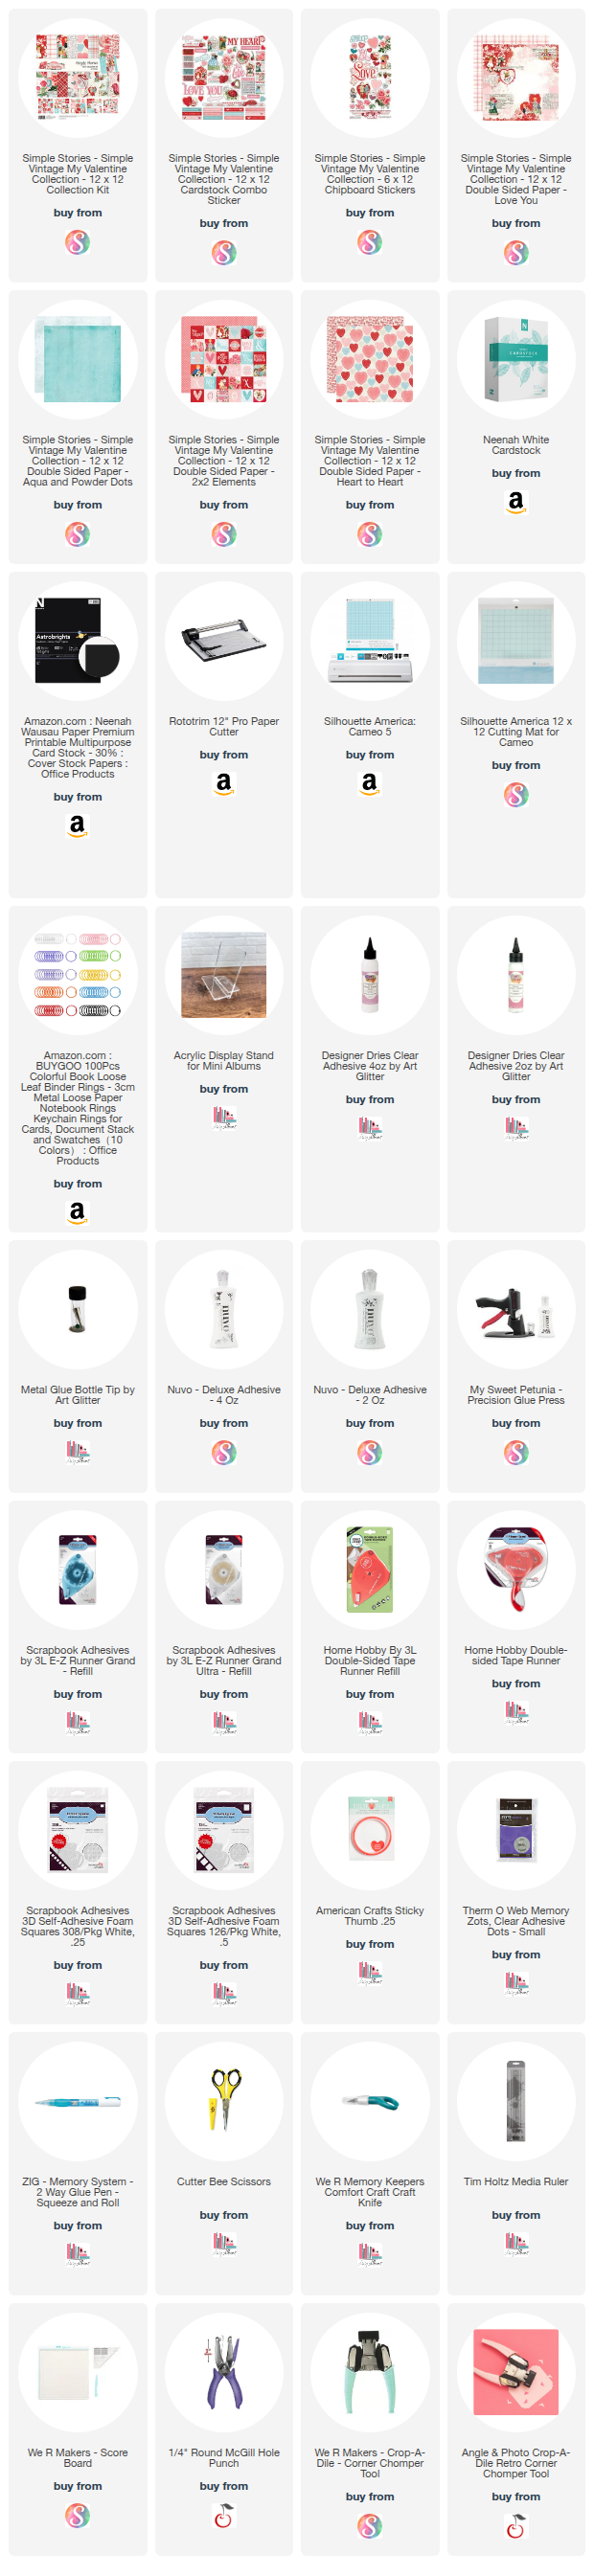
I hope these pages inspire some wonderful layouts of your own. I listed the product links below to make shopping easy. Thanks for stopping by and happy scrappin'!

Supplies: As an Amazon Associate, I earn from qualifying purchases.  Affiliate links are used in this post at no additional cost to you. I receive a small amount of compensation when you click through and shop using the provided links. This helps me to continue building my small business. Thank you!